
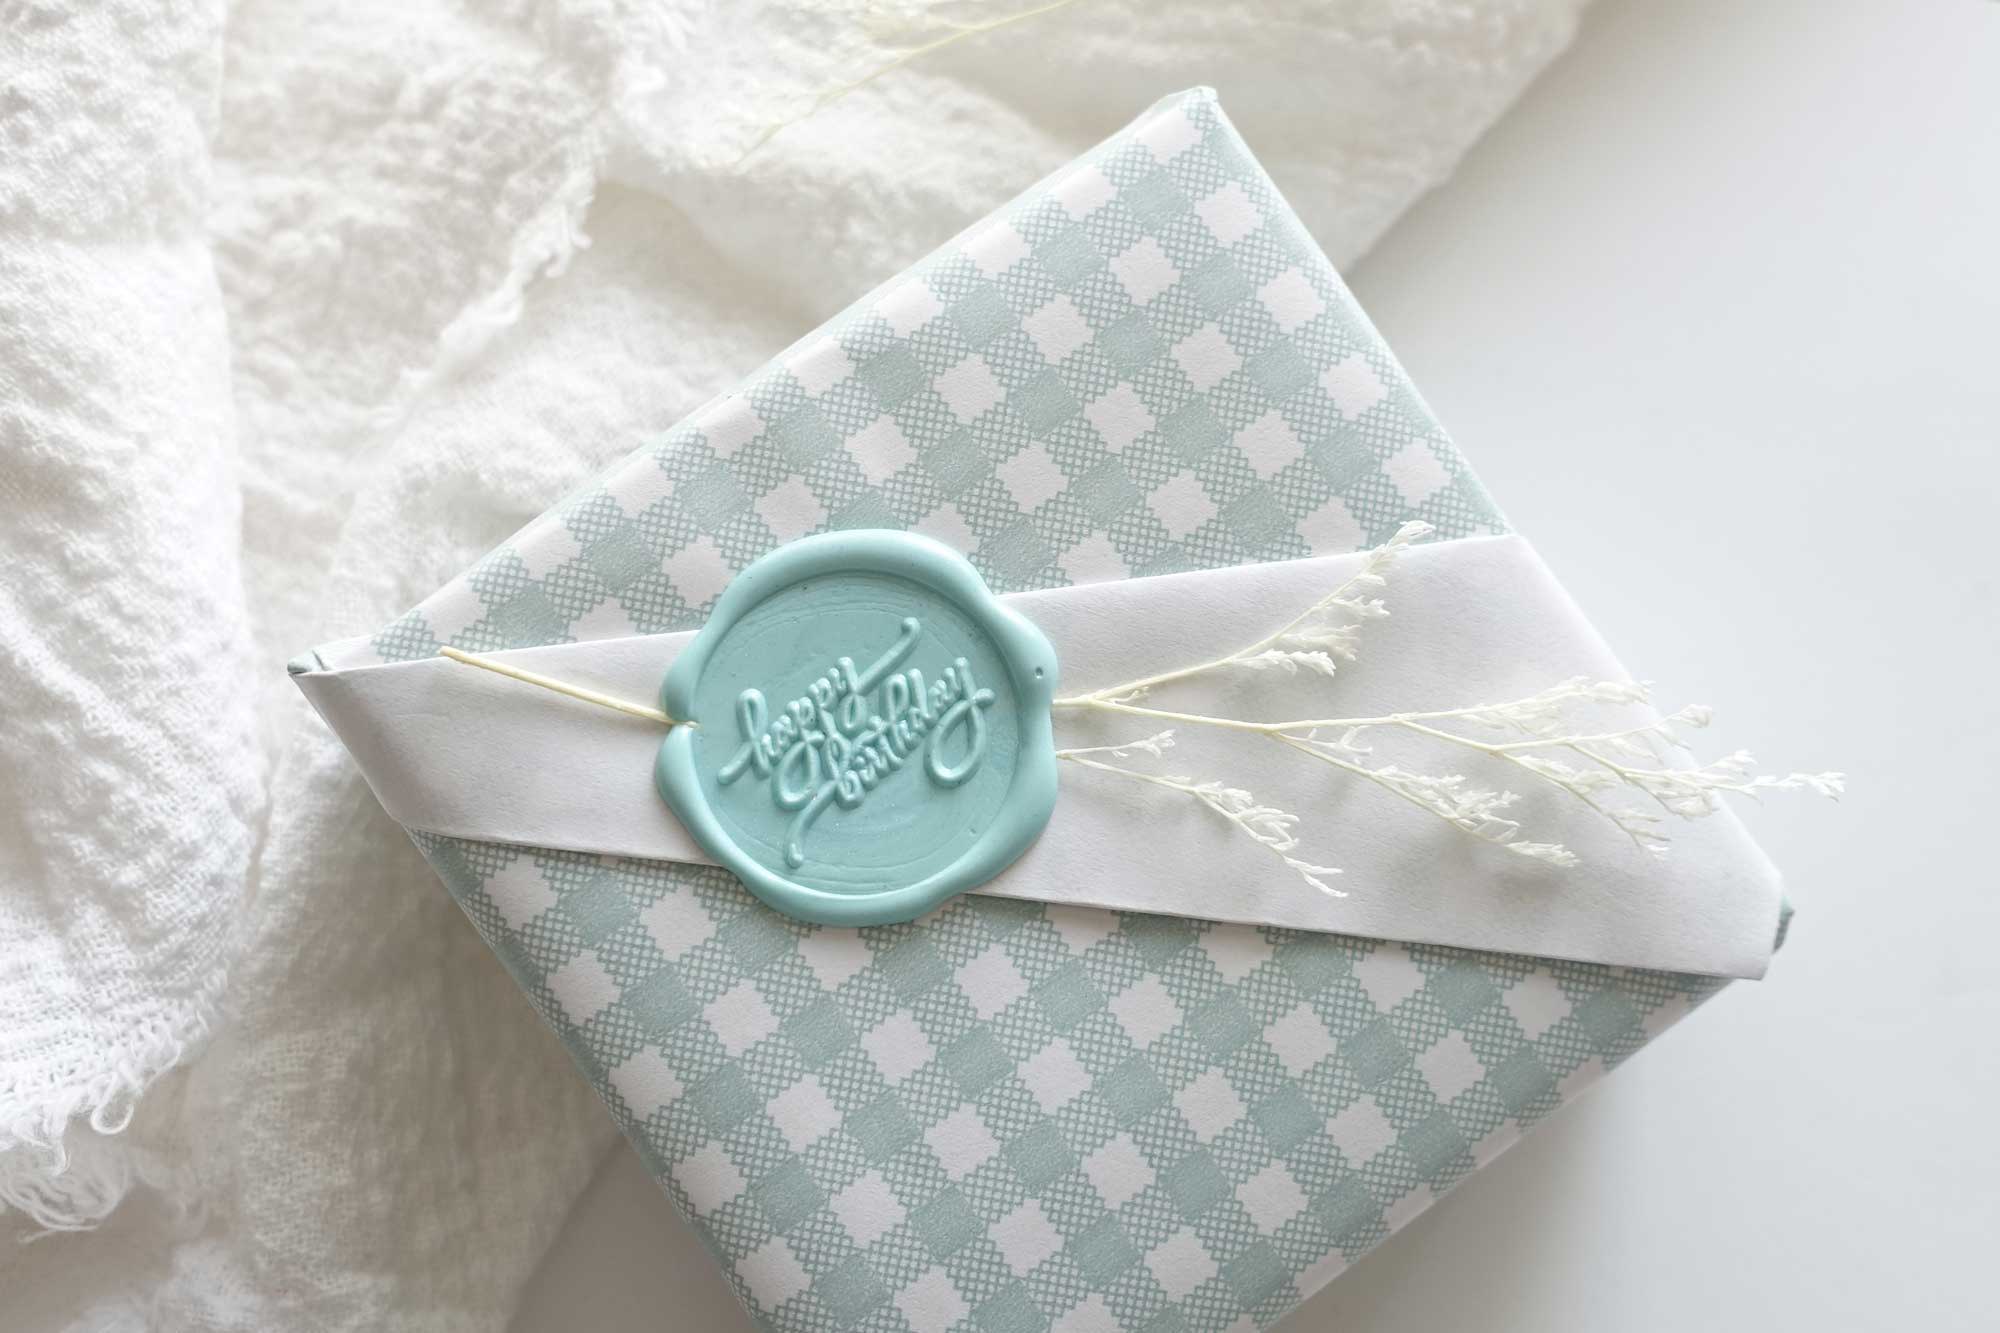
How To Gift Wrap with a Diagonal Contrast Accent Flap
This giftwrapping tutorial features a diagonal contrast accent flap that is perfect for highlighting wax sealed botanical sprigs
This gift wrapping technique would also work really well with double sided wrapping paper.
Wrapping paper size (in cm):
Long side - 3 x B + 2 x C + 1
Short side - A + 2 x C
where A is length of the gift, B is the width and C is the height.
Instructions:
1. Cut your wrapping paper to size and position it so that the long side lies vertical and short side lies horizontal to your work surface
2. Place your gift in the centre so that it lies lengthways i.e. the long side of your gift should be horizontal to your work surface
View this post on Instagram
3. Bring the bottom of the wrapping paper up and over your gift until the edge of the paper aligns with the top edge of your gift
4. Bring the top of the wrapping paper down so it overlaps your gift. Apply a small amount of adhesive between the layers (near the top edge) to secure the top part of the top layer in place
5. Fold back the top layer diagonally so that the bottom-right fold line crosses at the corner of the gift and the top-left fold line crosses at approximately the midpoint of the gift's width. Crease
6. Fold down the triangle flap you have just created so it meets the diagonal fold line, and then reverse the fold so that the loose edge is hidden behind the fold. Apply adhesive to stick down the loose flaps and edges
7. Finish wrapping the open ends of your gift using your usual wrapping method
8. You can either have the diagonal flap pointing upwards or downwards according to your preference. Place the star of the show, your dried botanical(s), across the diagonal accented flap and wax seal it in place.
Hope you enjoyed this tutorial! I love seeing all the creative projects that you come up with! Feel free to send them via email, social media, or tag me (@fionaariva on Instagram)




Leave a comment
This site is protected by hCaptcha and the hCaptcha Privacy Policy and Terms of Service apply.