
.%0A%0A%0A%0A%20%20%20%20%20%20%0A%20%20%20%20%0A%20%20%0A%0A%20%20%20%20%0A%20%20%20%20%20%20%0A%0A%20%20%20%20%20%20%20...)
This tutorial only requires a single sheet of wrapping paper (double sided designs work really well).
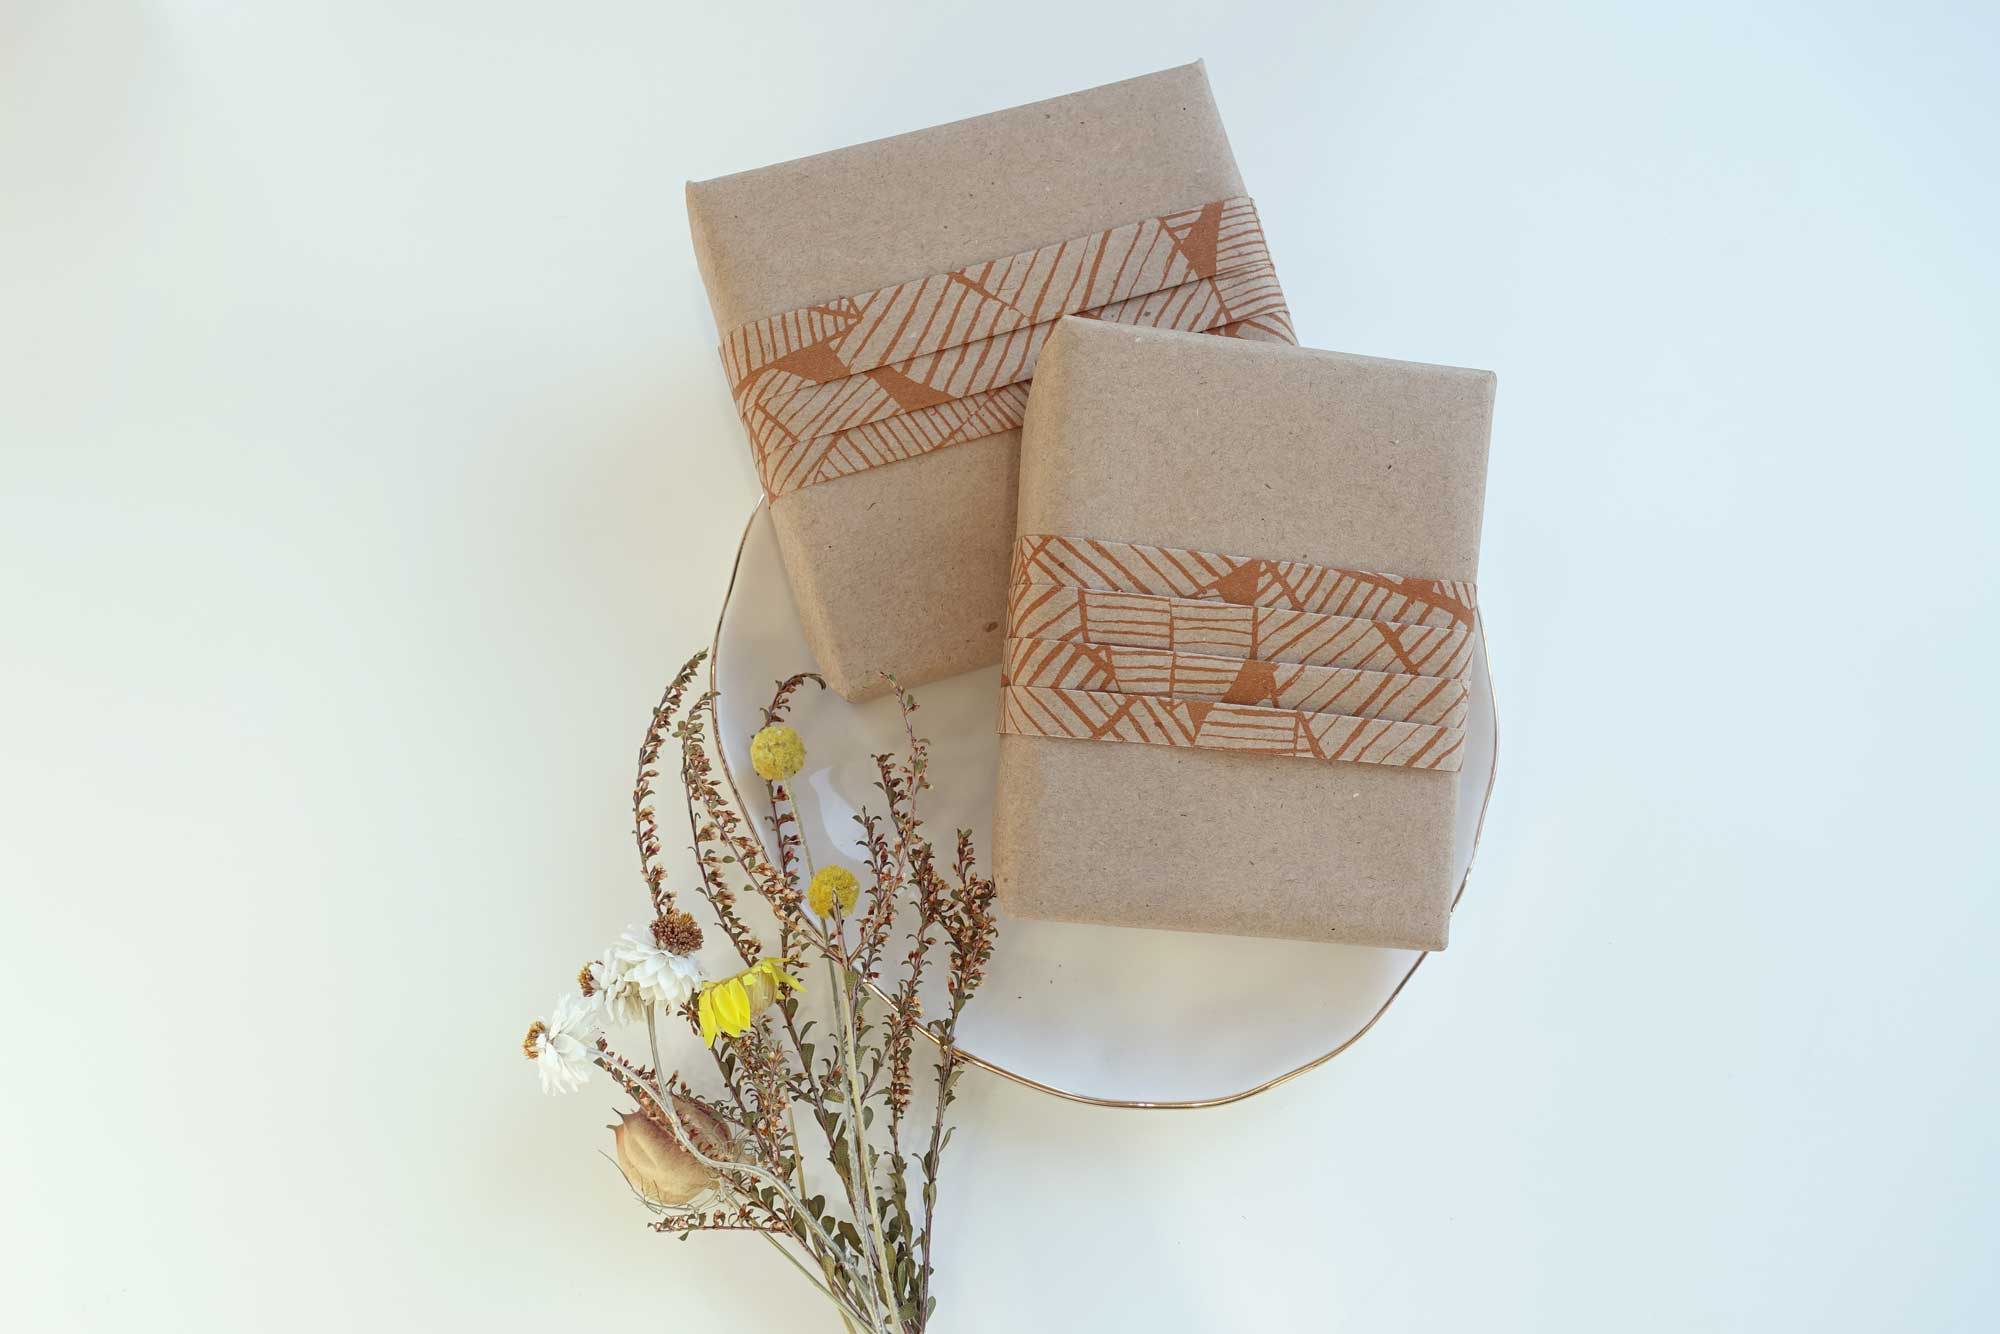
How To: Single Sheet Pleated Belly Band Gift Wrapping Tutorial
Wrapping paper size (in cm):
Long side: 2 x B + 2 x C + 1/3 x C + 6
Short side: A + C
where A is width of the gift, B is the depth and C is the length.
Instructions:
- Cut your wrapping paper to size, according to the dimensions above
- Place the side of the wrapping paper that has the pattern for the belly band face downwards
- Fold the bottom edge of the wrapping paper upwards by about 5mm. Continue rolling and folding the paper upwards by 2cm, three more times
- Flip over the paper and using a pinch & fold technique, create pleats from the bottom three creases. The pleats should go about halfway up to the next crease. Do not pinch & fold the top crease (closest to the gift)
- Place your gift onto the wrapping paper, and pull the wrapping paper up from the top crease (closest to the gift). The pleats should end up lying across the centre of the gift
- Pull down the other side of the wrapping paper over the top of the gift and tuck it underneath the pleats
- Secure the paper place with double sided tape. You can also stick down the pleats as well
- To gift wrap the rest of your gift, push in the paper along side B (refer measurements chart) to form two V-flaps. Push in the top V-flap and pull the bottom V-flap upwards and towards the back of the gift. This will allow the belly band to wrap around the gift
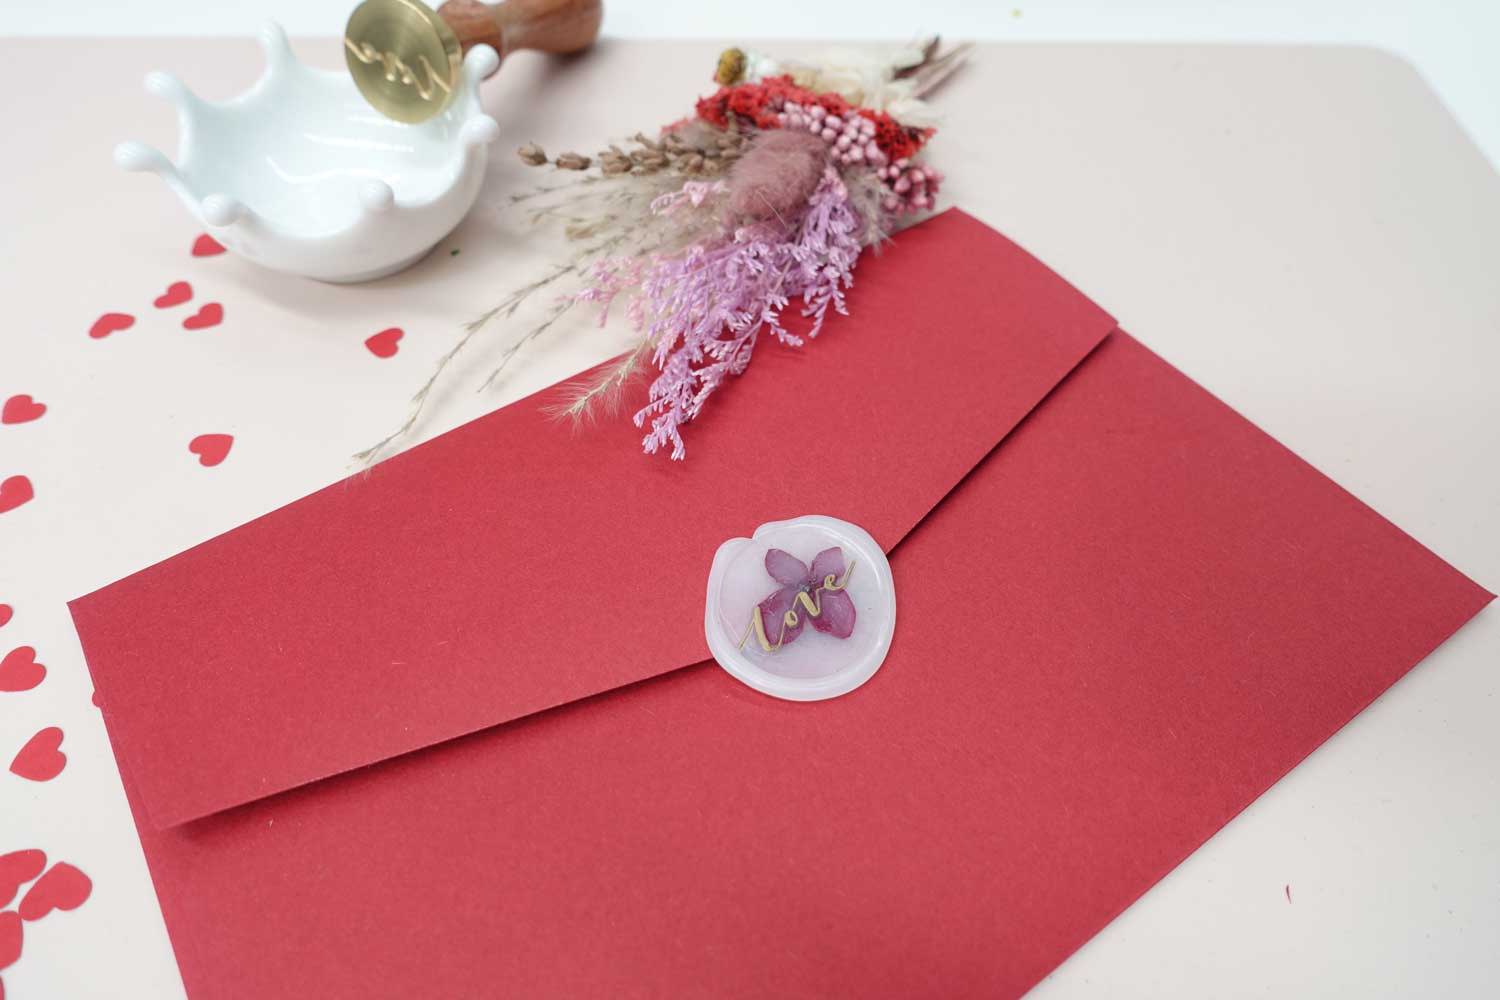
- Wax seal the V-flap in place. Repeat for the other side
- Admire your new gift wrapping skills and present it to your gift recipient!
FEATURED PRODUCTS
Sold out
Sold out
Sold out
Read more
Wax Seal Ideas
Top 5 ideas & techniques for using dried flowers in wax seals
1. The classic, encased flower wax seal Preserve your flowers and put them in the spotlight by pouring clear or semi-transparent wax over the flower and stamping it using a blank stamp. ...
Read more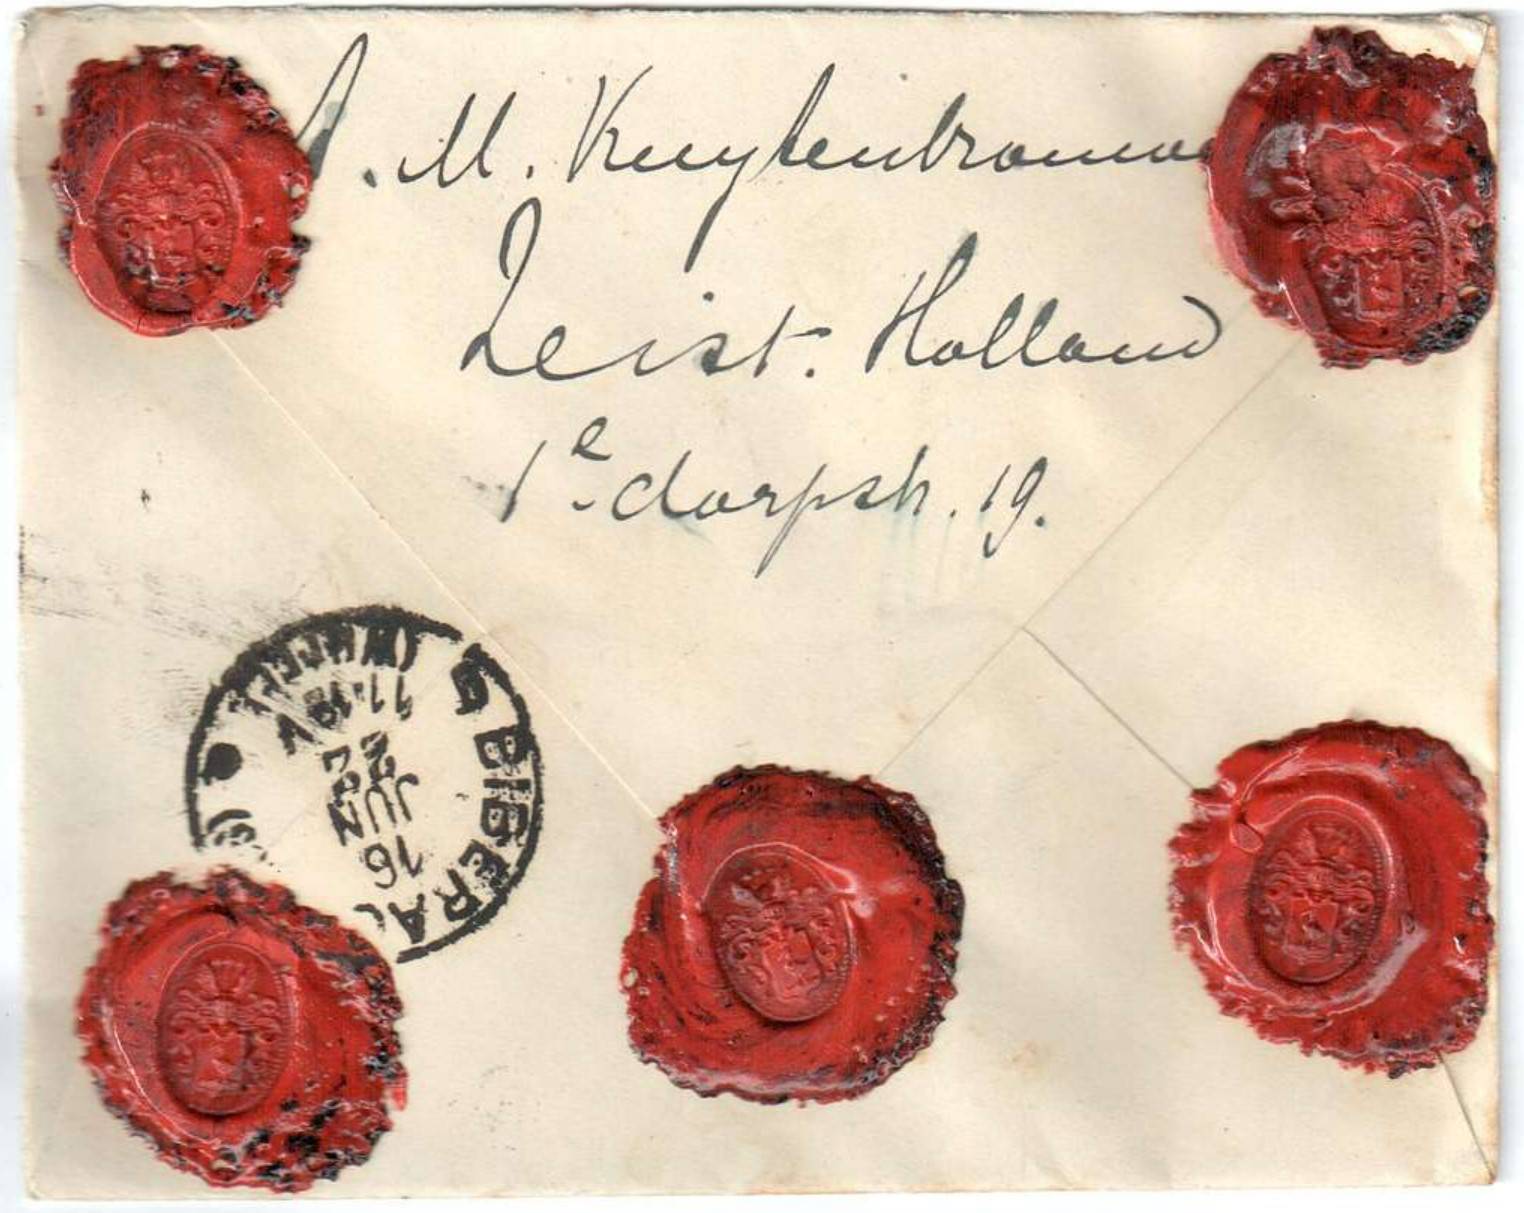
The History of Wax Seals: A Journey Through Time
In this article, we delve into the captivating history and enduring charm of wax seals. As a symbol of elegance, authenticity, and personal to...
Read more
Leave a comment
This site is protected by hCaptcha and the hCaptcha Privacy Policy and Terms of Service apply.