
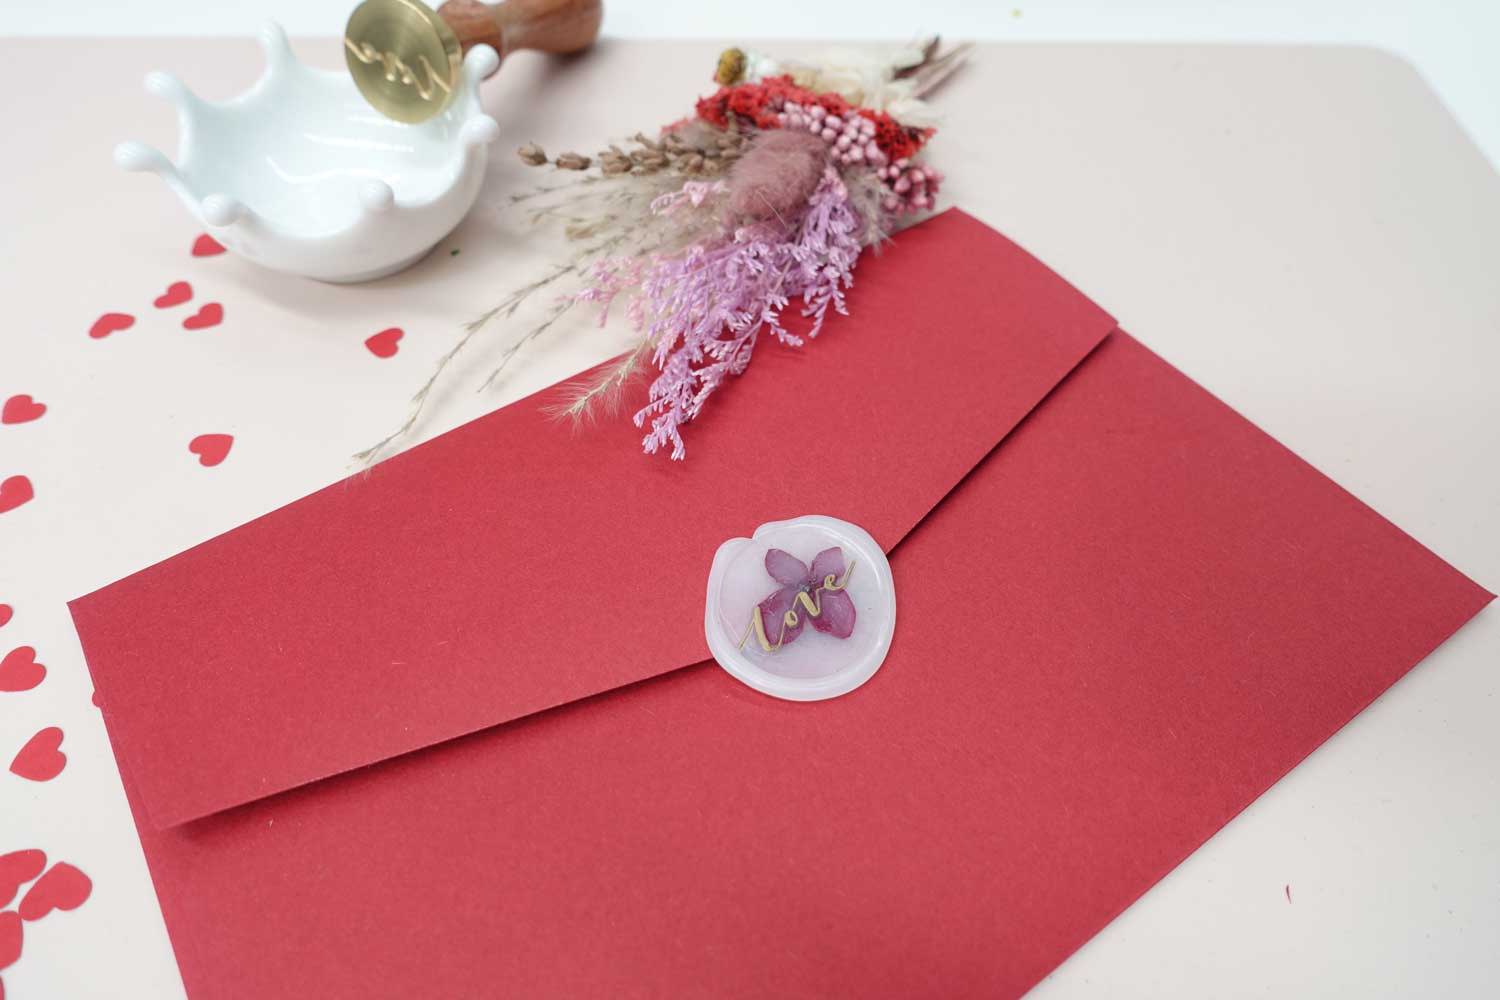
Top 5 ideas & techniques for using dried flowers in wax seals
1. The classic, encased flower wax seal
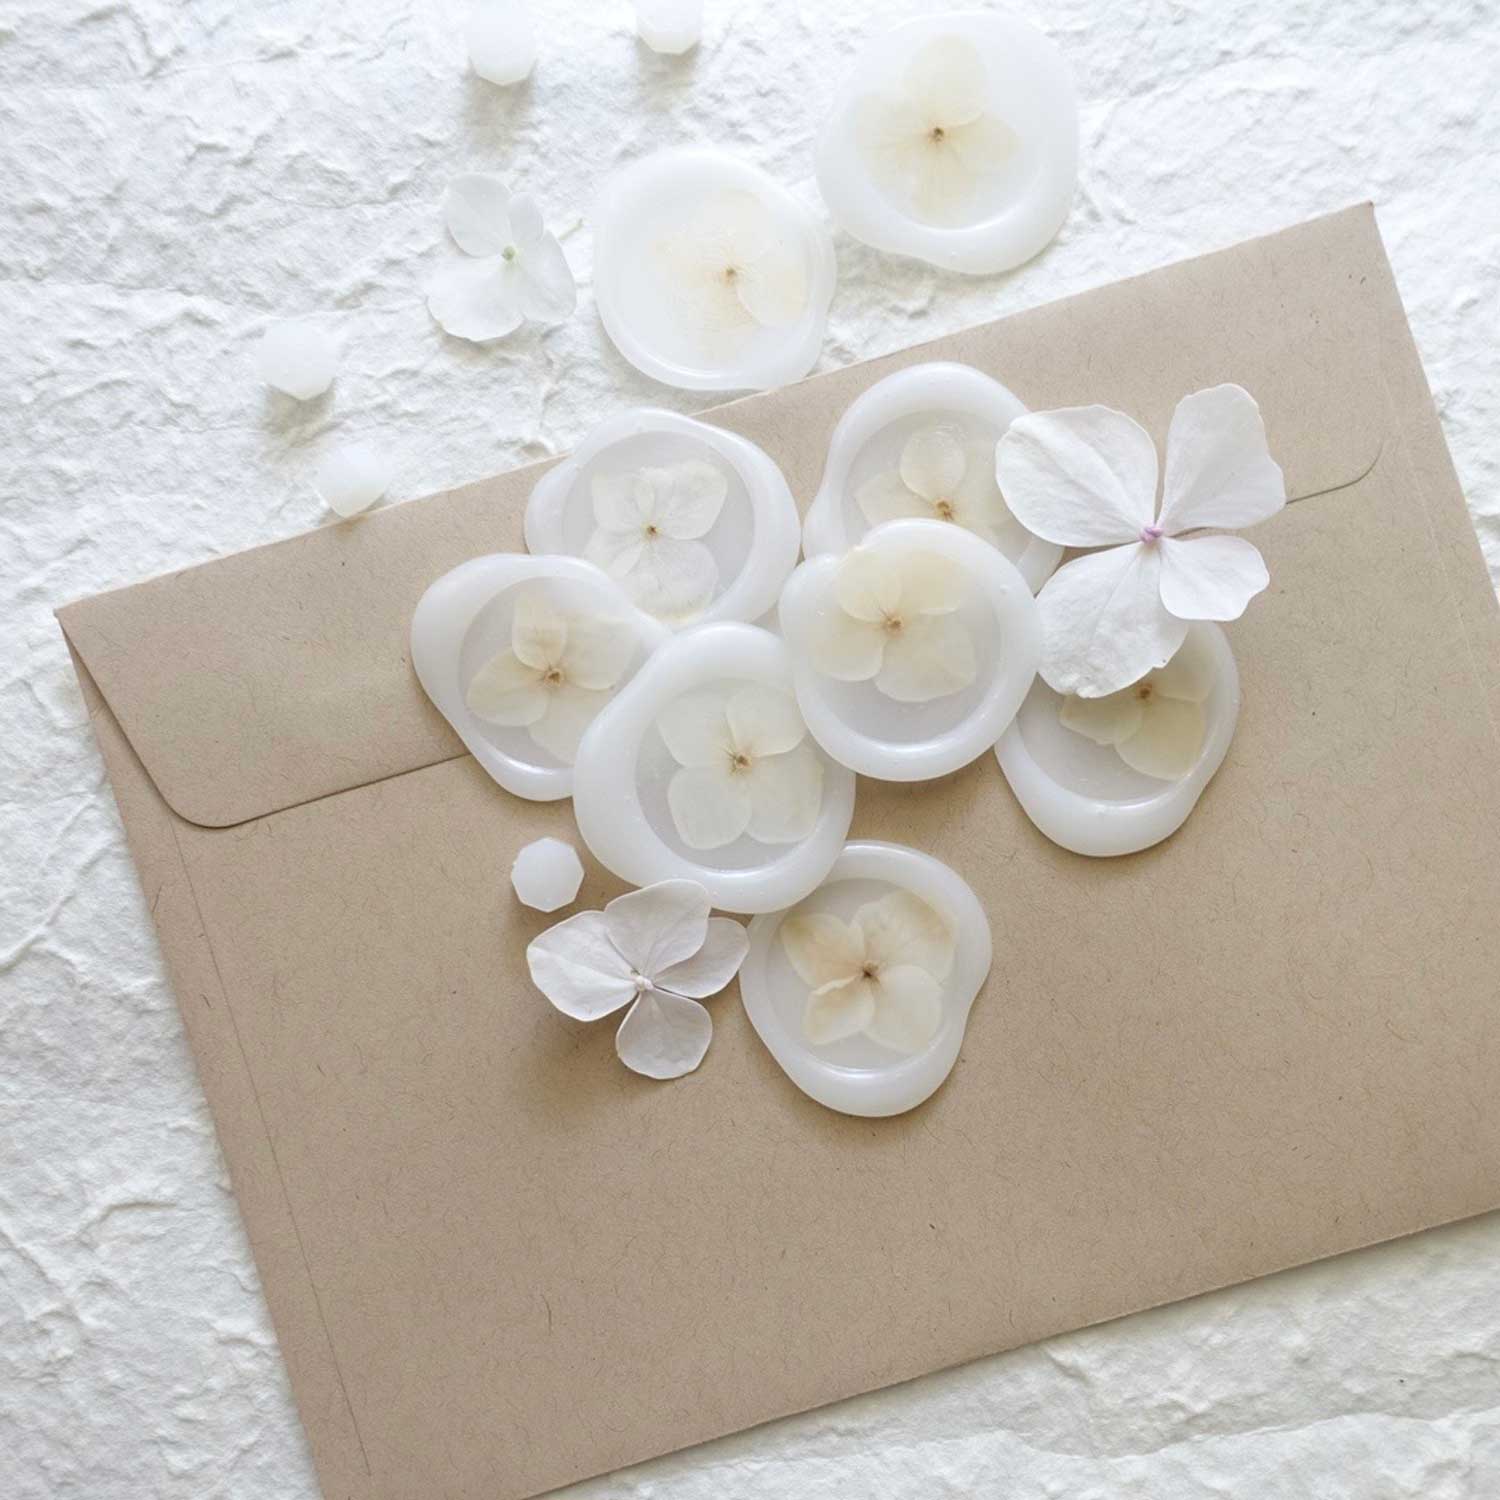
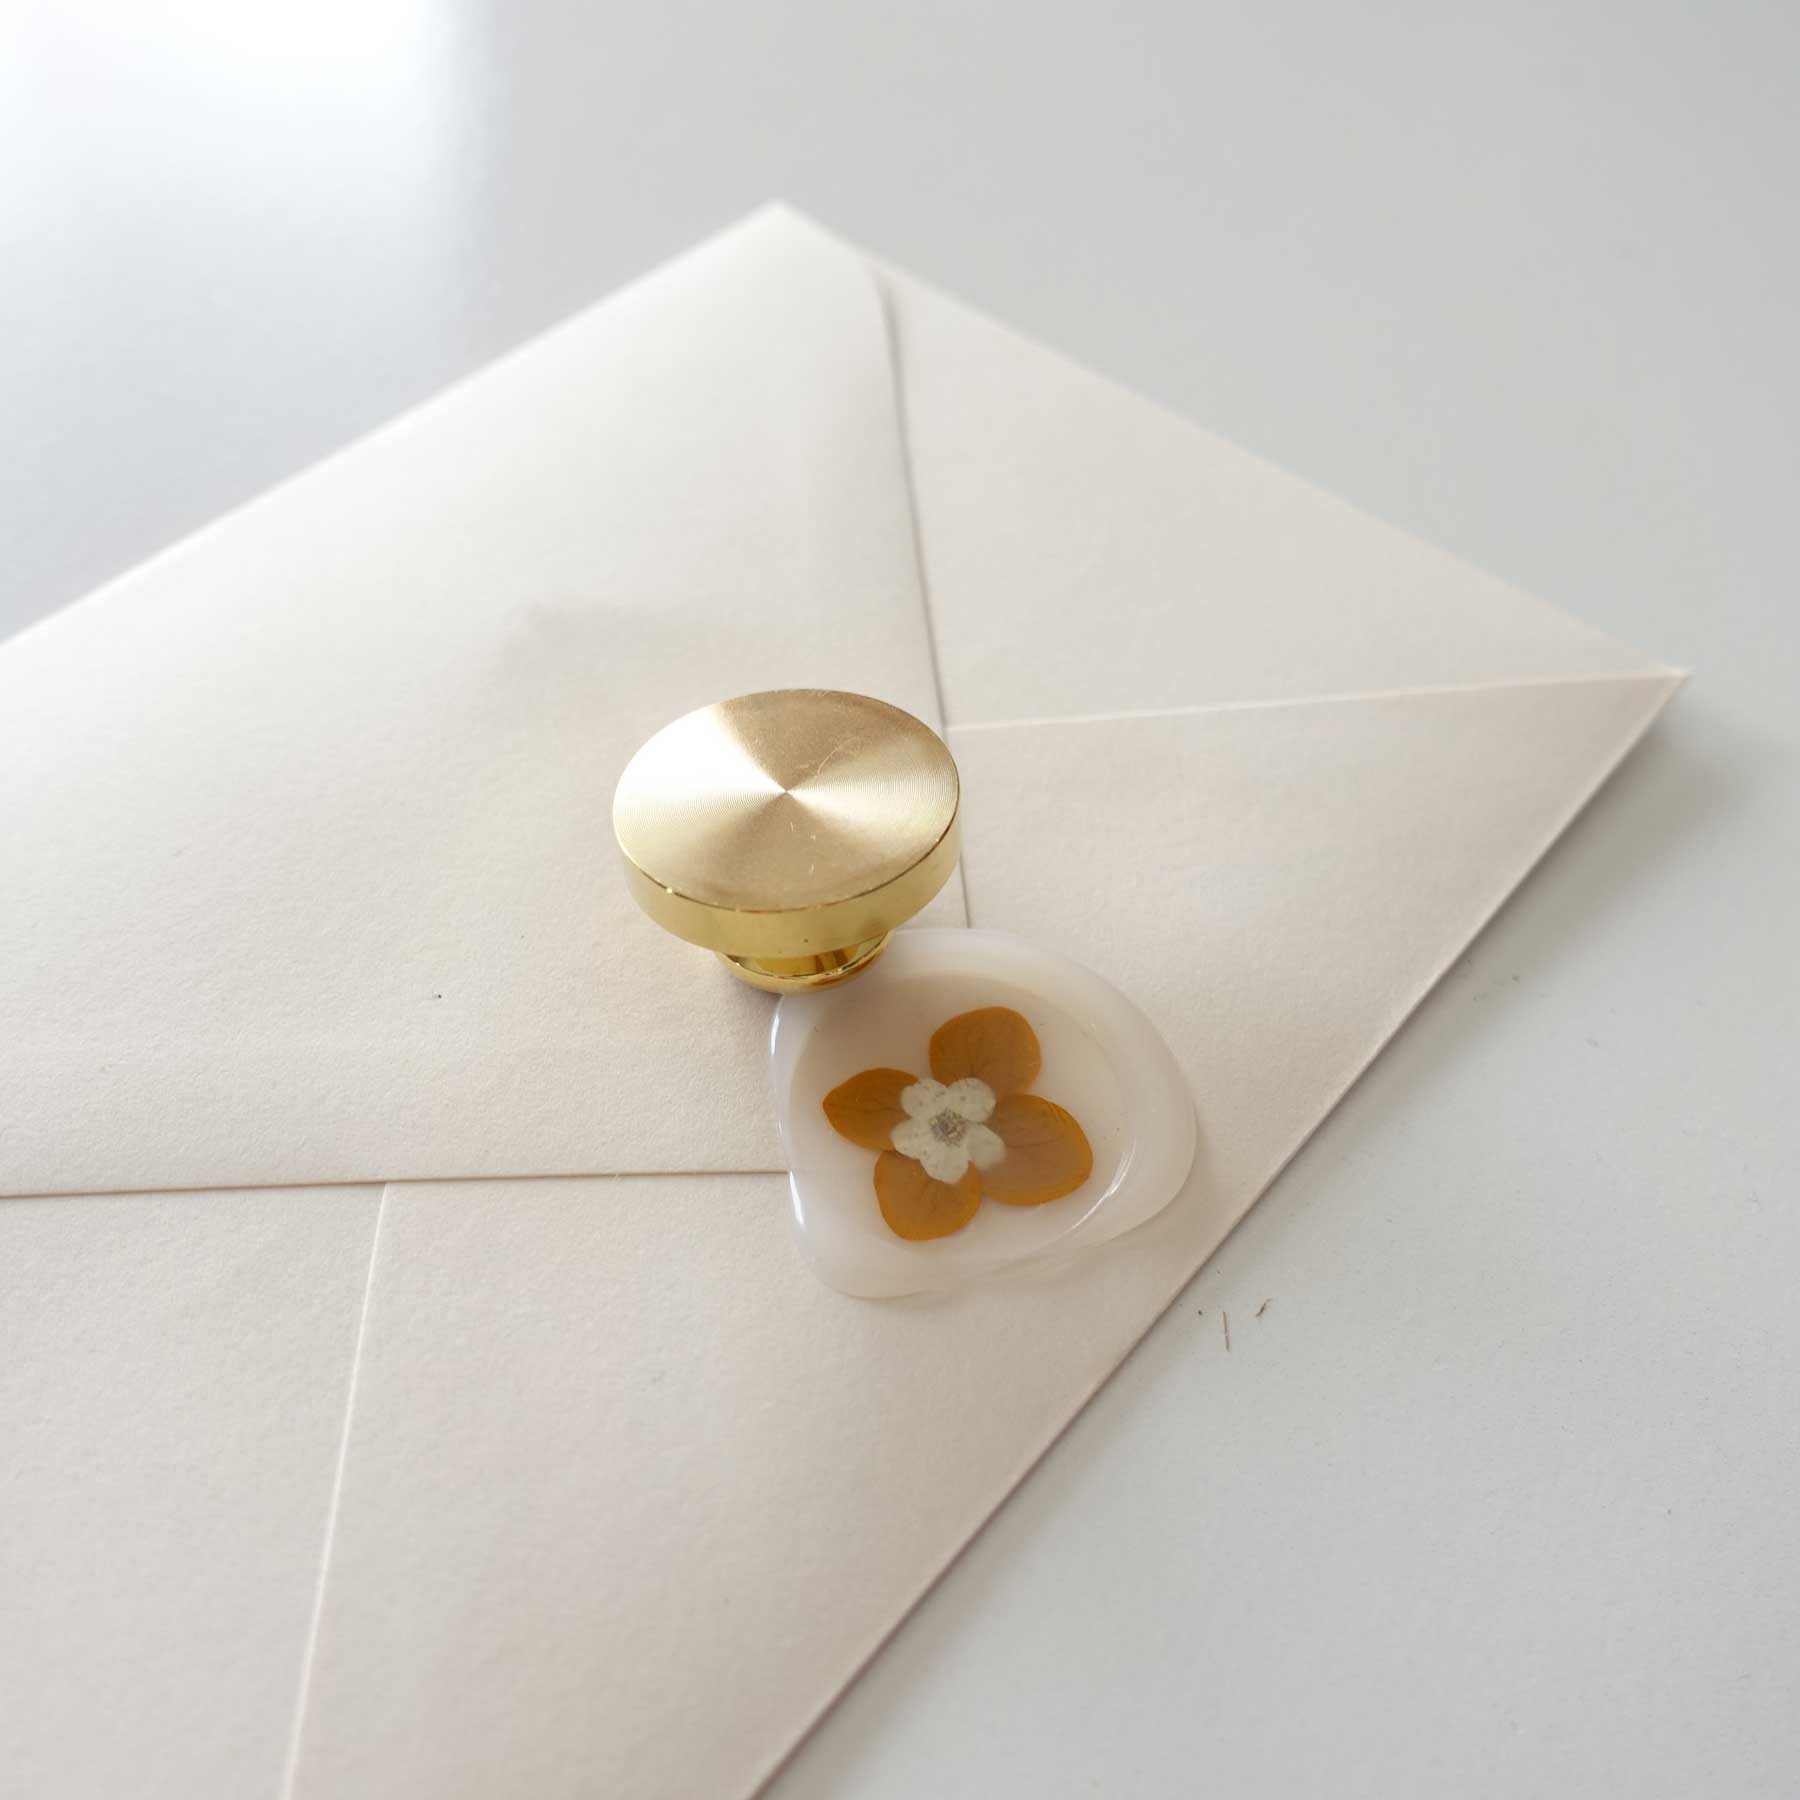
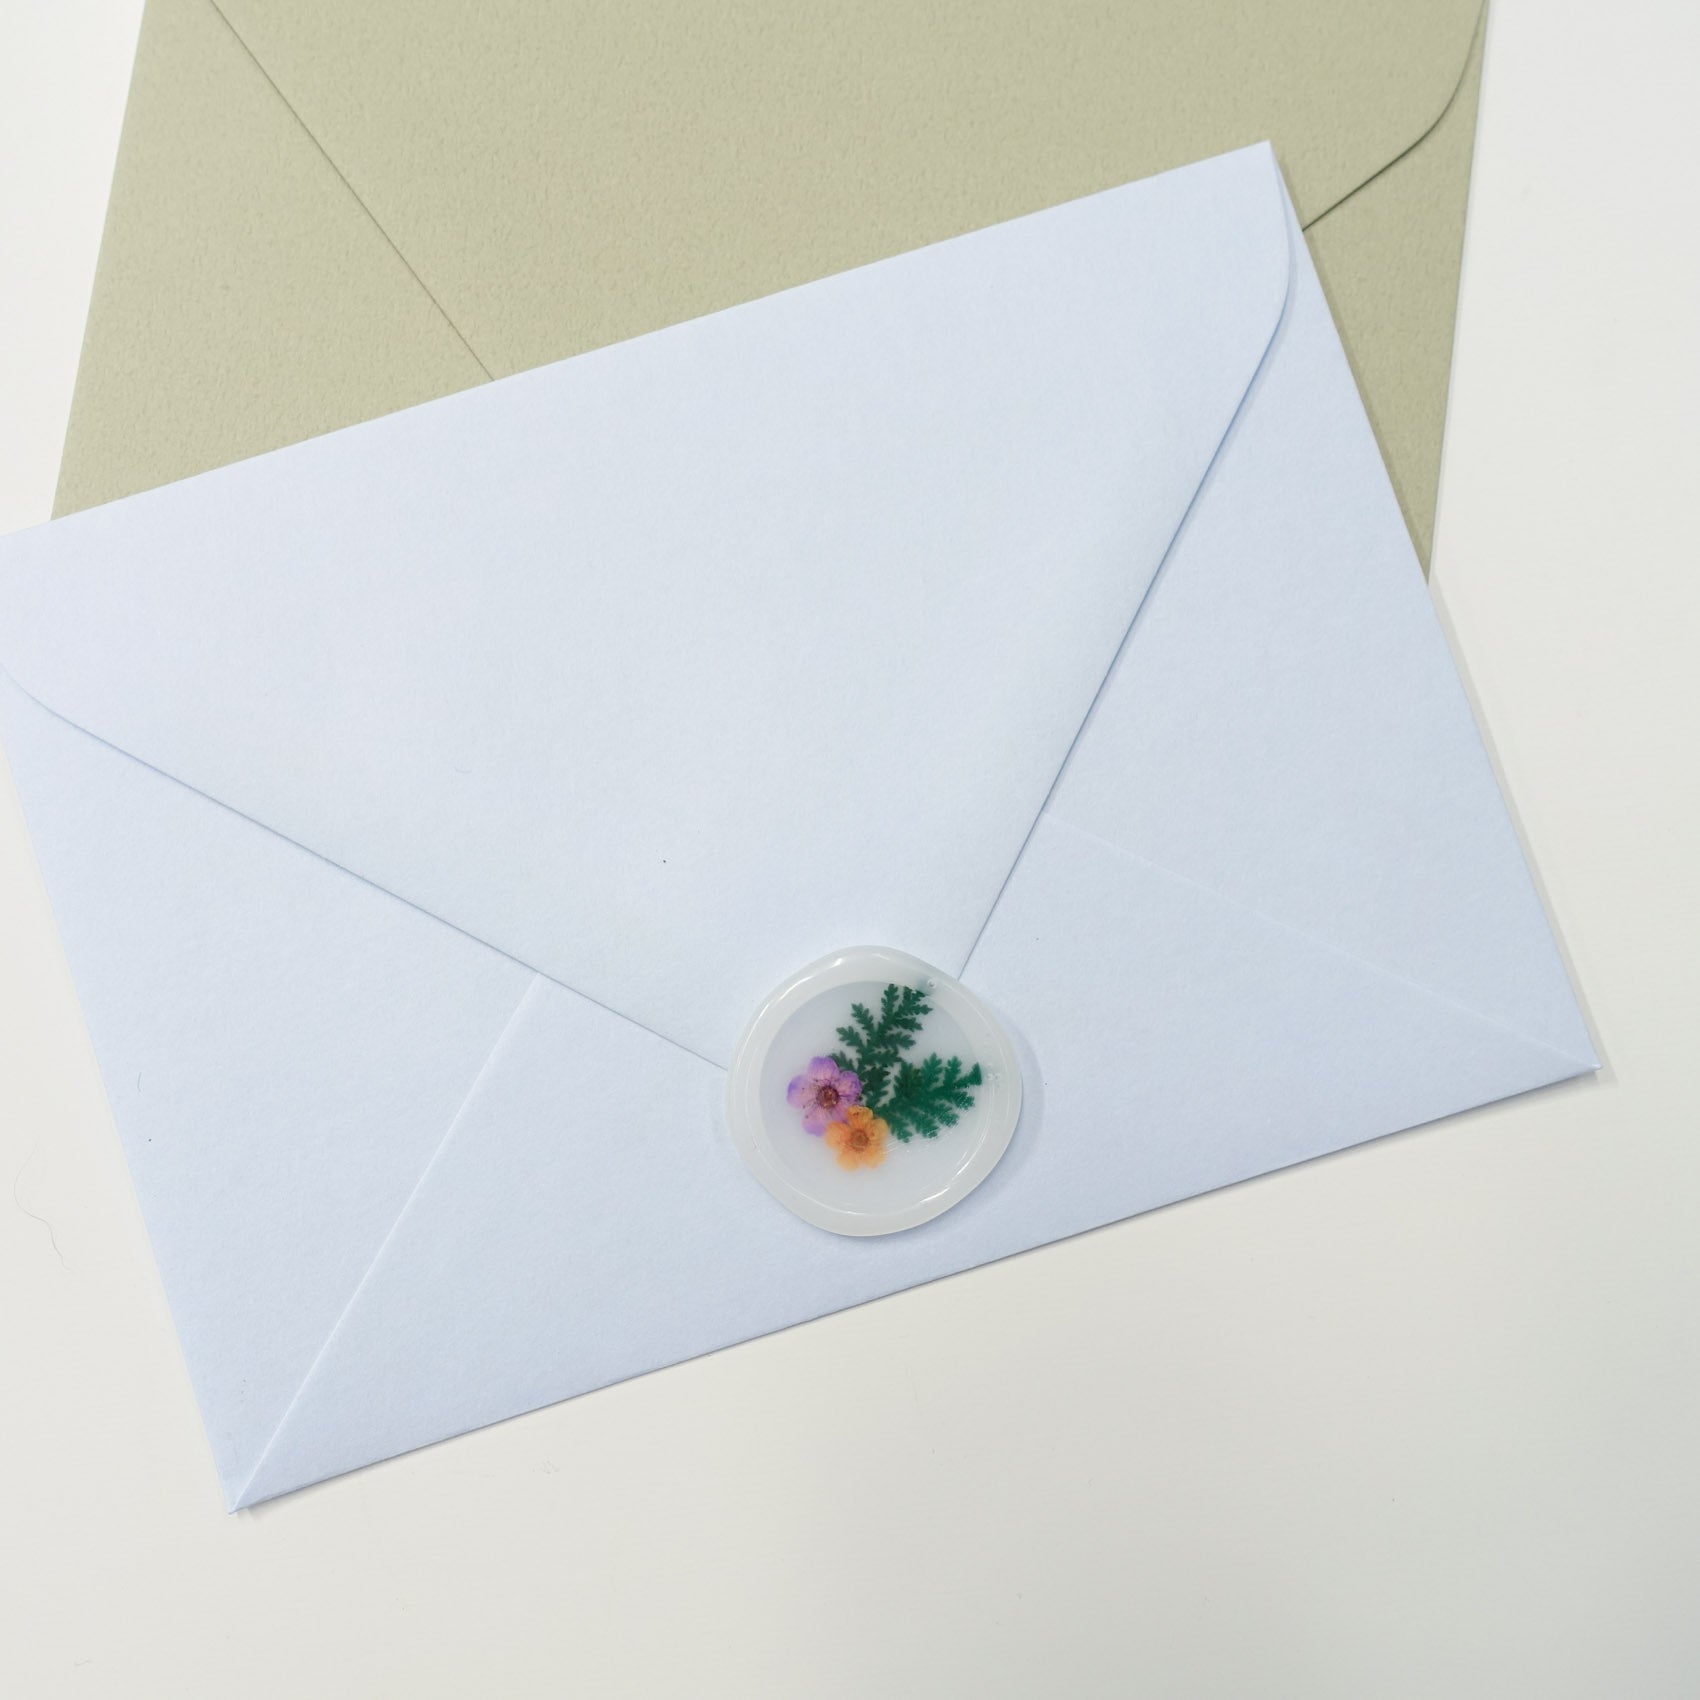
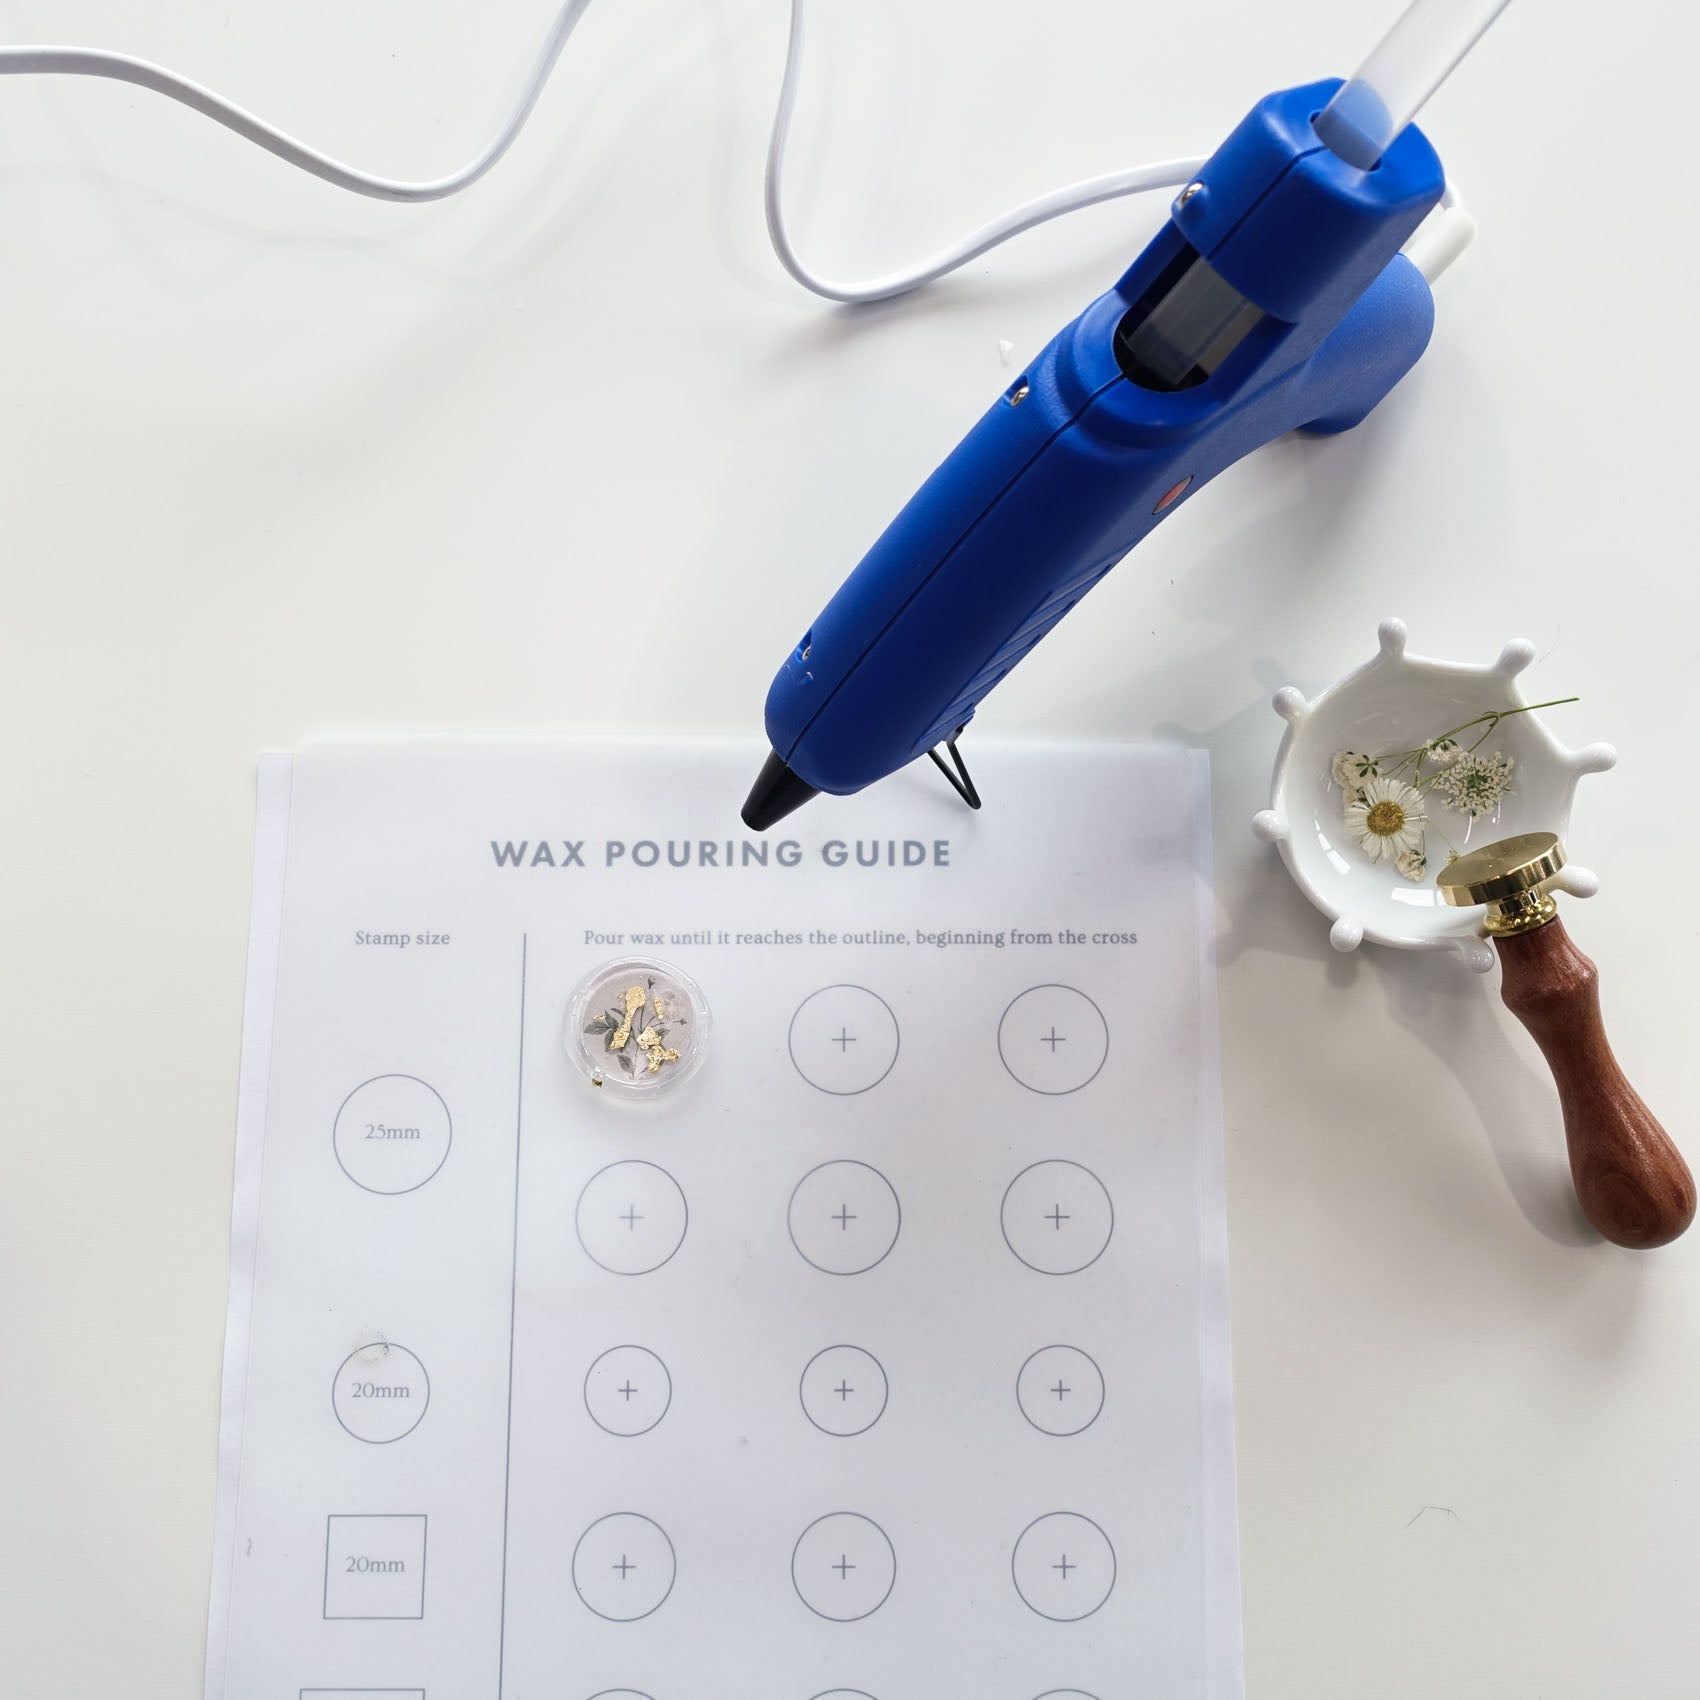
Preserve your flowers and put them in the spotlight by pouring clear or semi-transparent wax over the flower and stamping it using a blank stamp.

View this post on Instagram
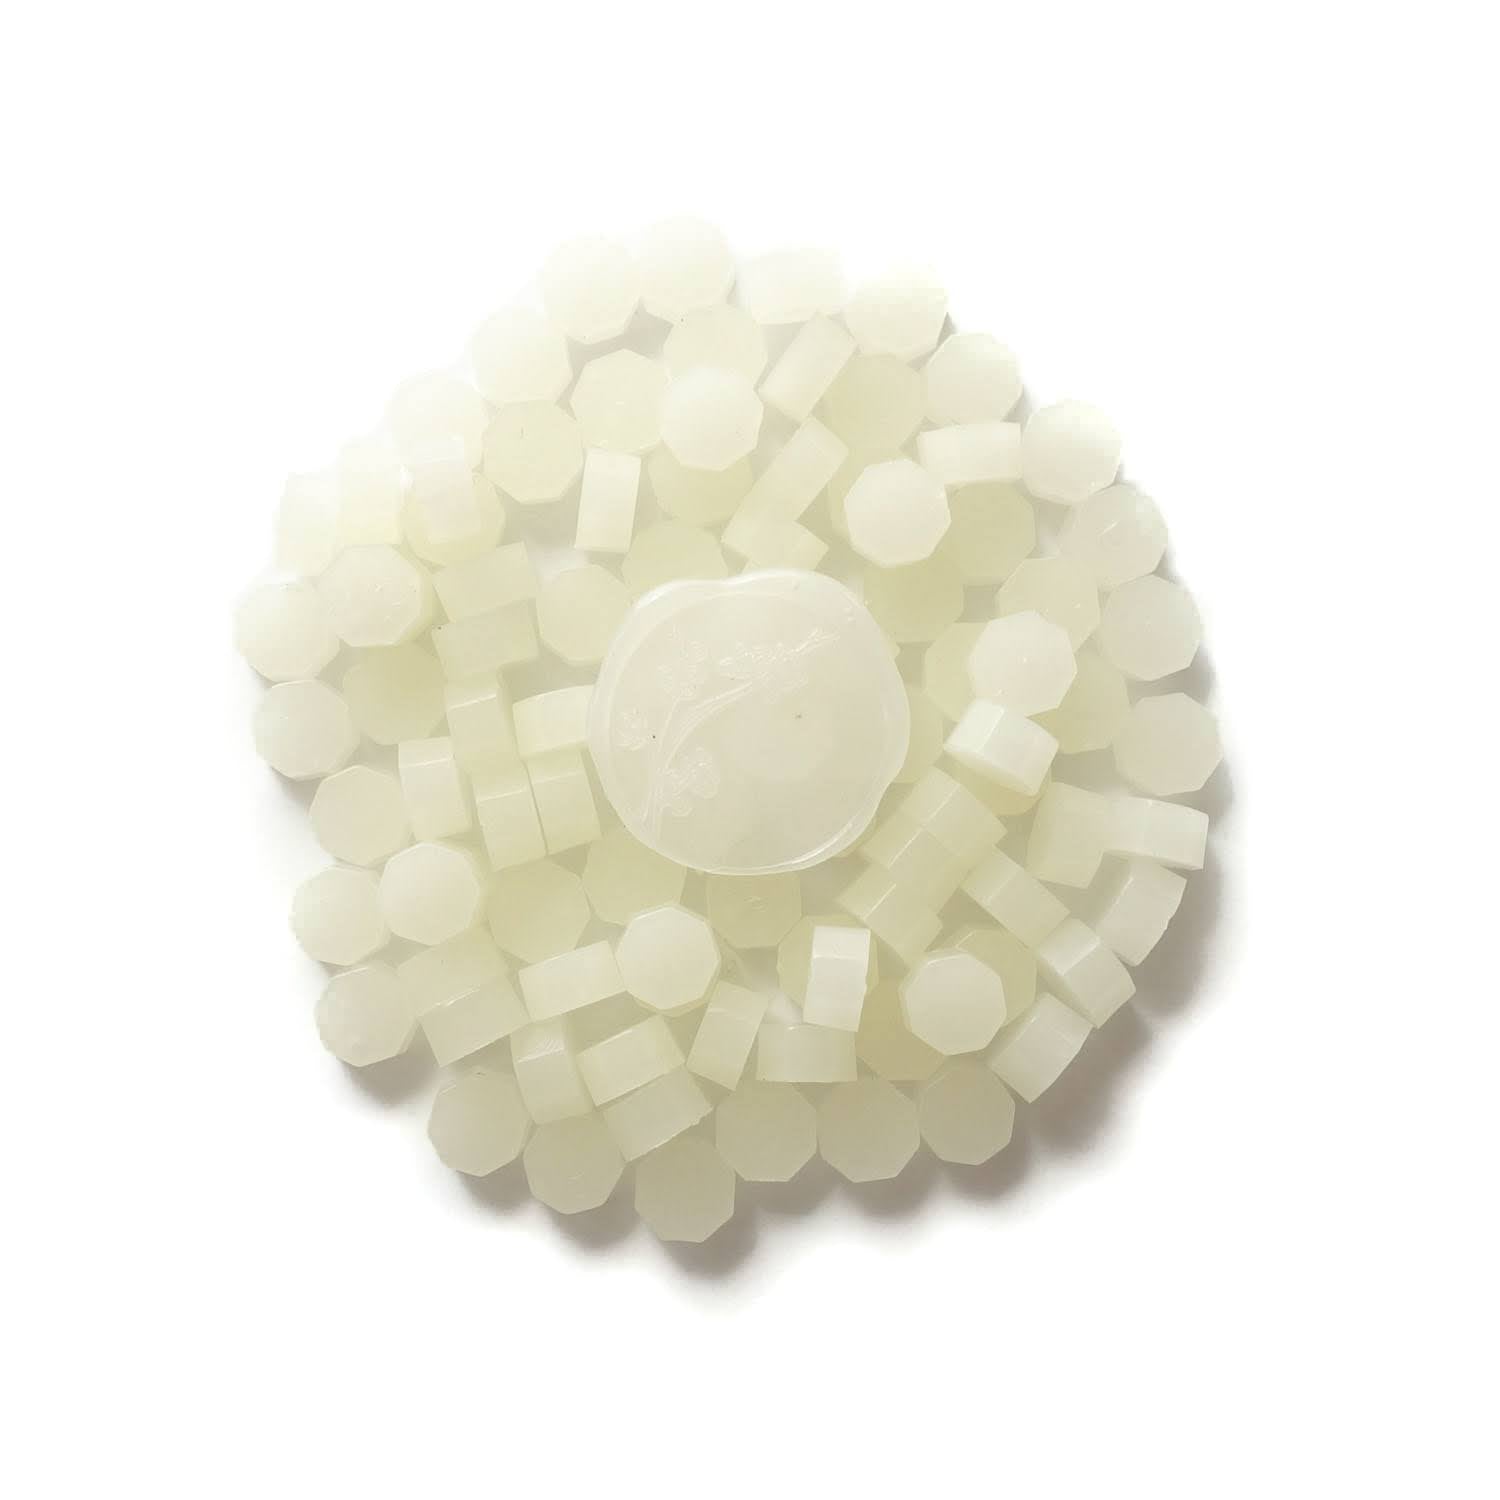
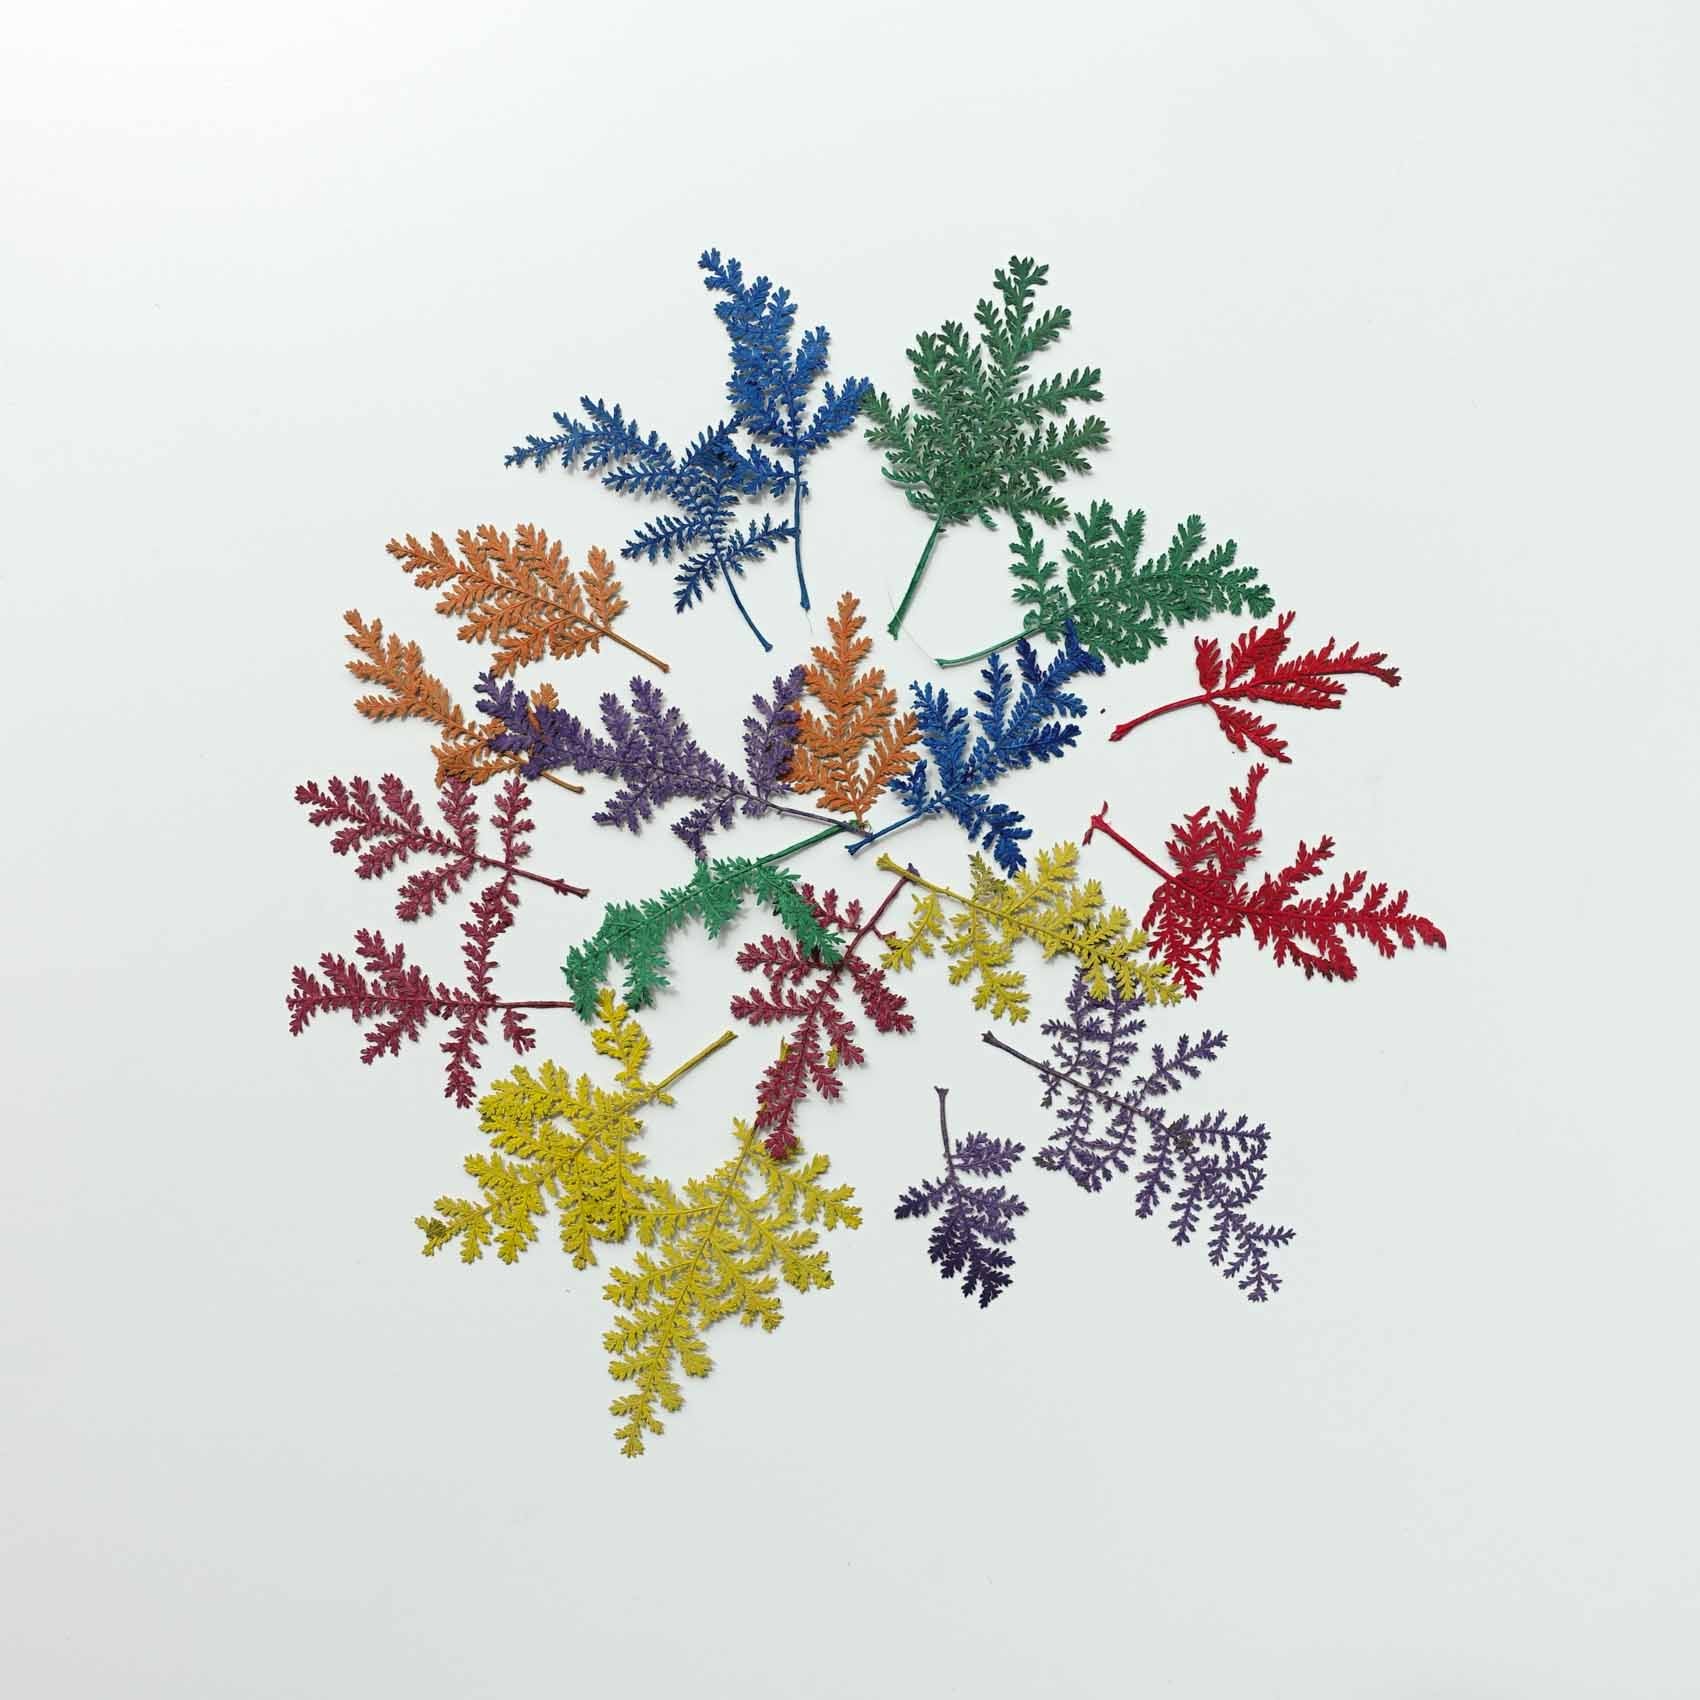
Shop: Semi transparent clear 100pcs sealing wax beads granules tablets pellets · Dried Cypress Leaves Pressed Assorted Colours 20-pack
2. The embossed look
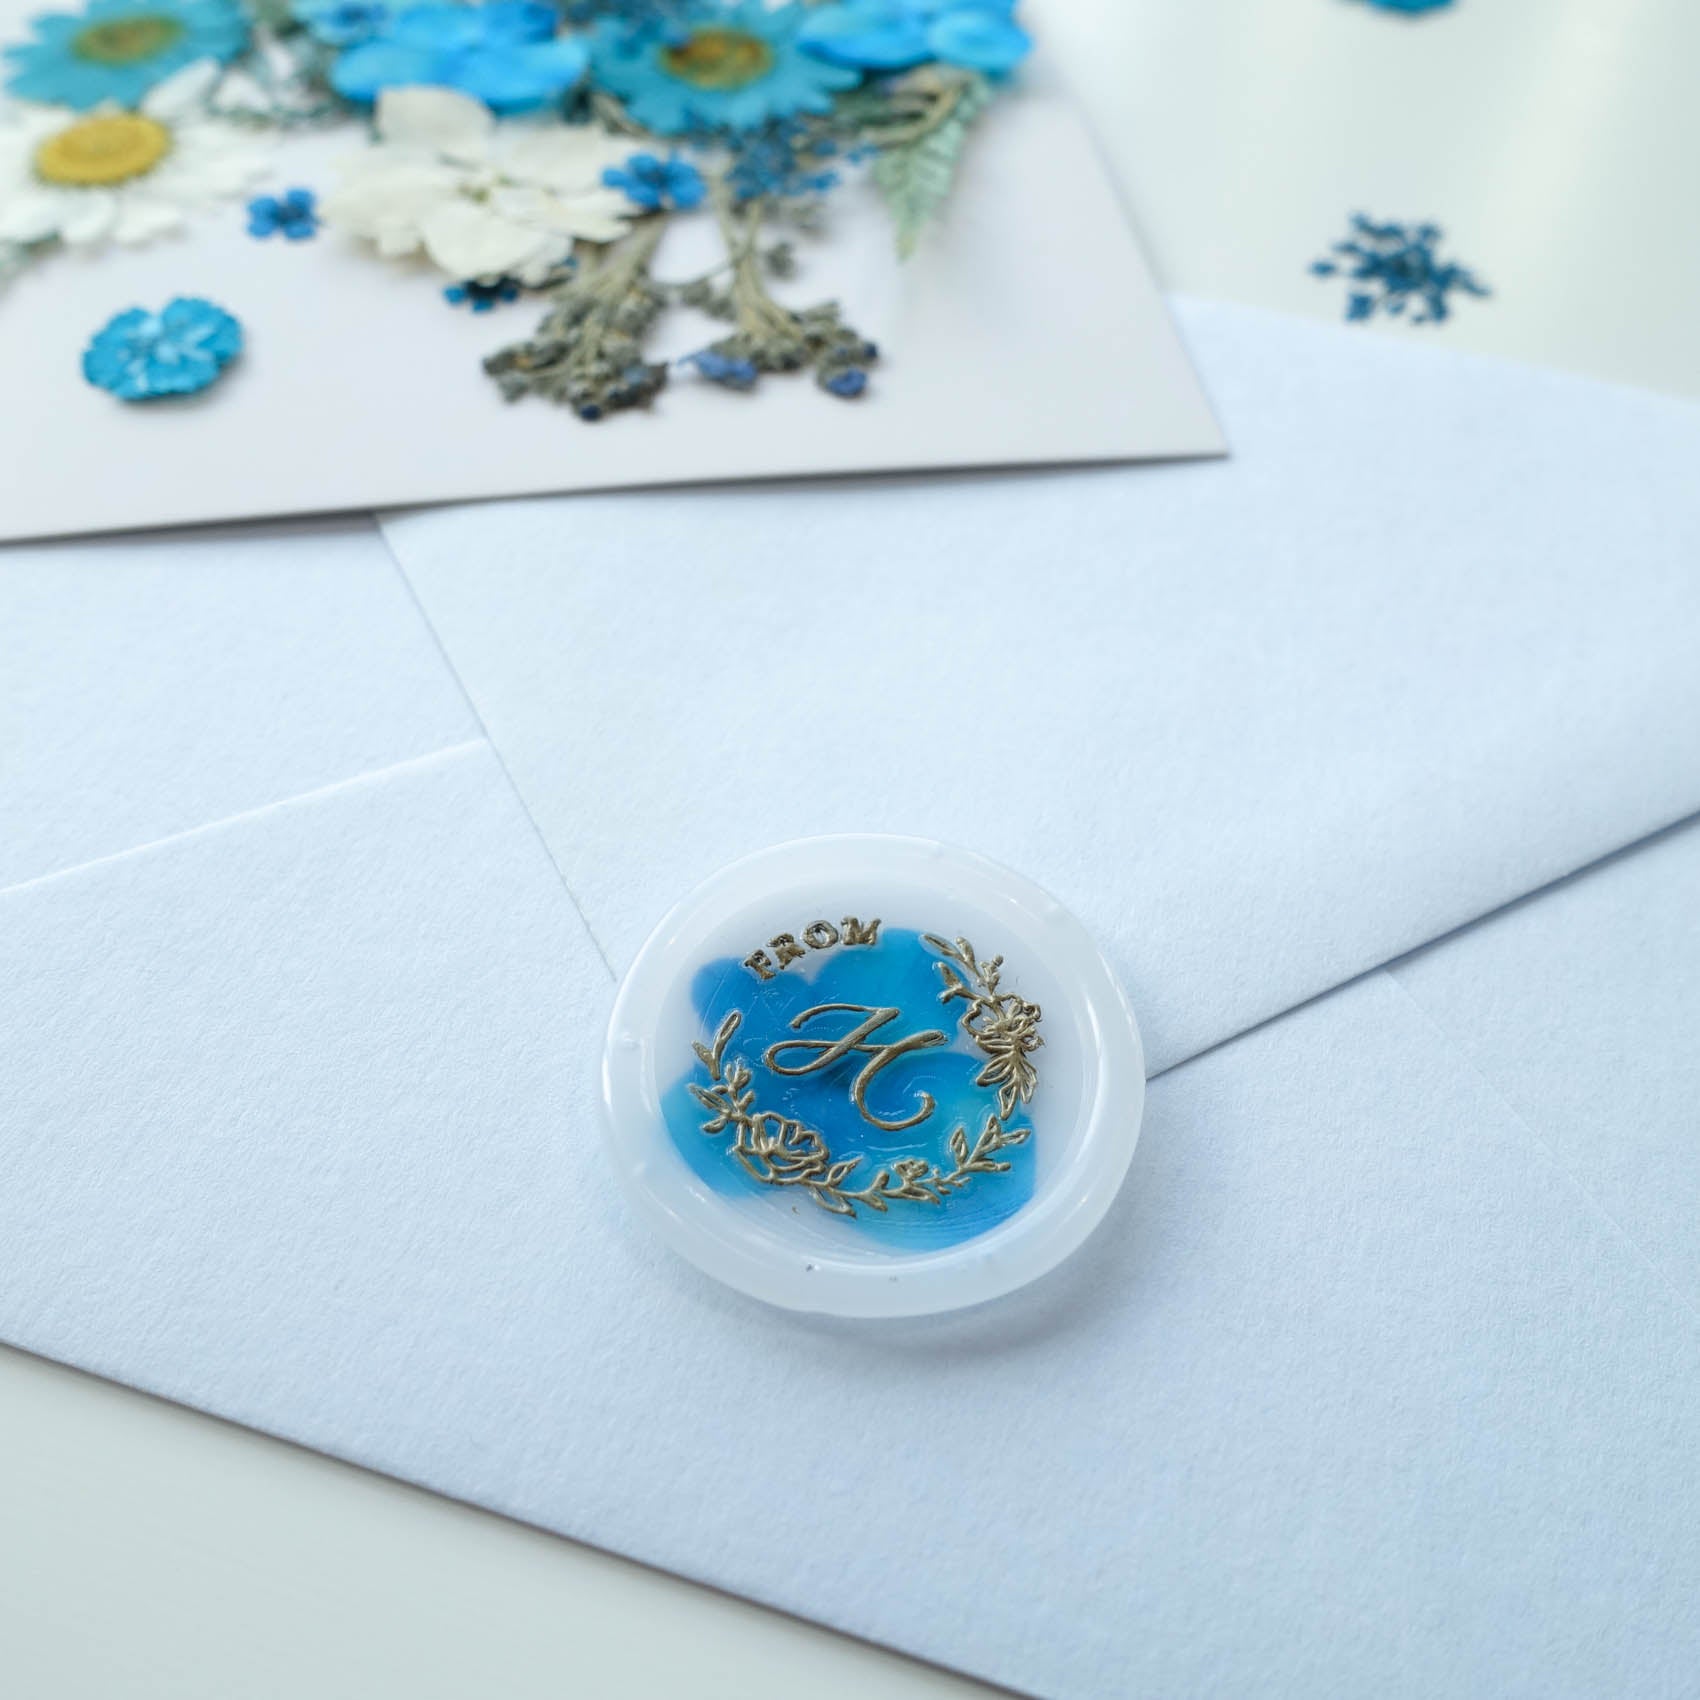
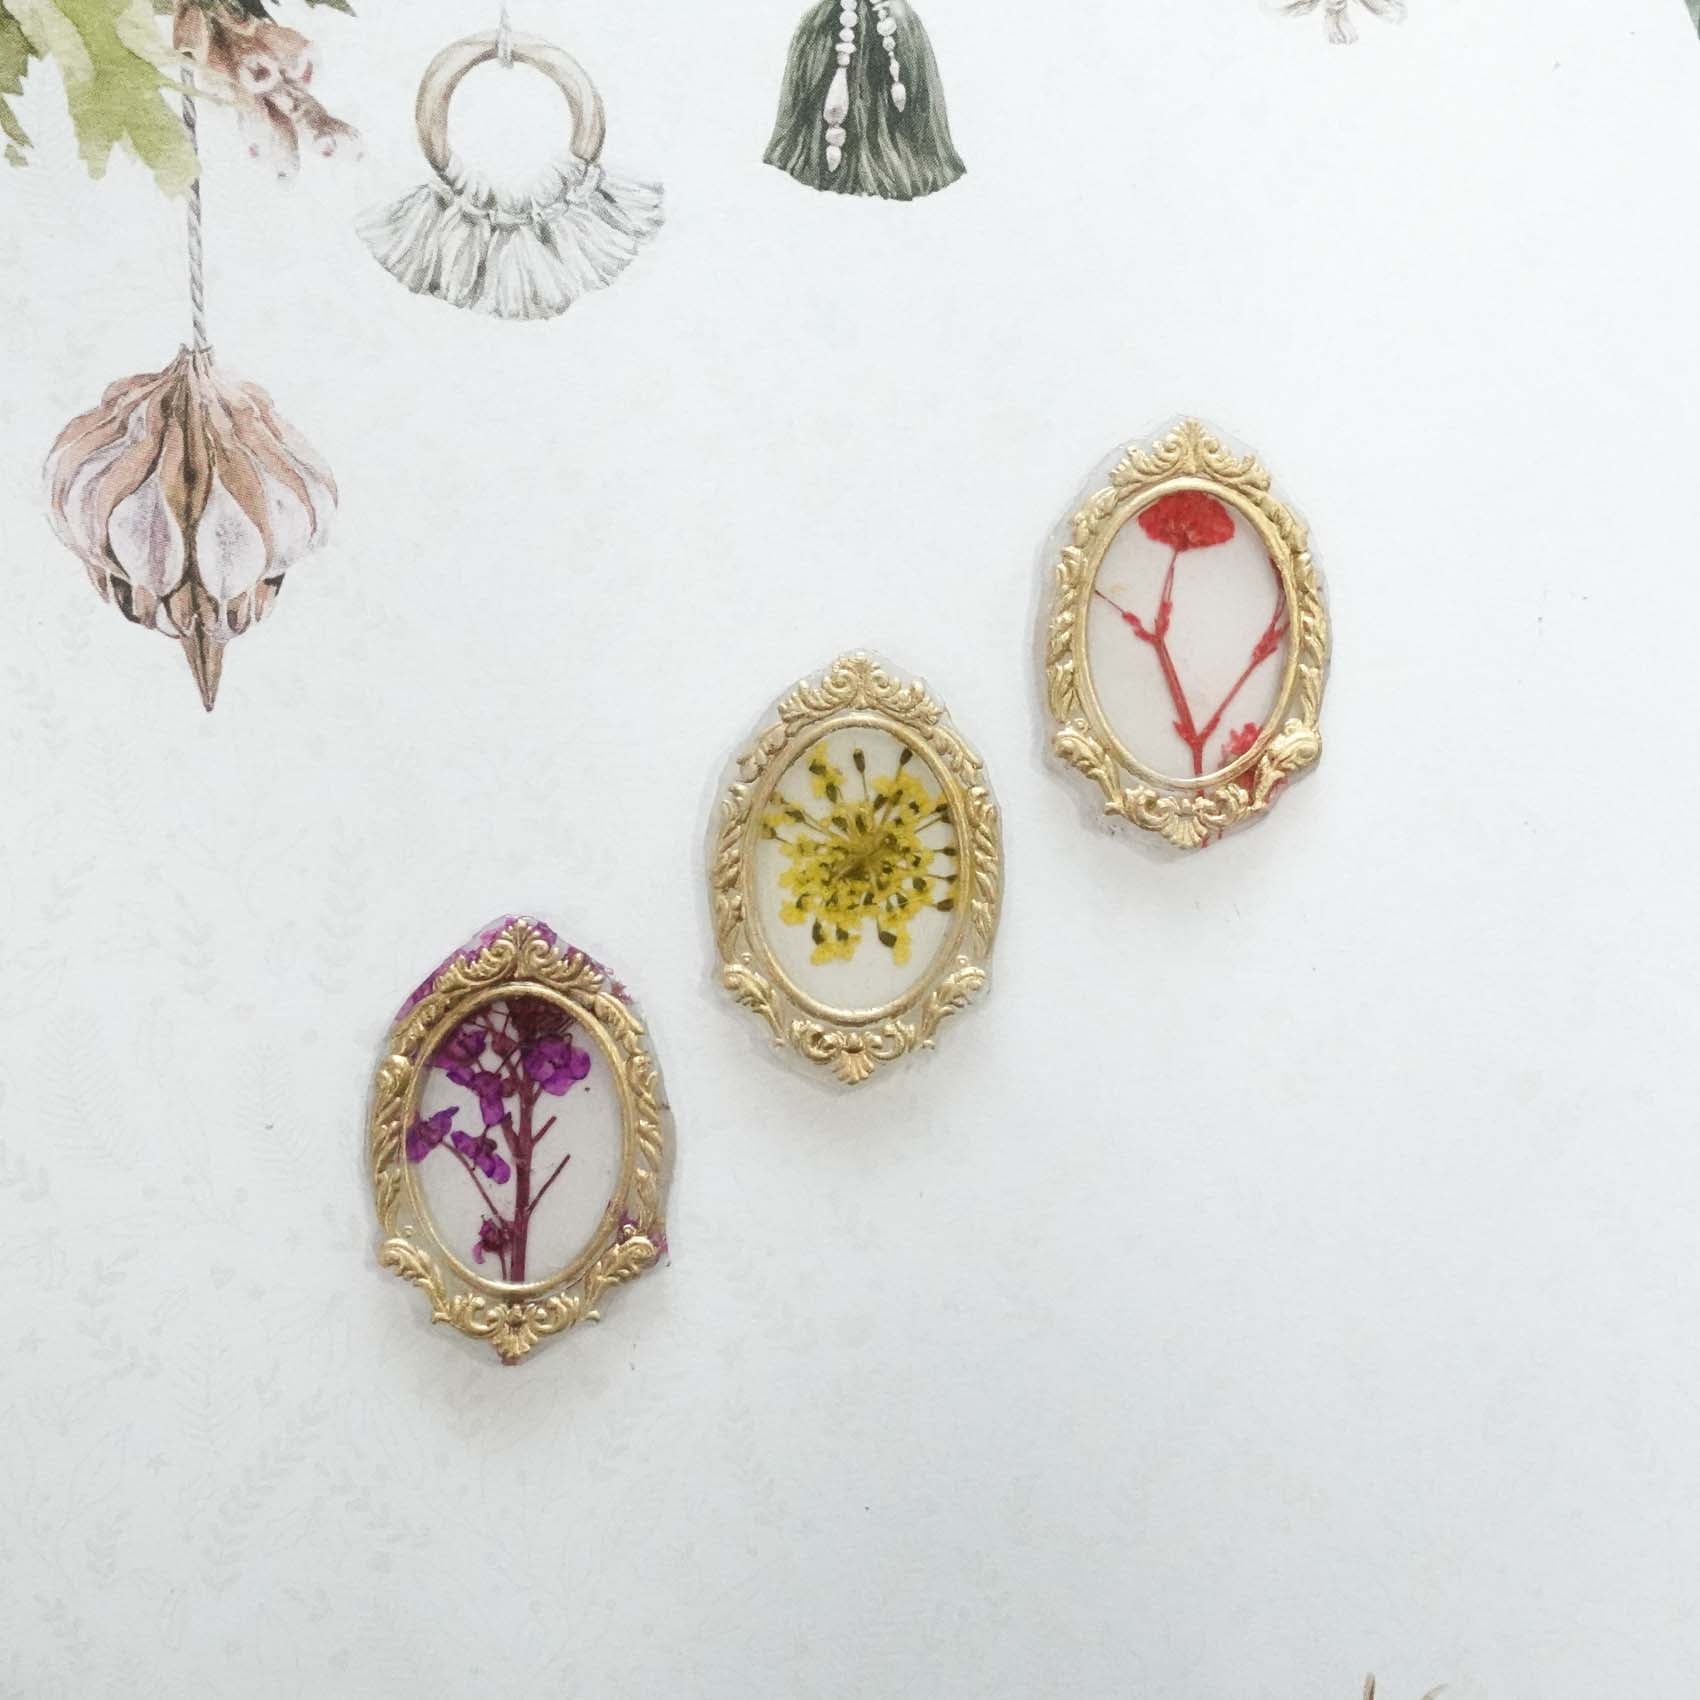
Instead of using a blank stamp, try using an engraved stamp to add a subtle, embossed design with your flowers as the backdrop.

View this post on Instagram
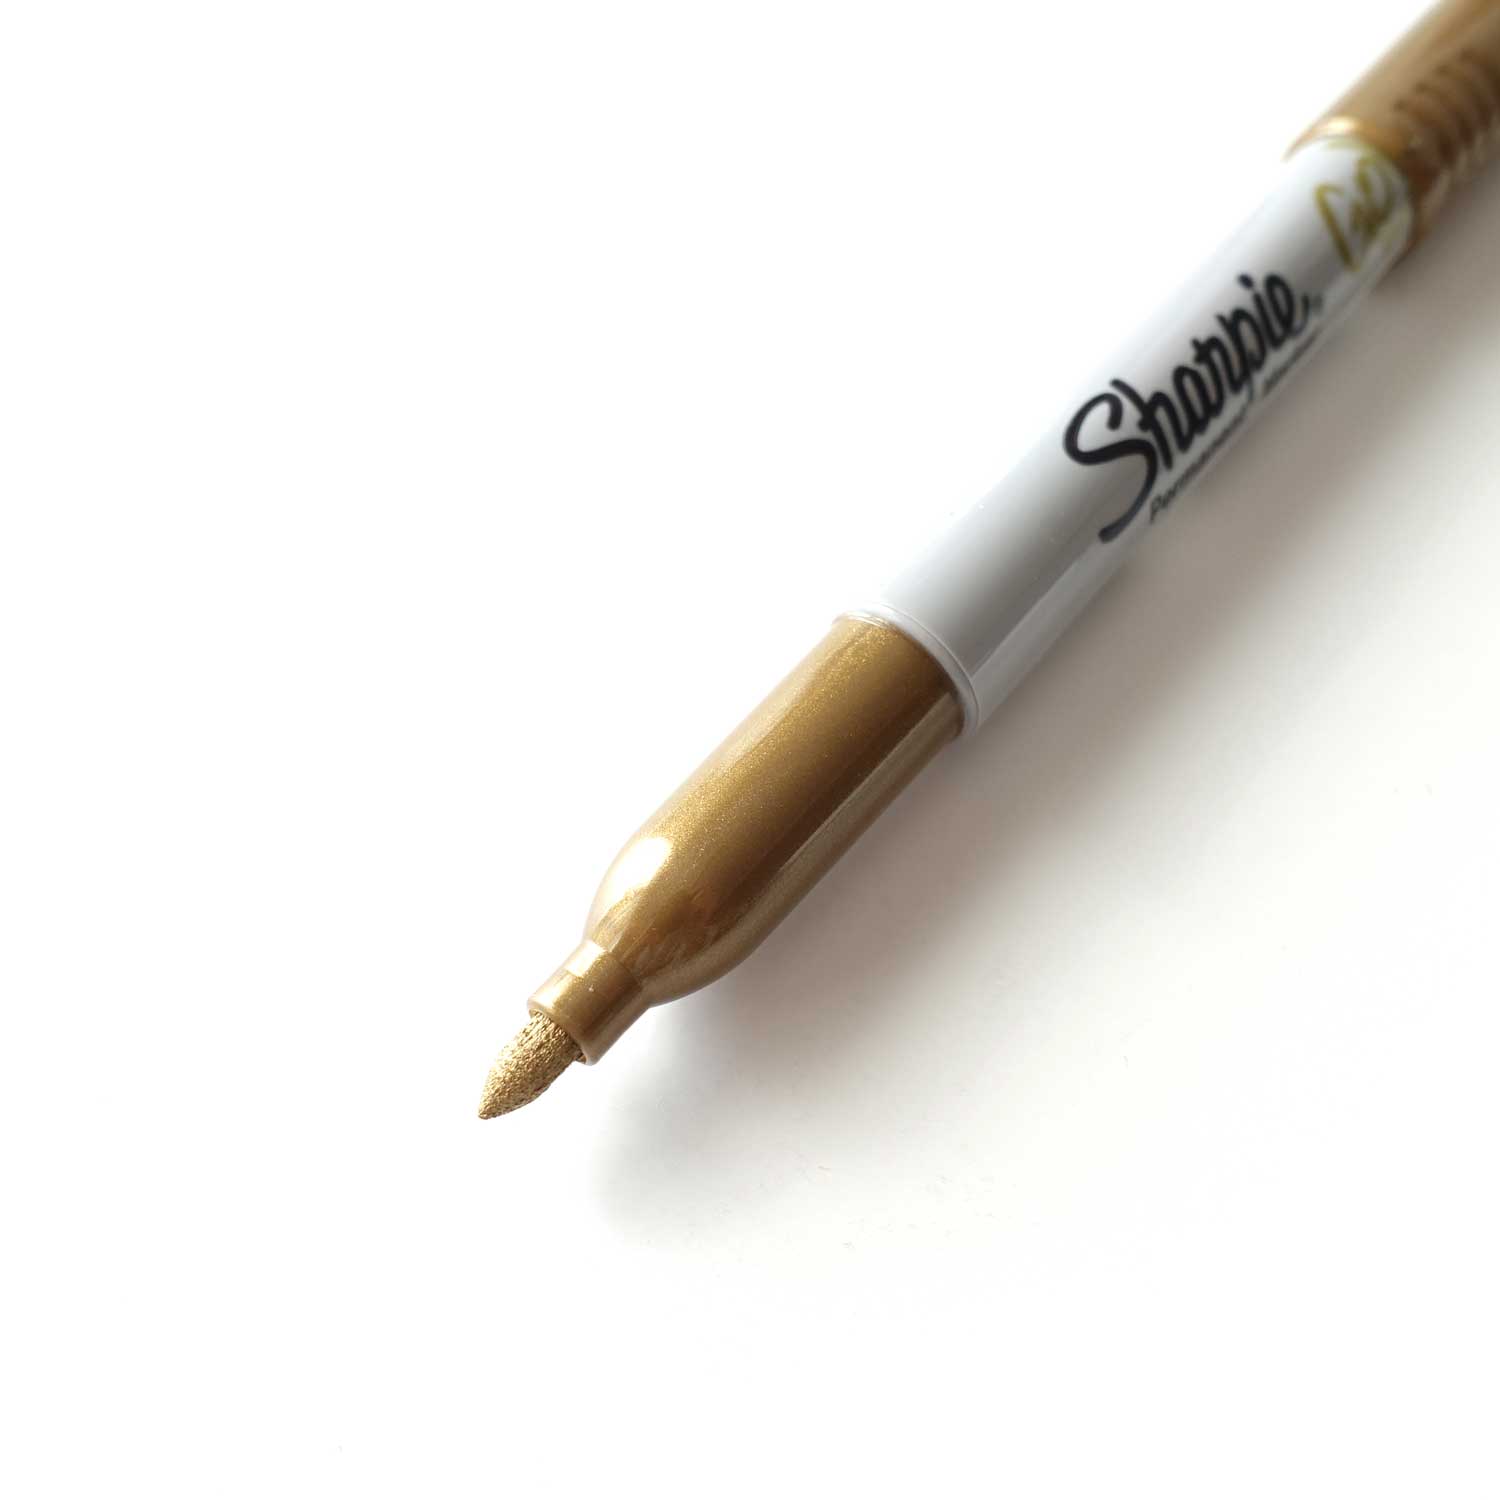
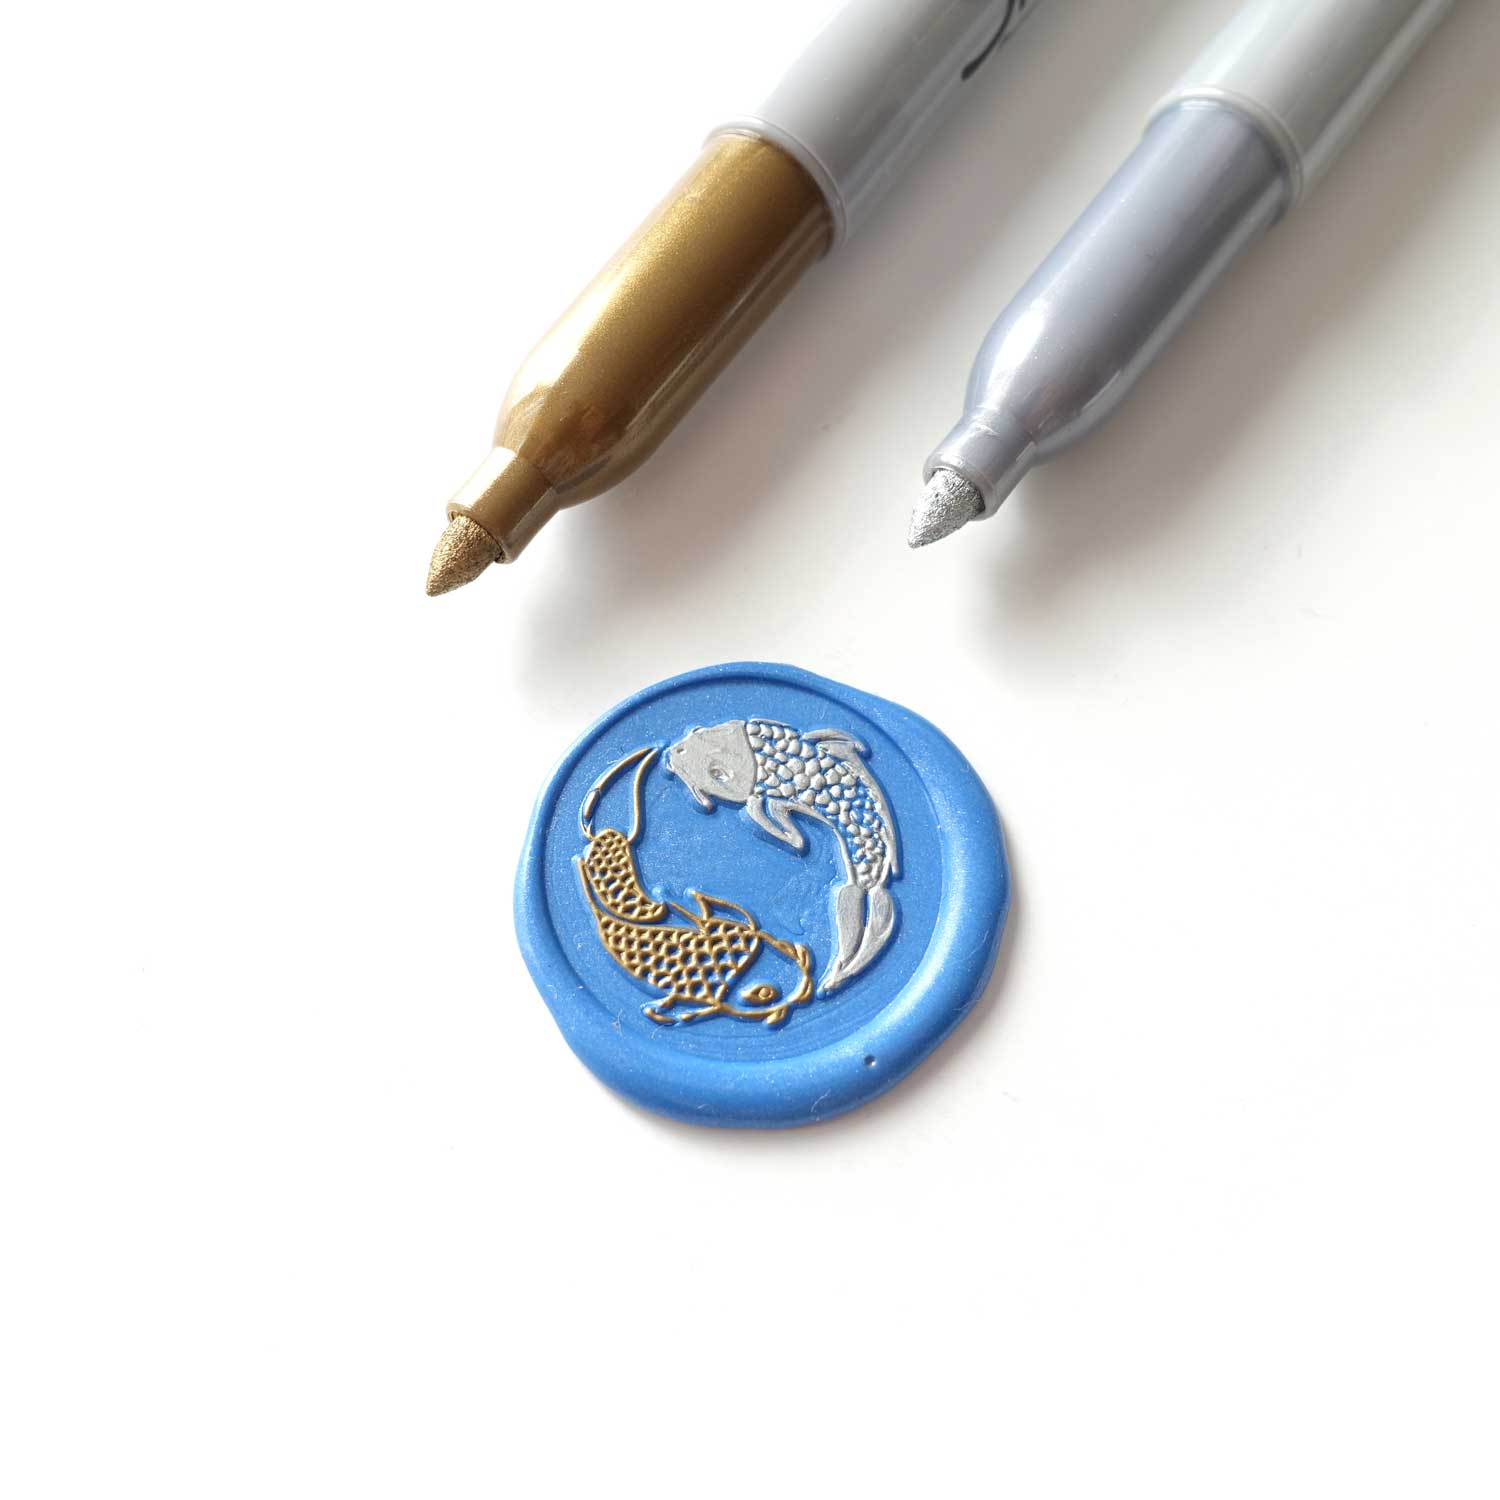
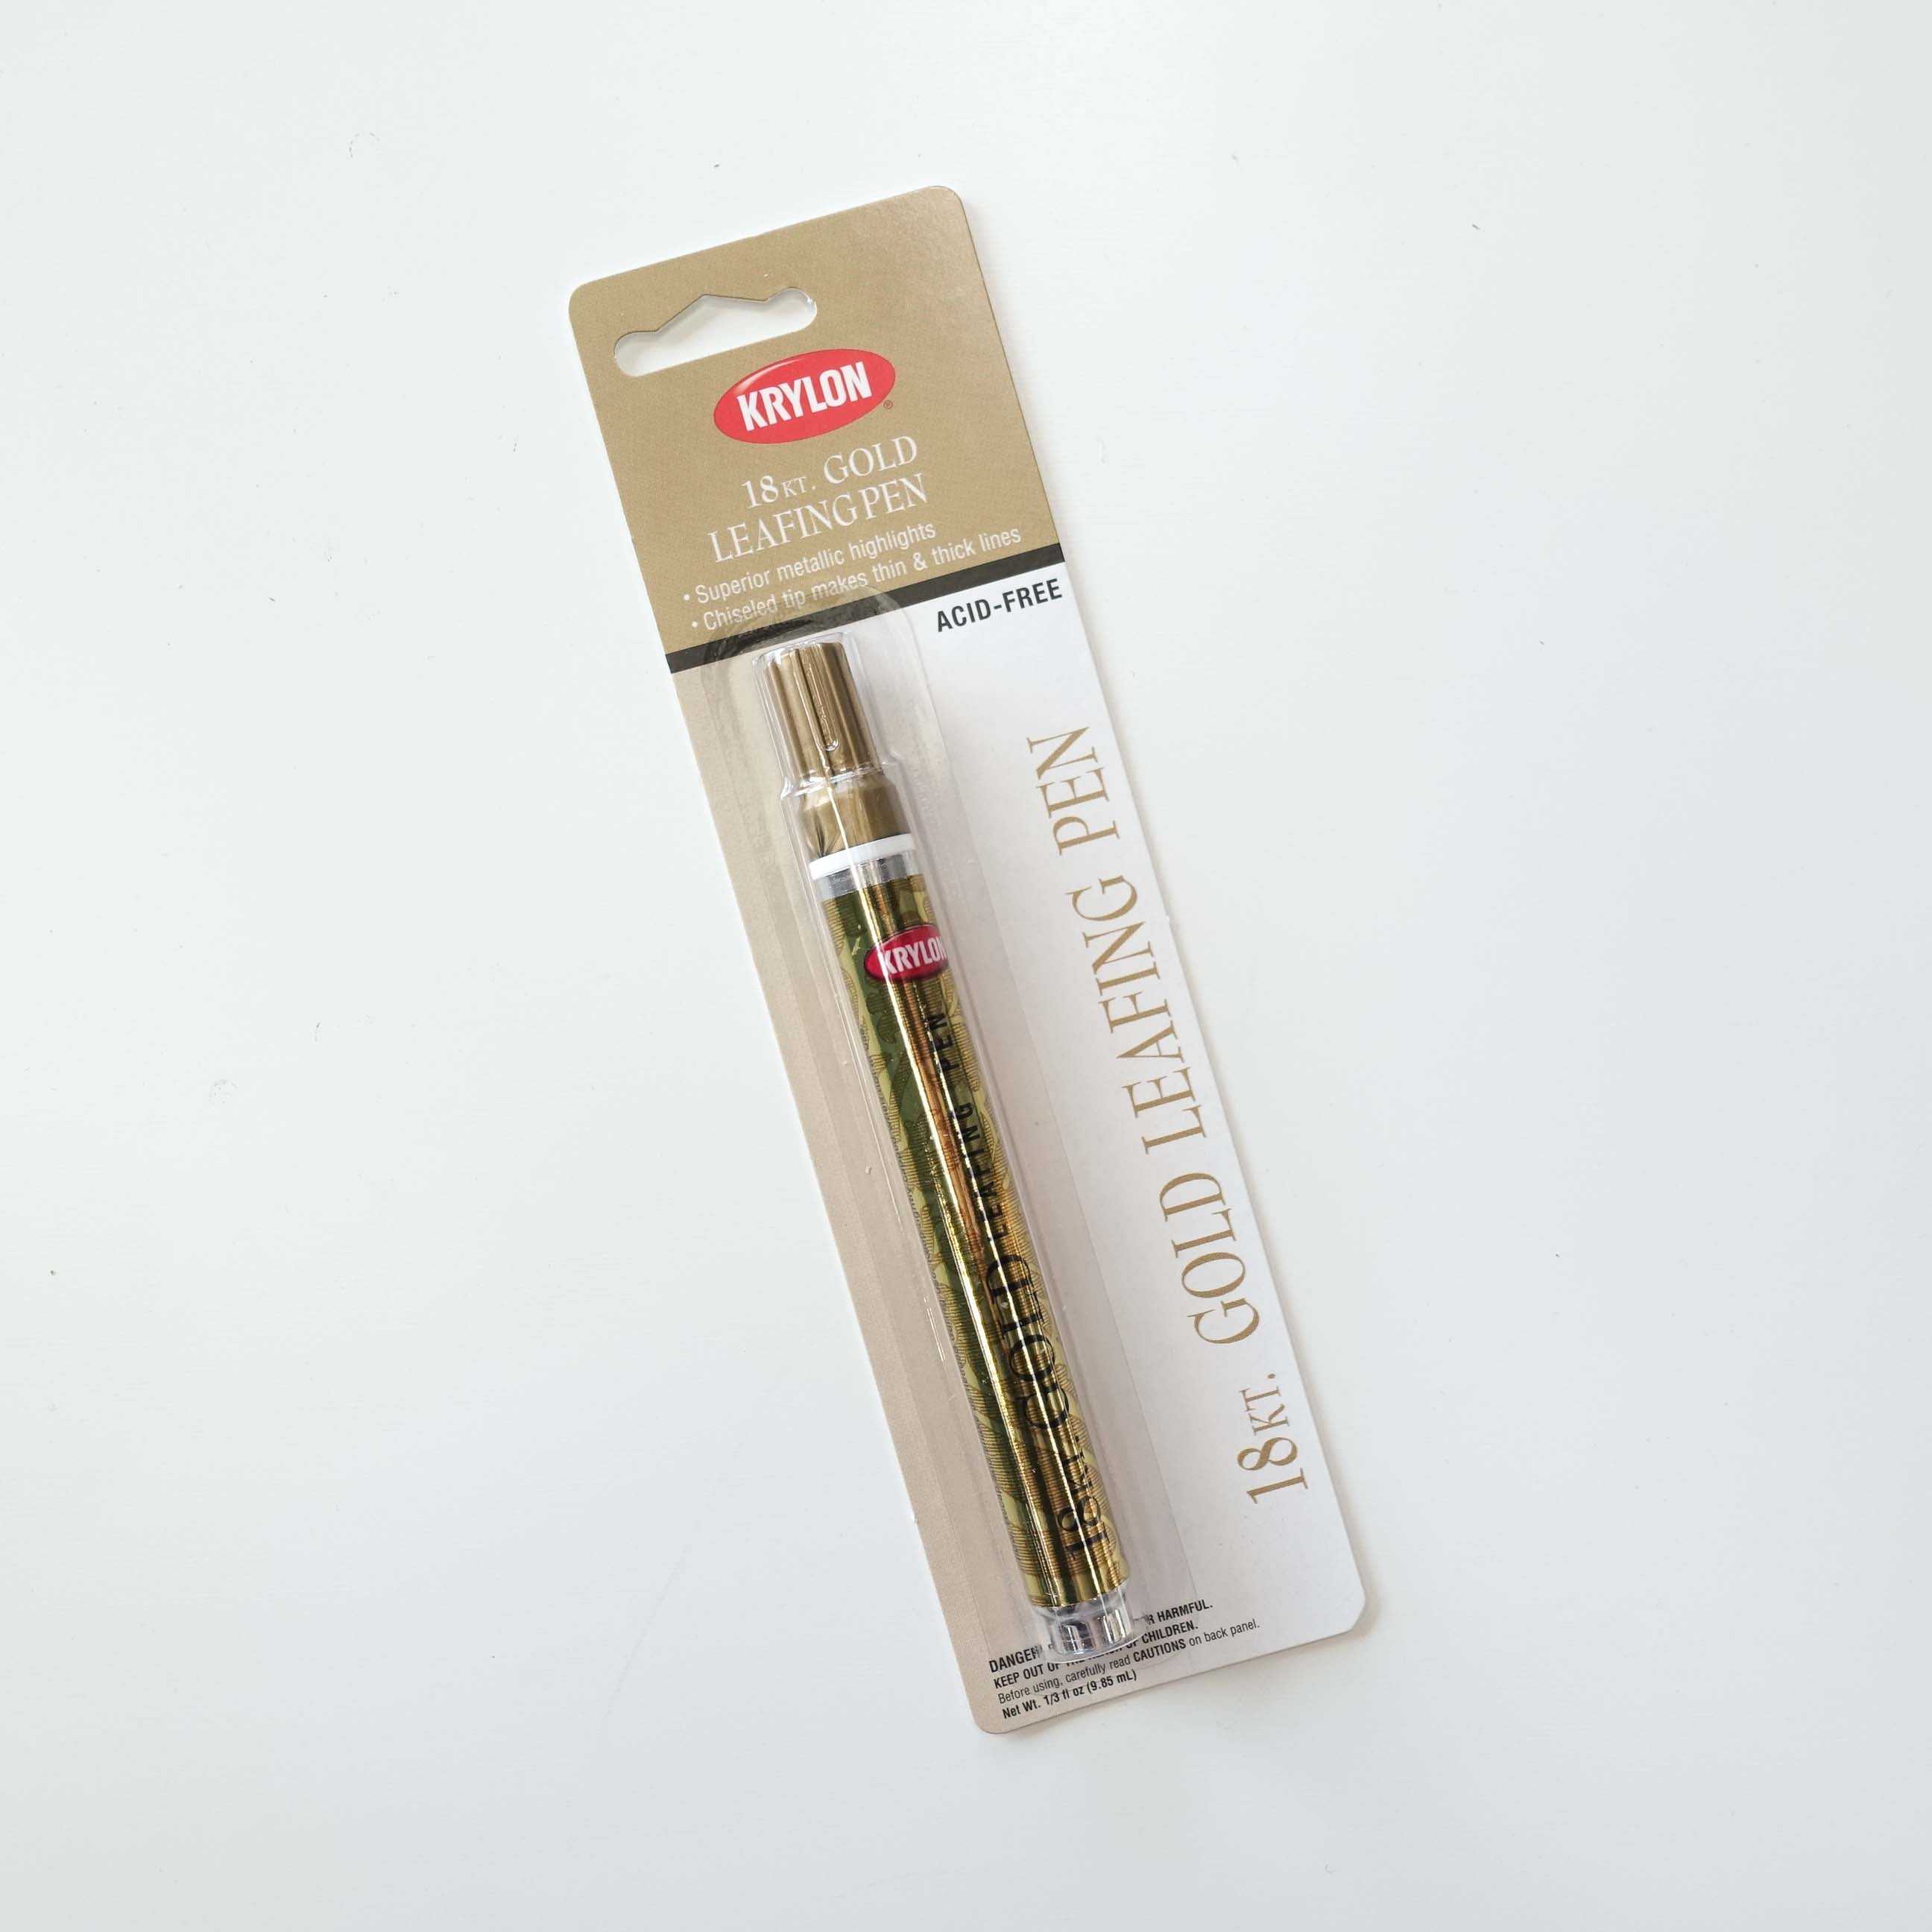
Prefer a bolder look? Colour over the raised impressions with a paint marker to make the design pop.
View this post on Instagram

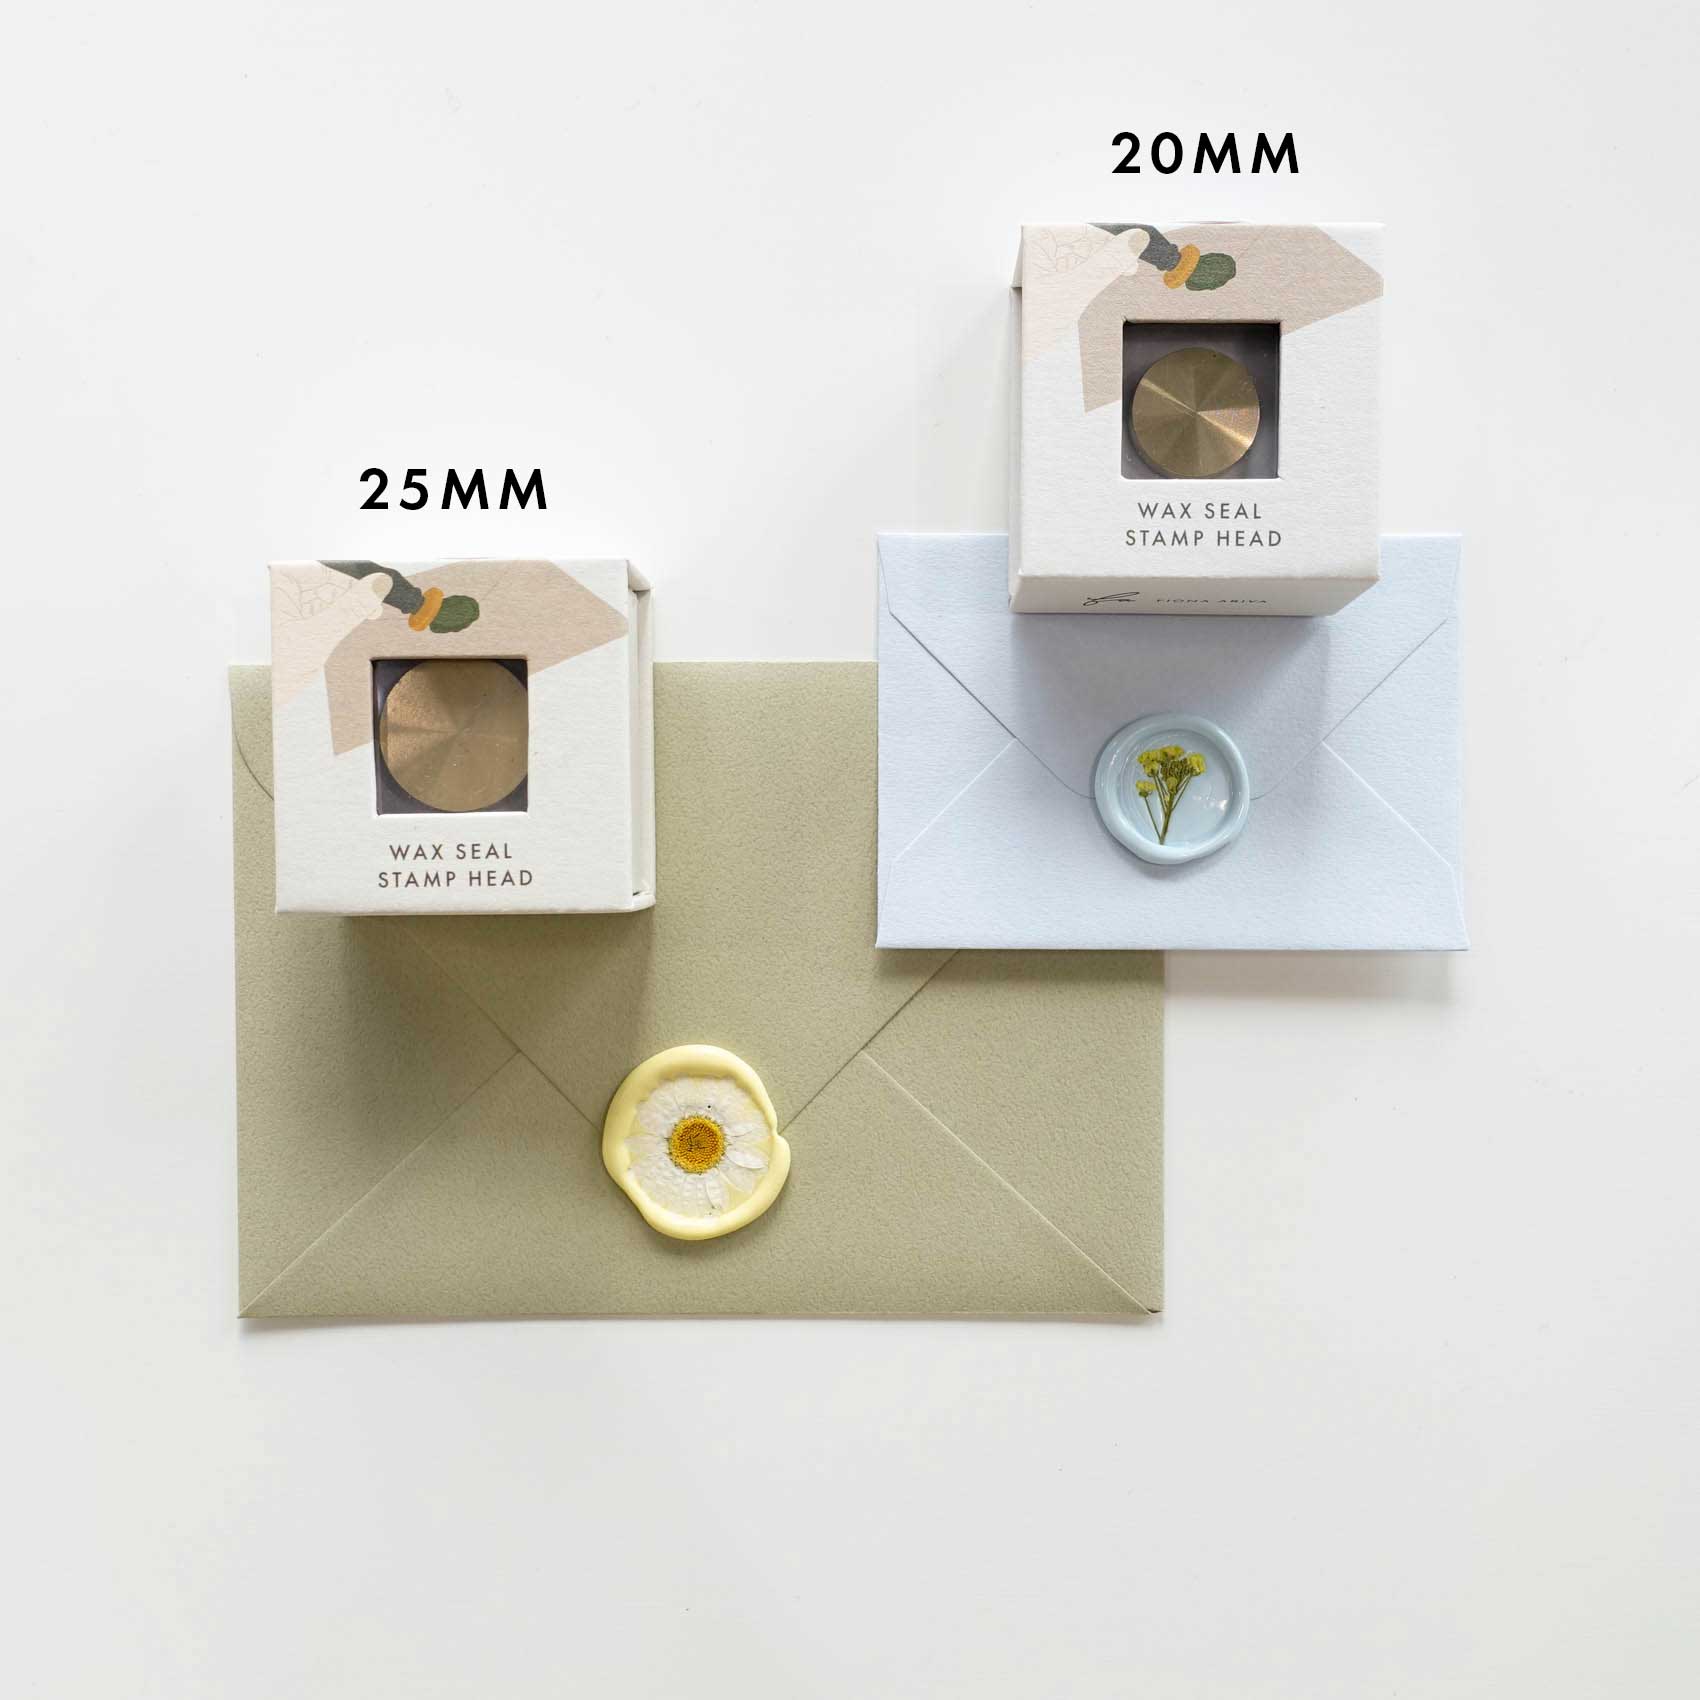
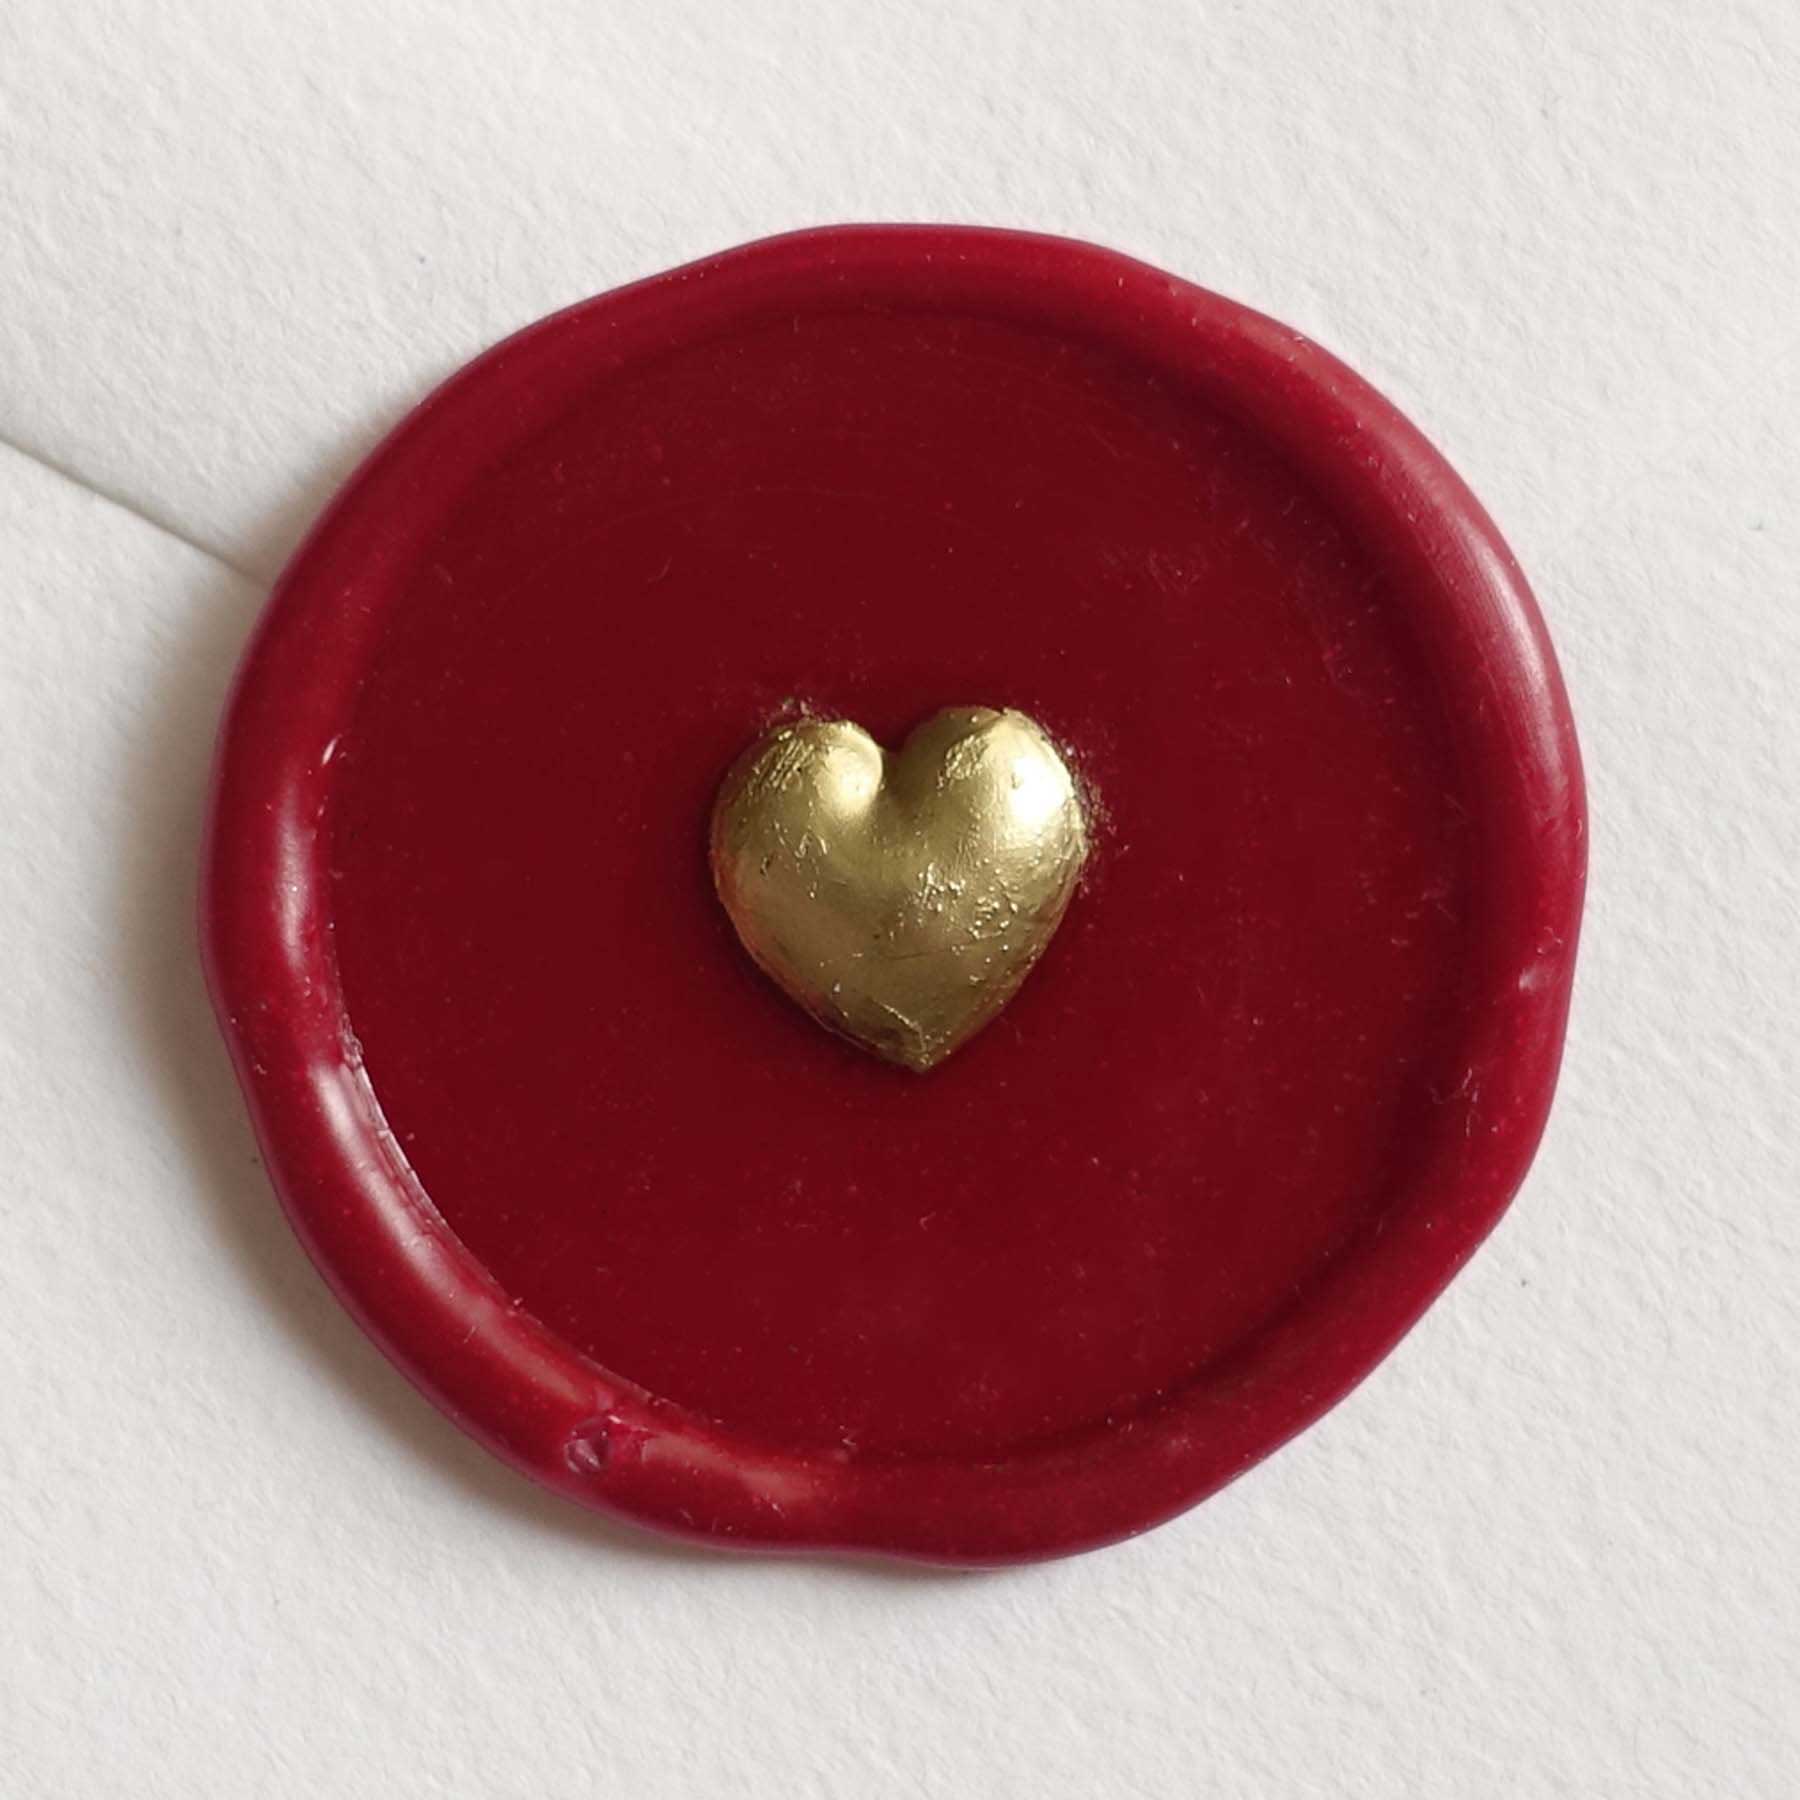
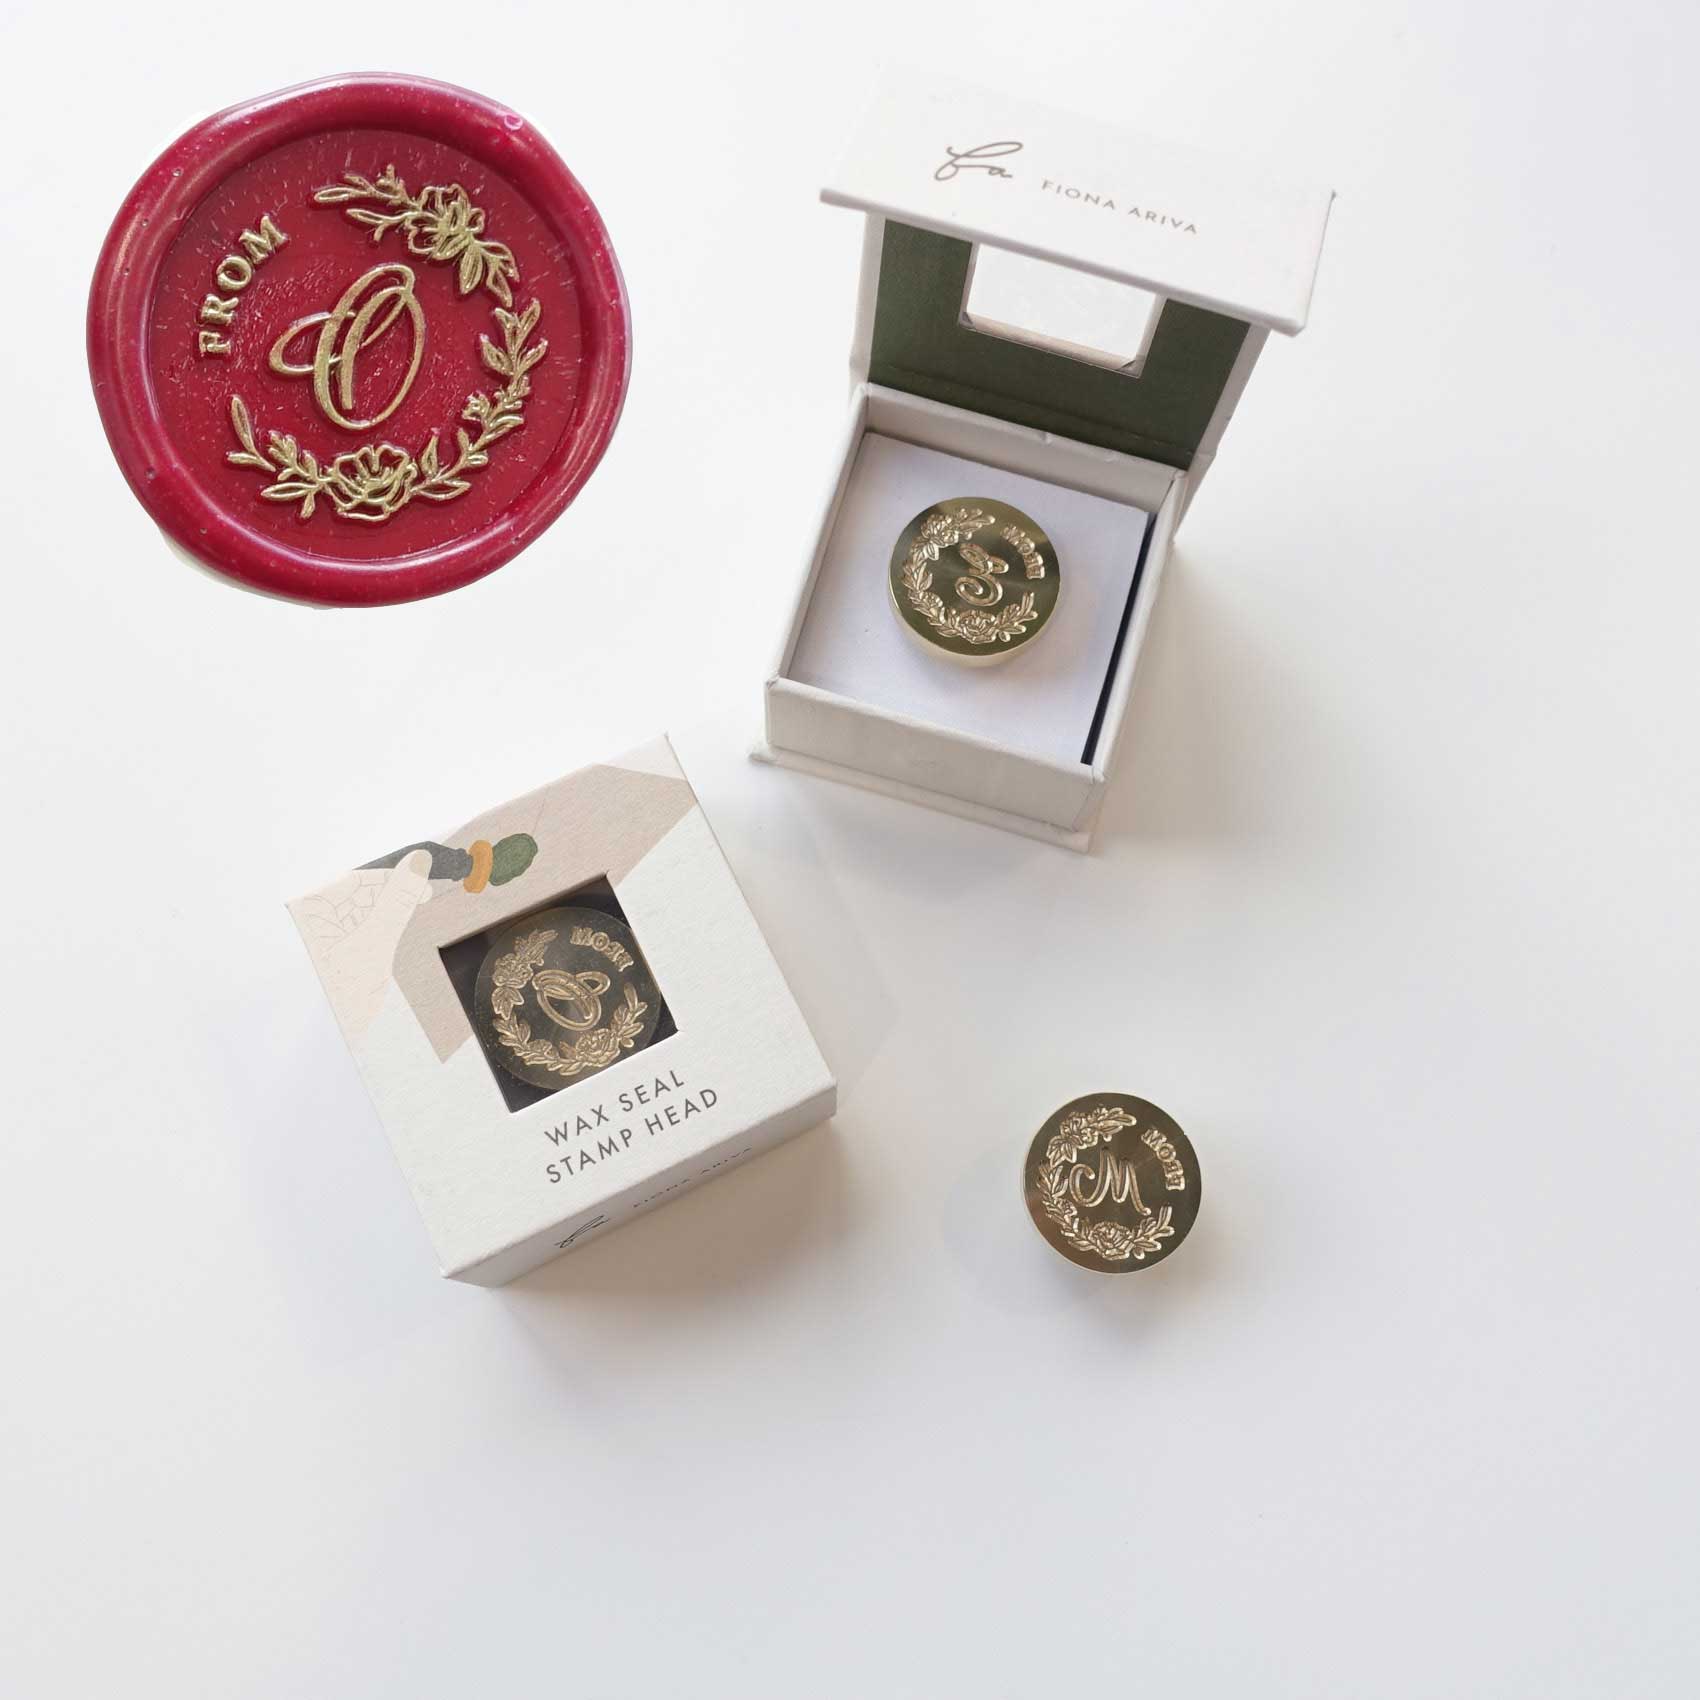
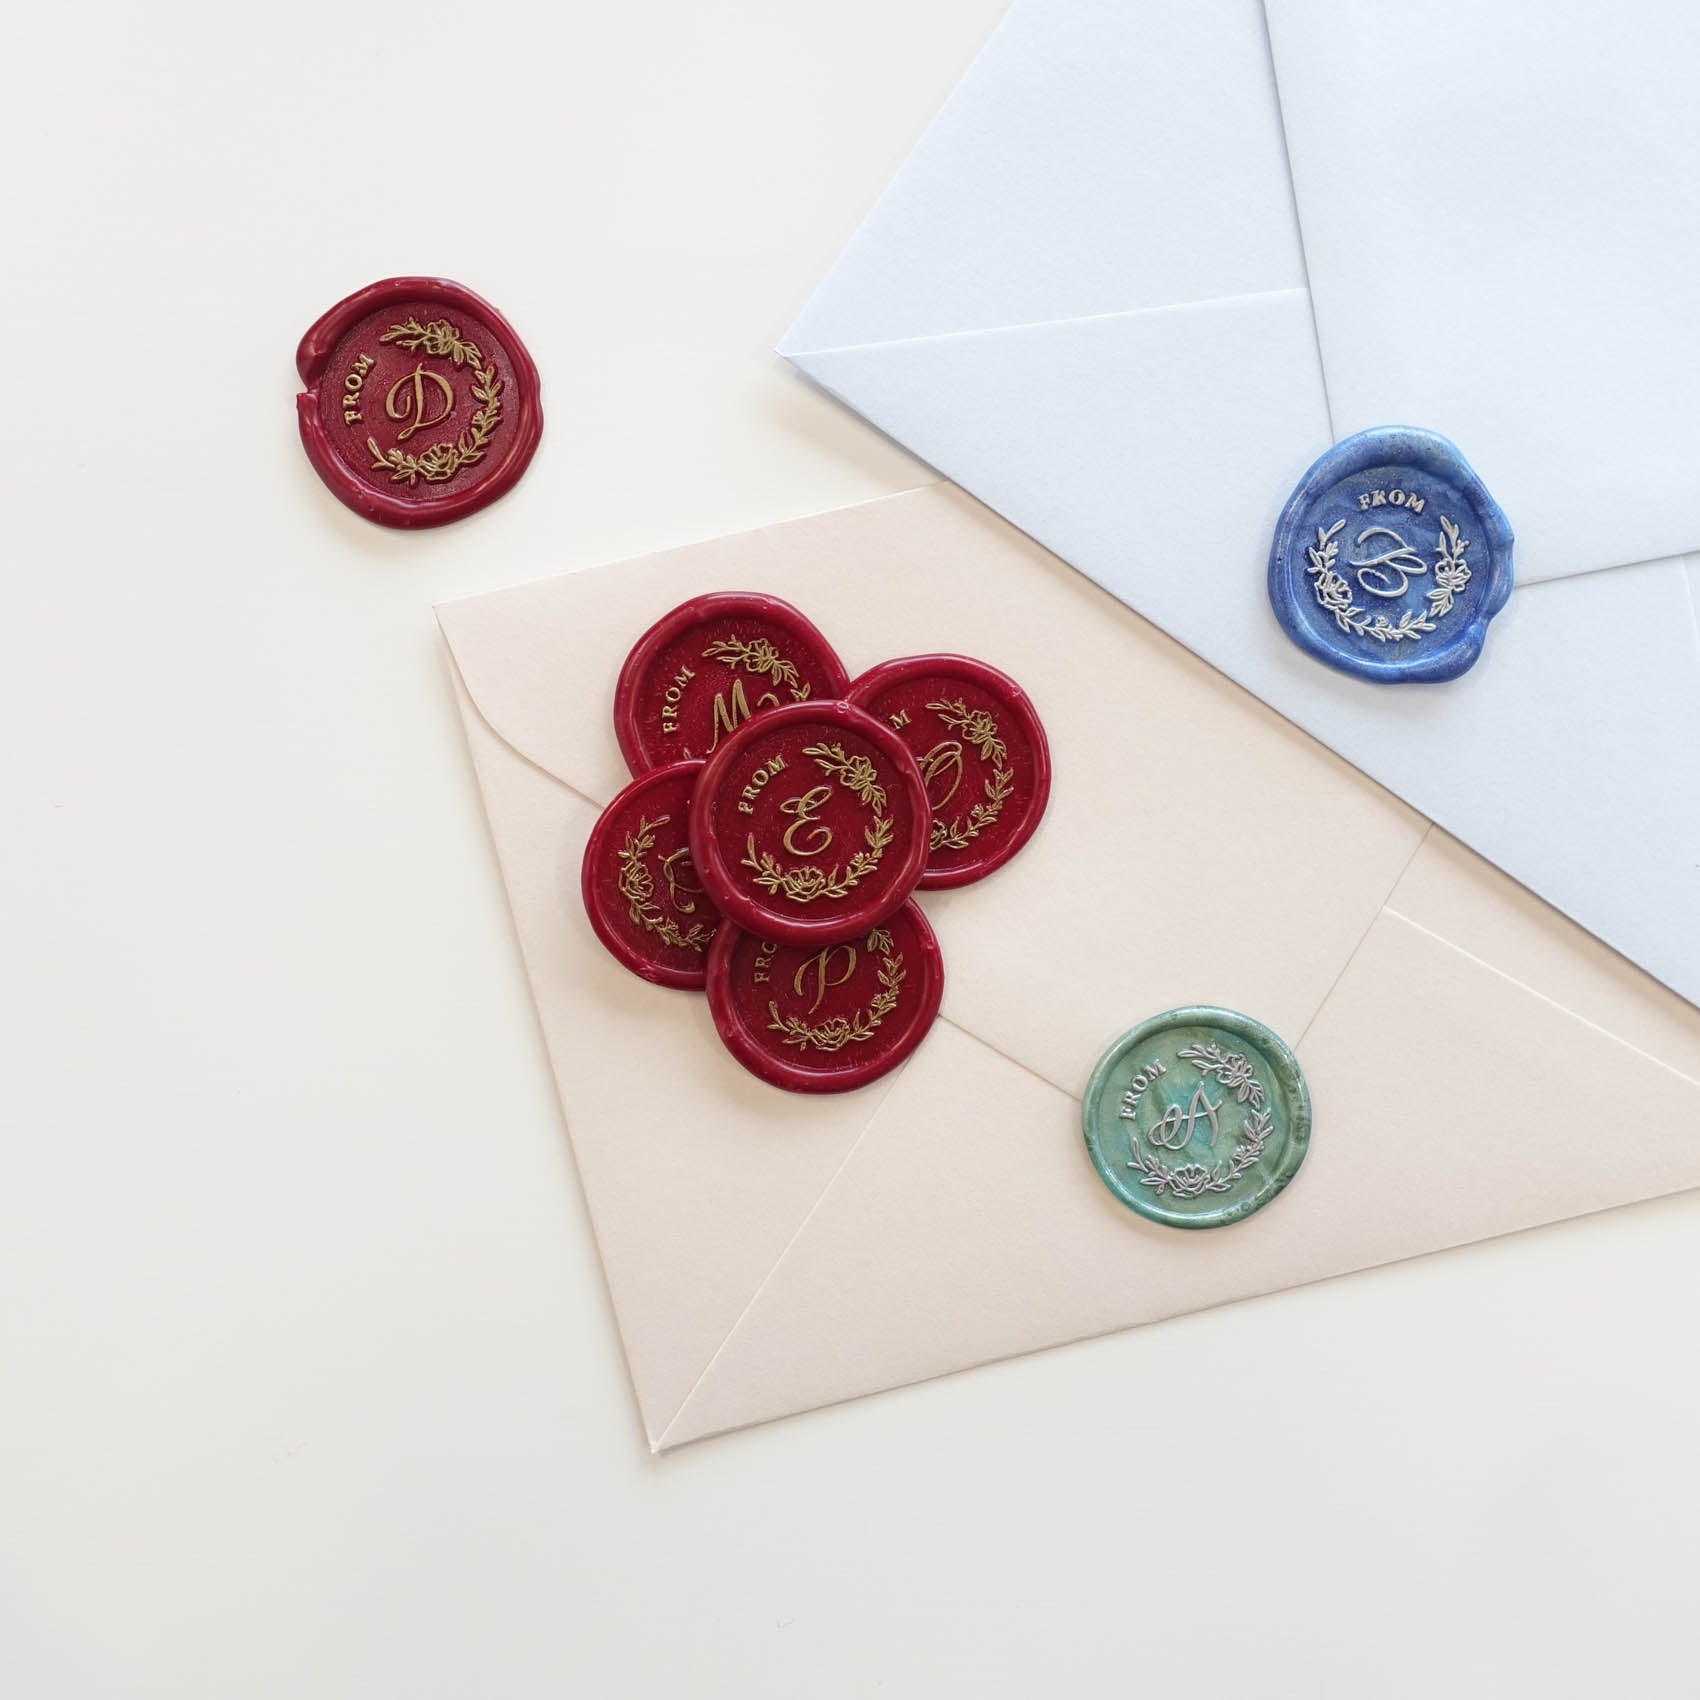
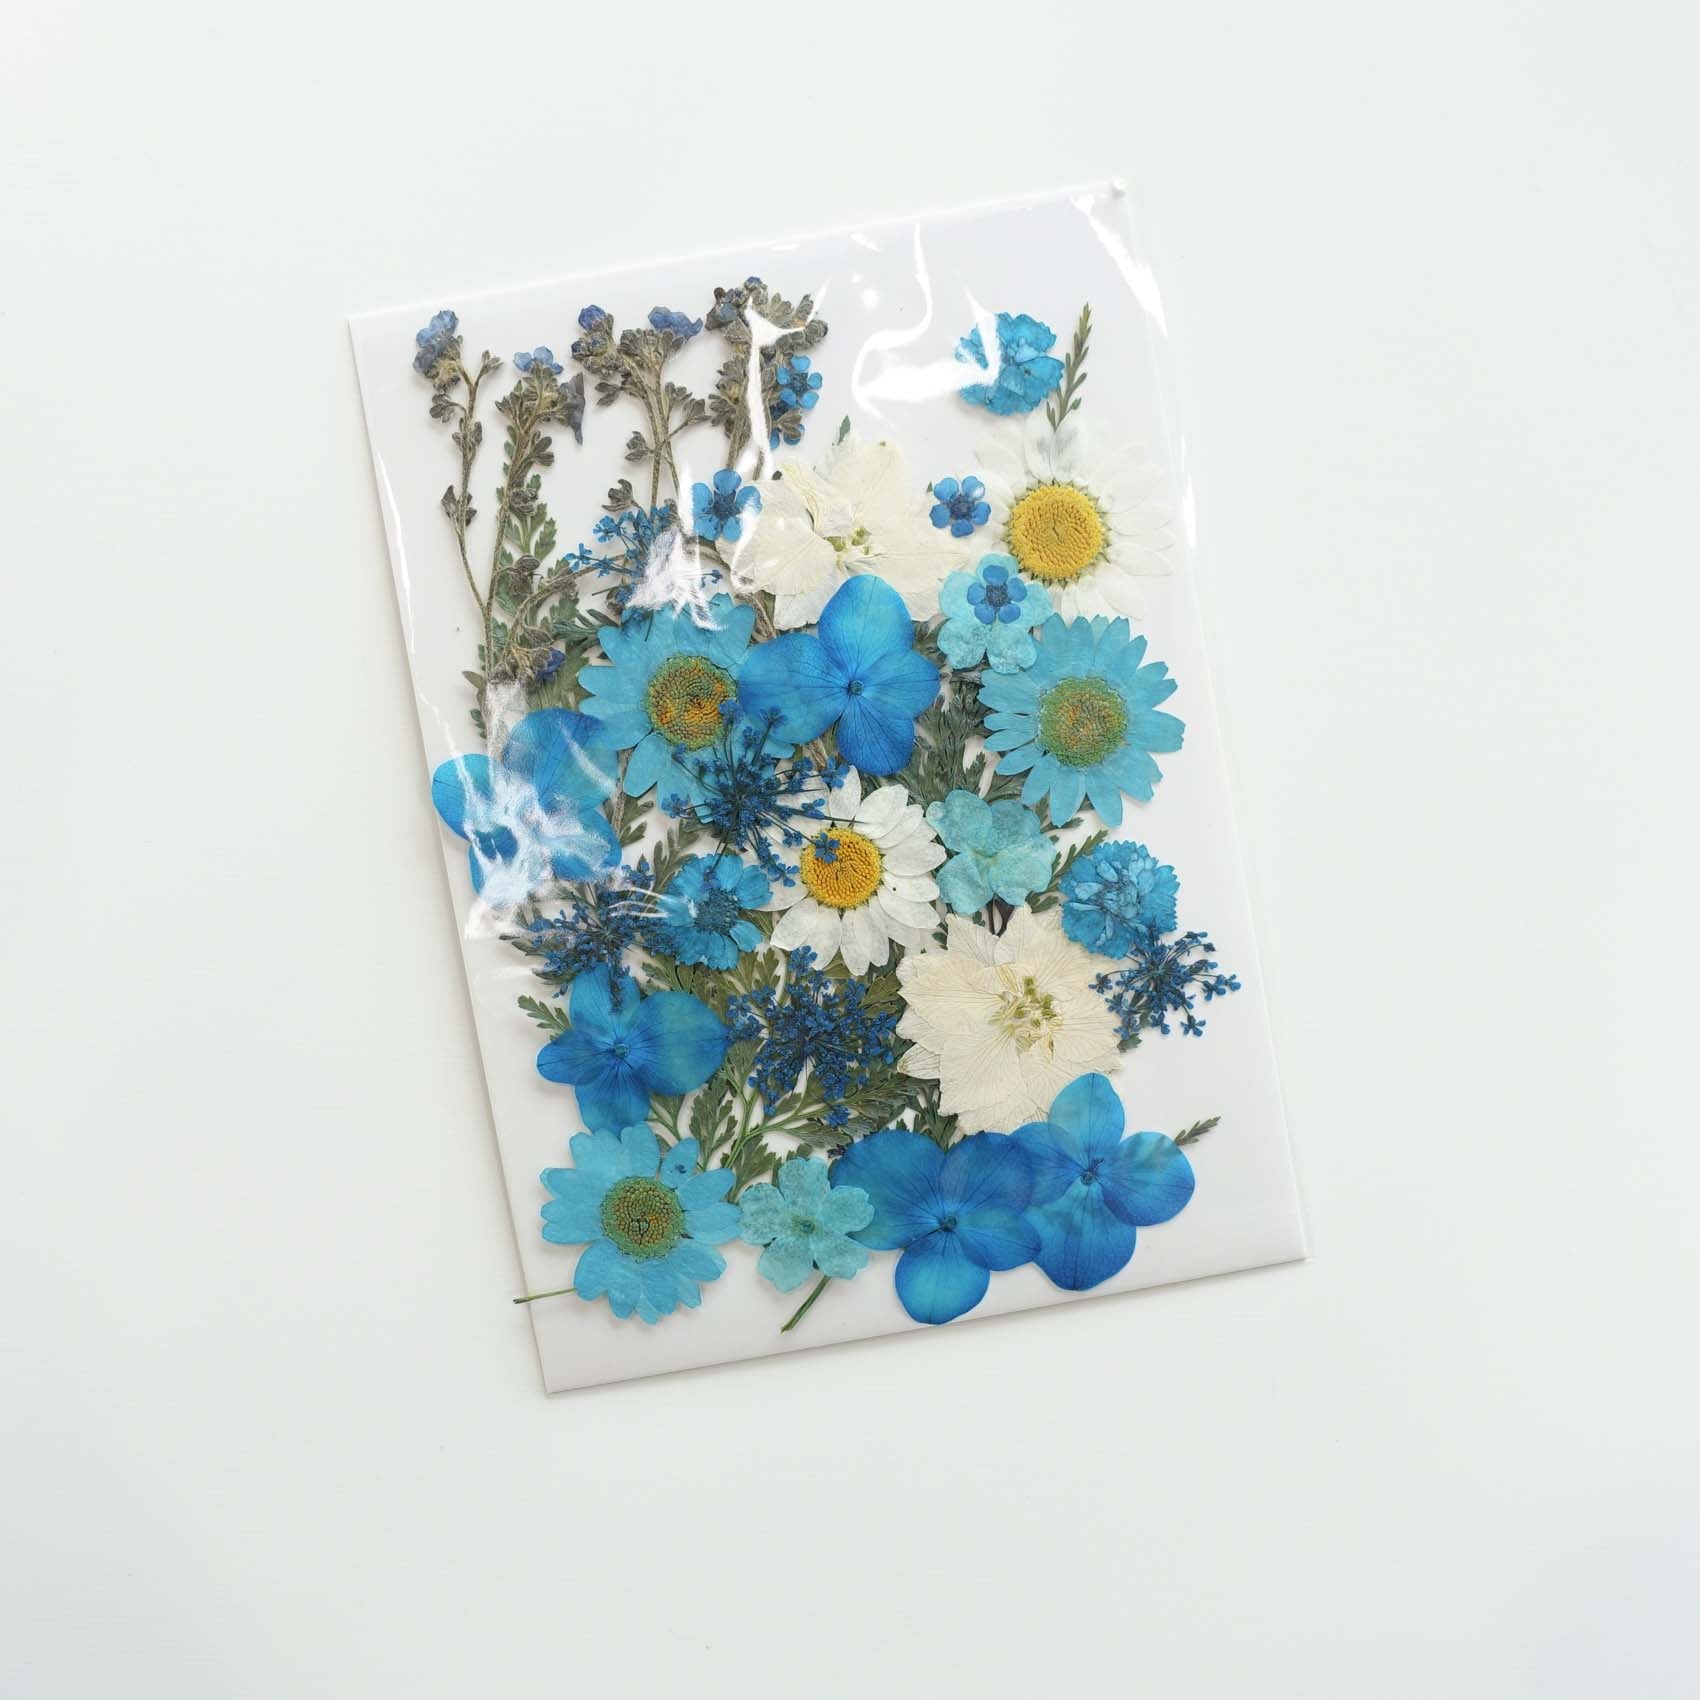
Shop: Love wax seal stamp, wax seal kit or stamp head · From A to Z Alphabet Letters - Stamp head (no handle) · Krylon 18kt Gold Leafing Pen · Sharpie Gold Metallic Fine Point 1mm Permanent Marker · Pressed Dried Flowers Pack - Blues
3. Wax seal "pebbles" using pressed flowers
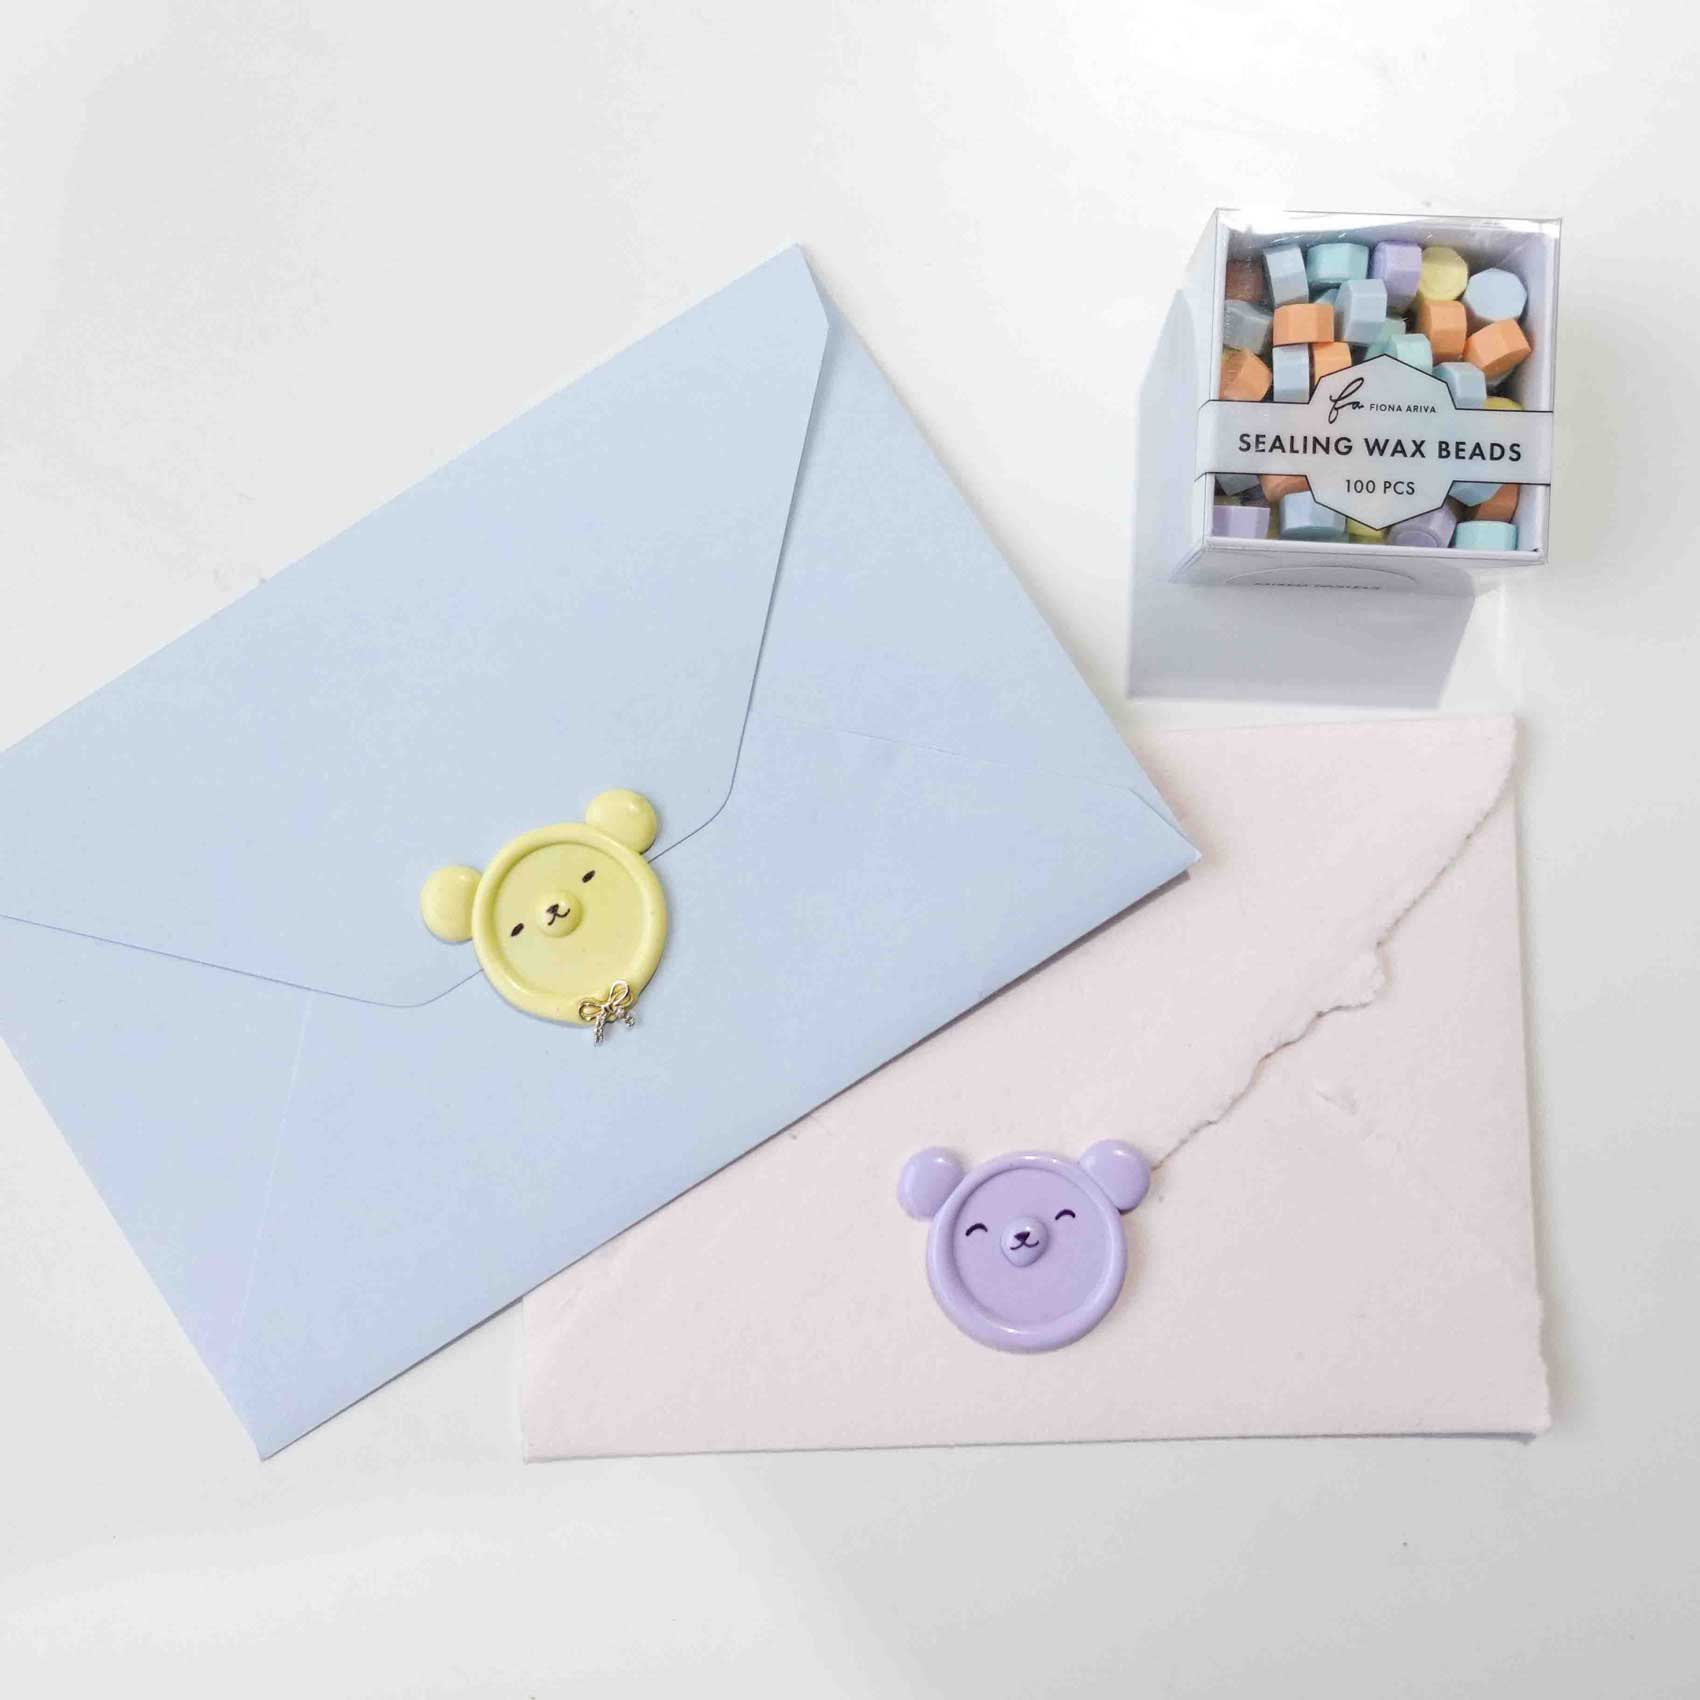
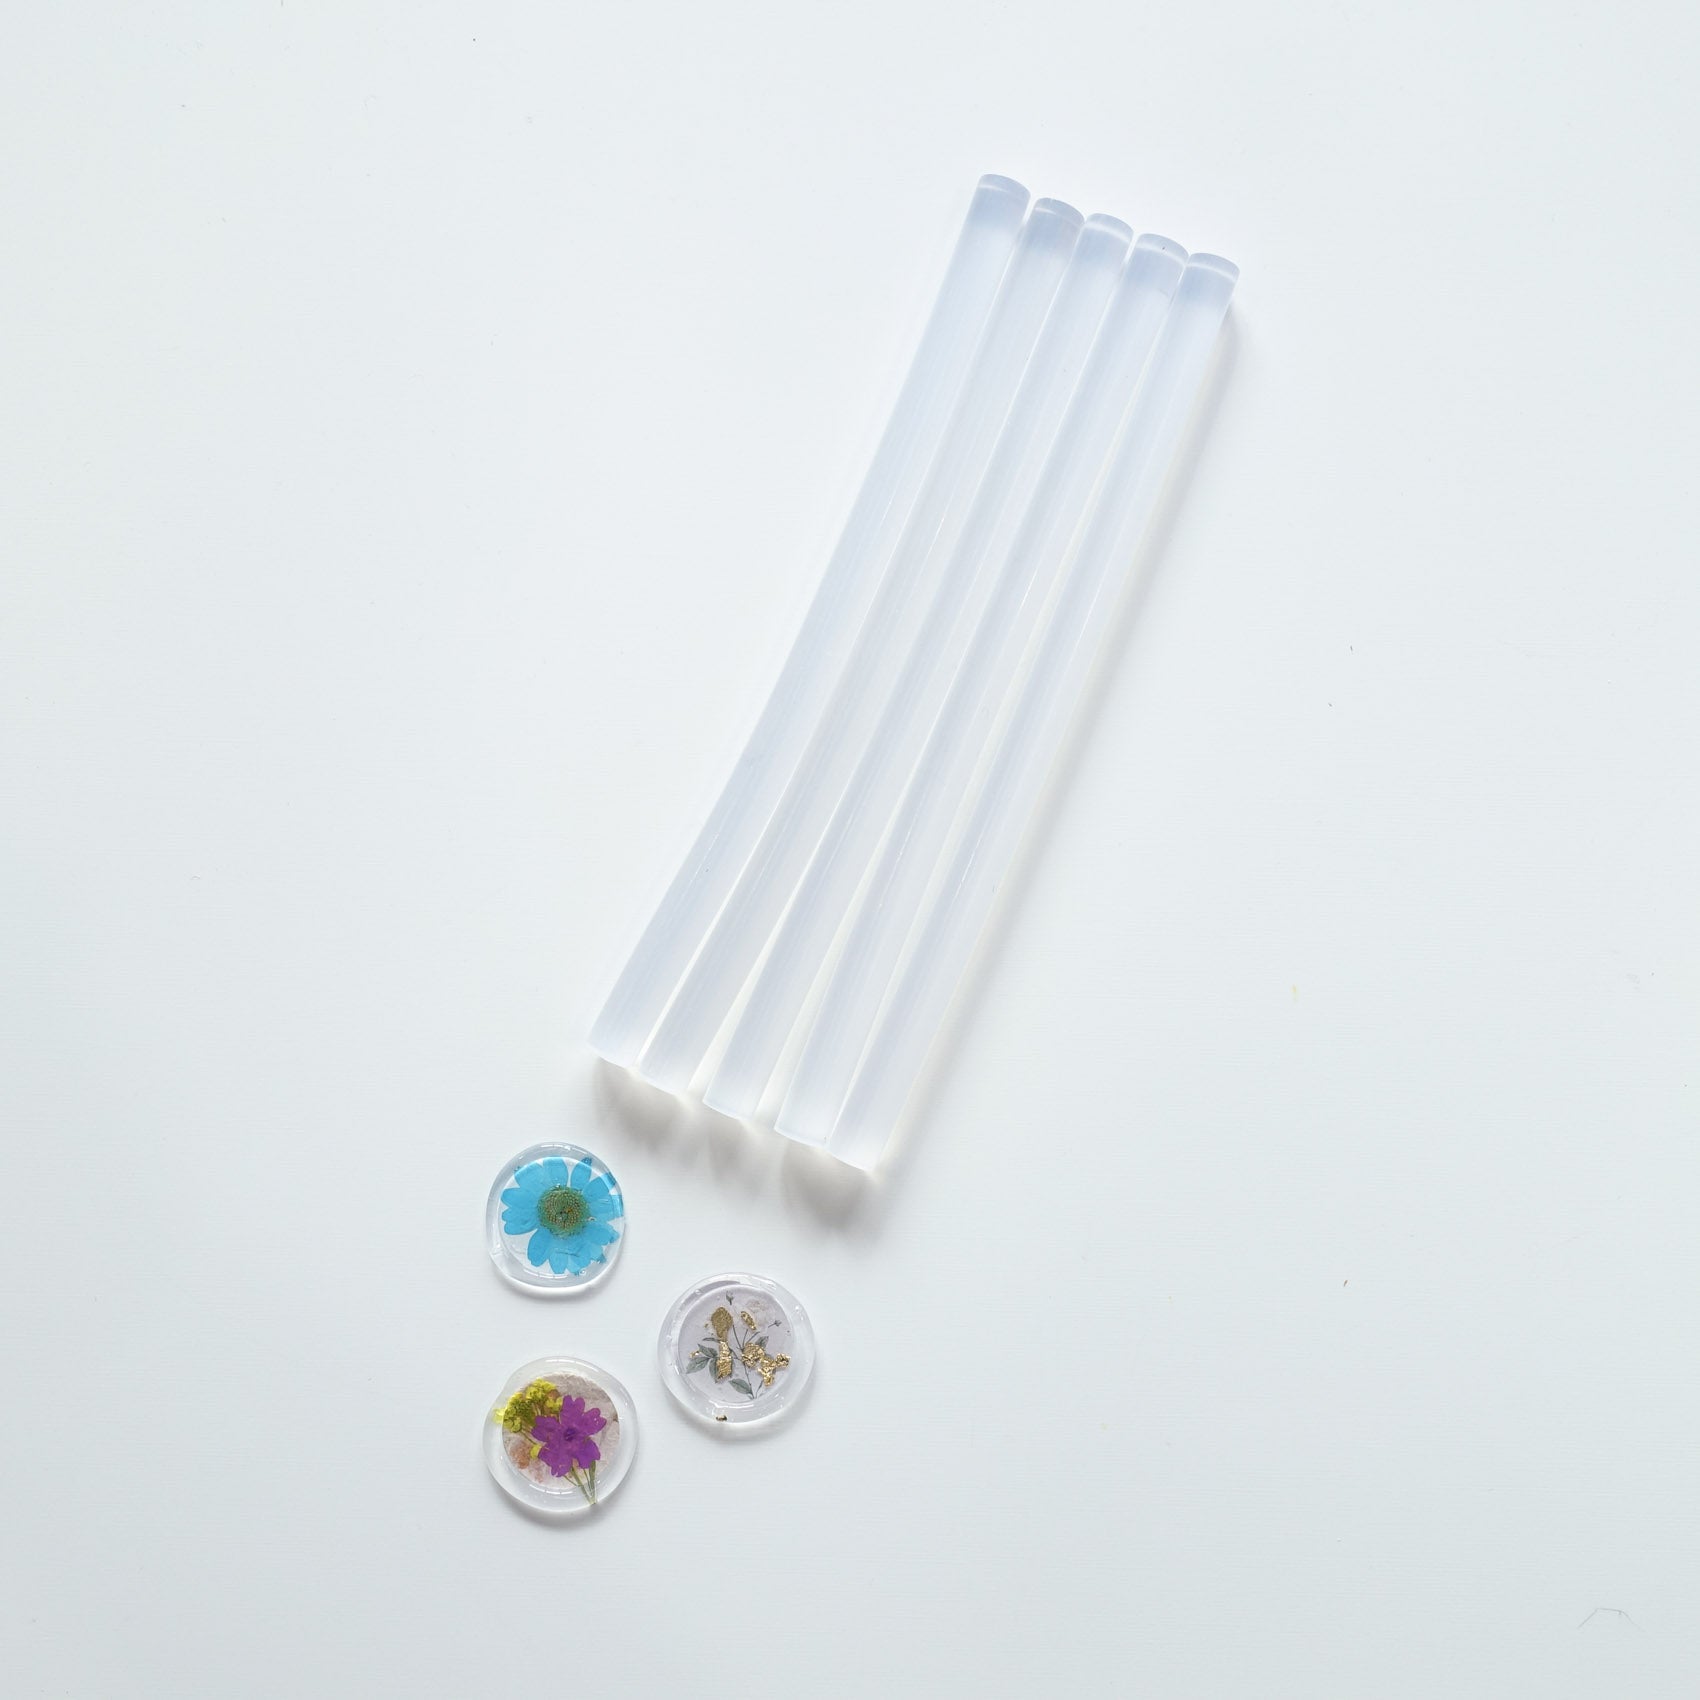
Pour a blob of coloured wax, place a small, pressed flower on top of it and allow it to cool without stamping it. This results in a raised, pebble-style wax seal that can be made in any size.
View this post on Instagram
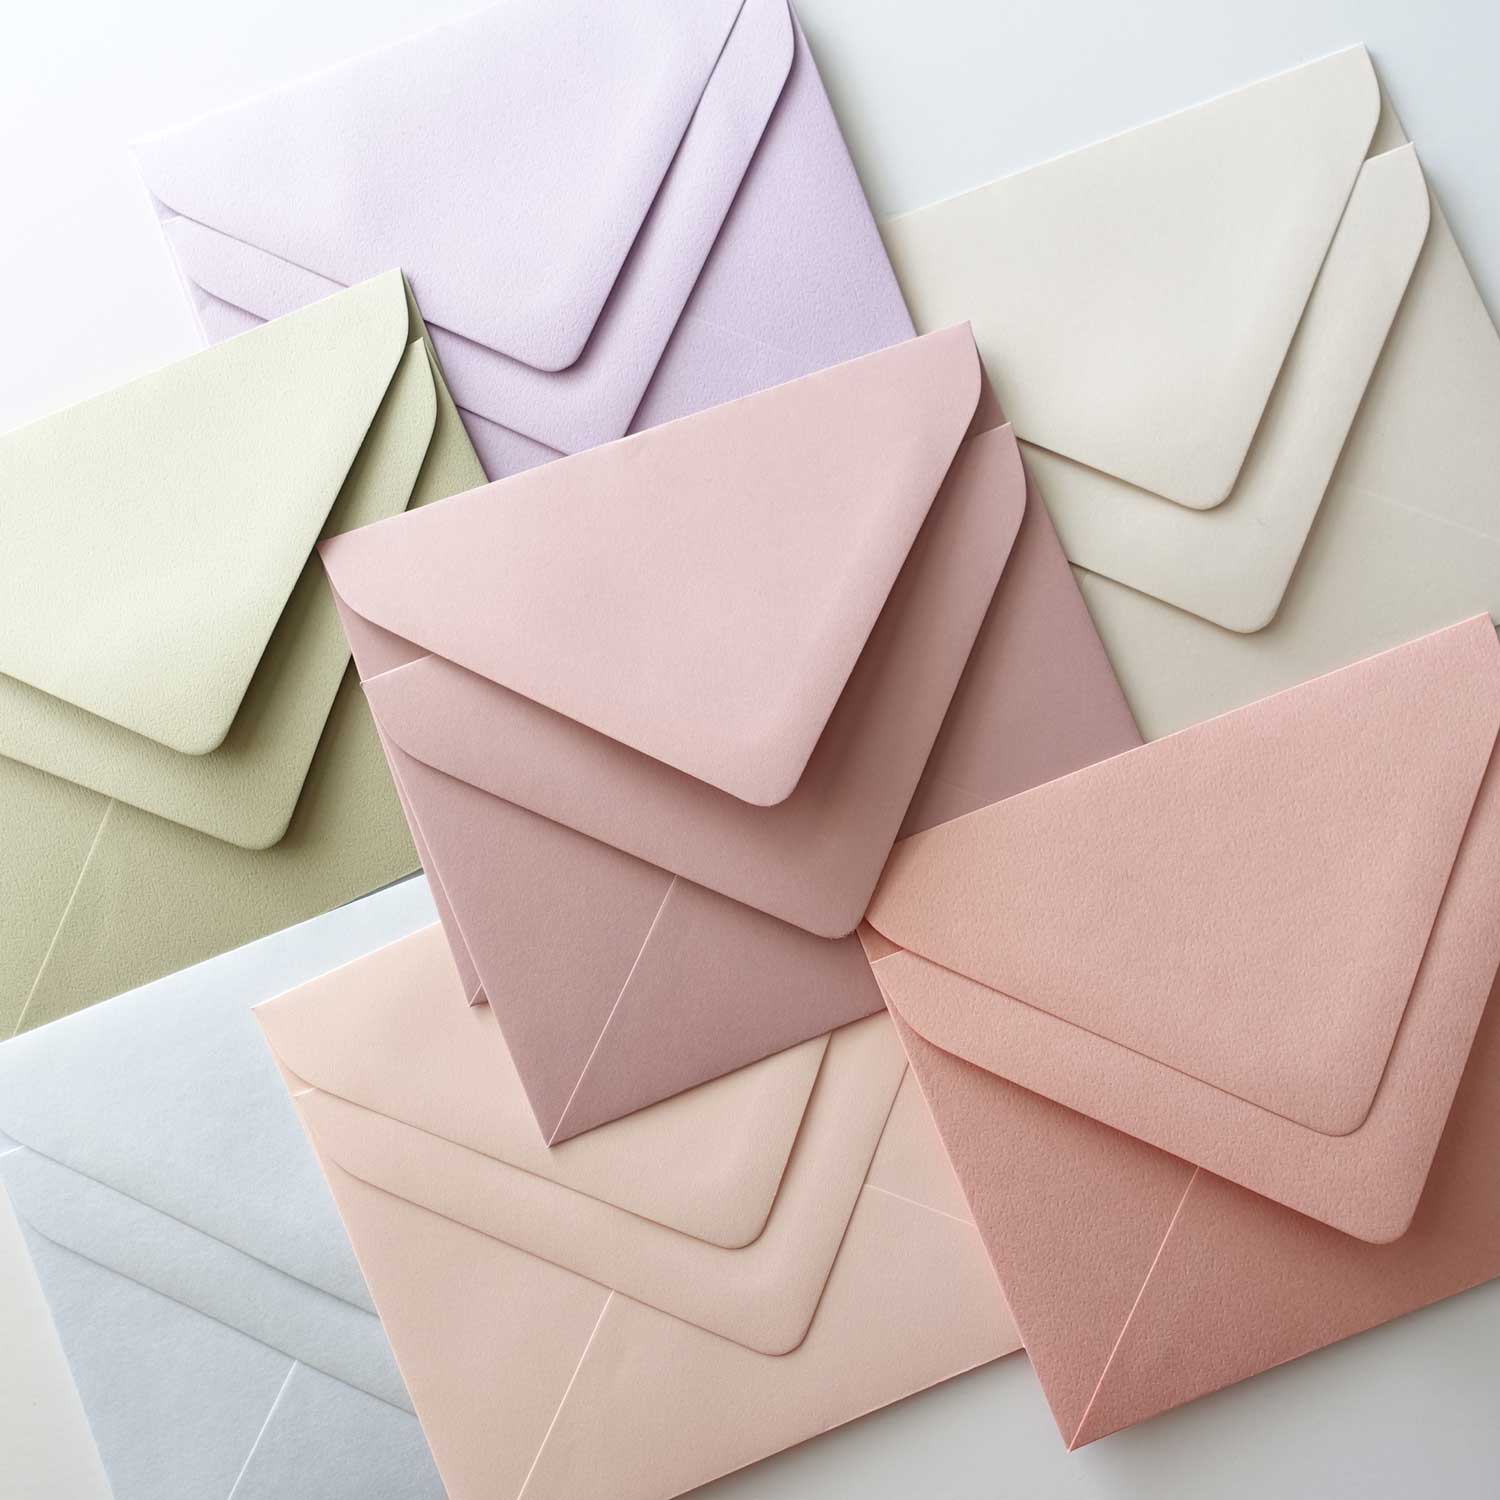
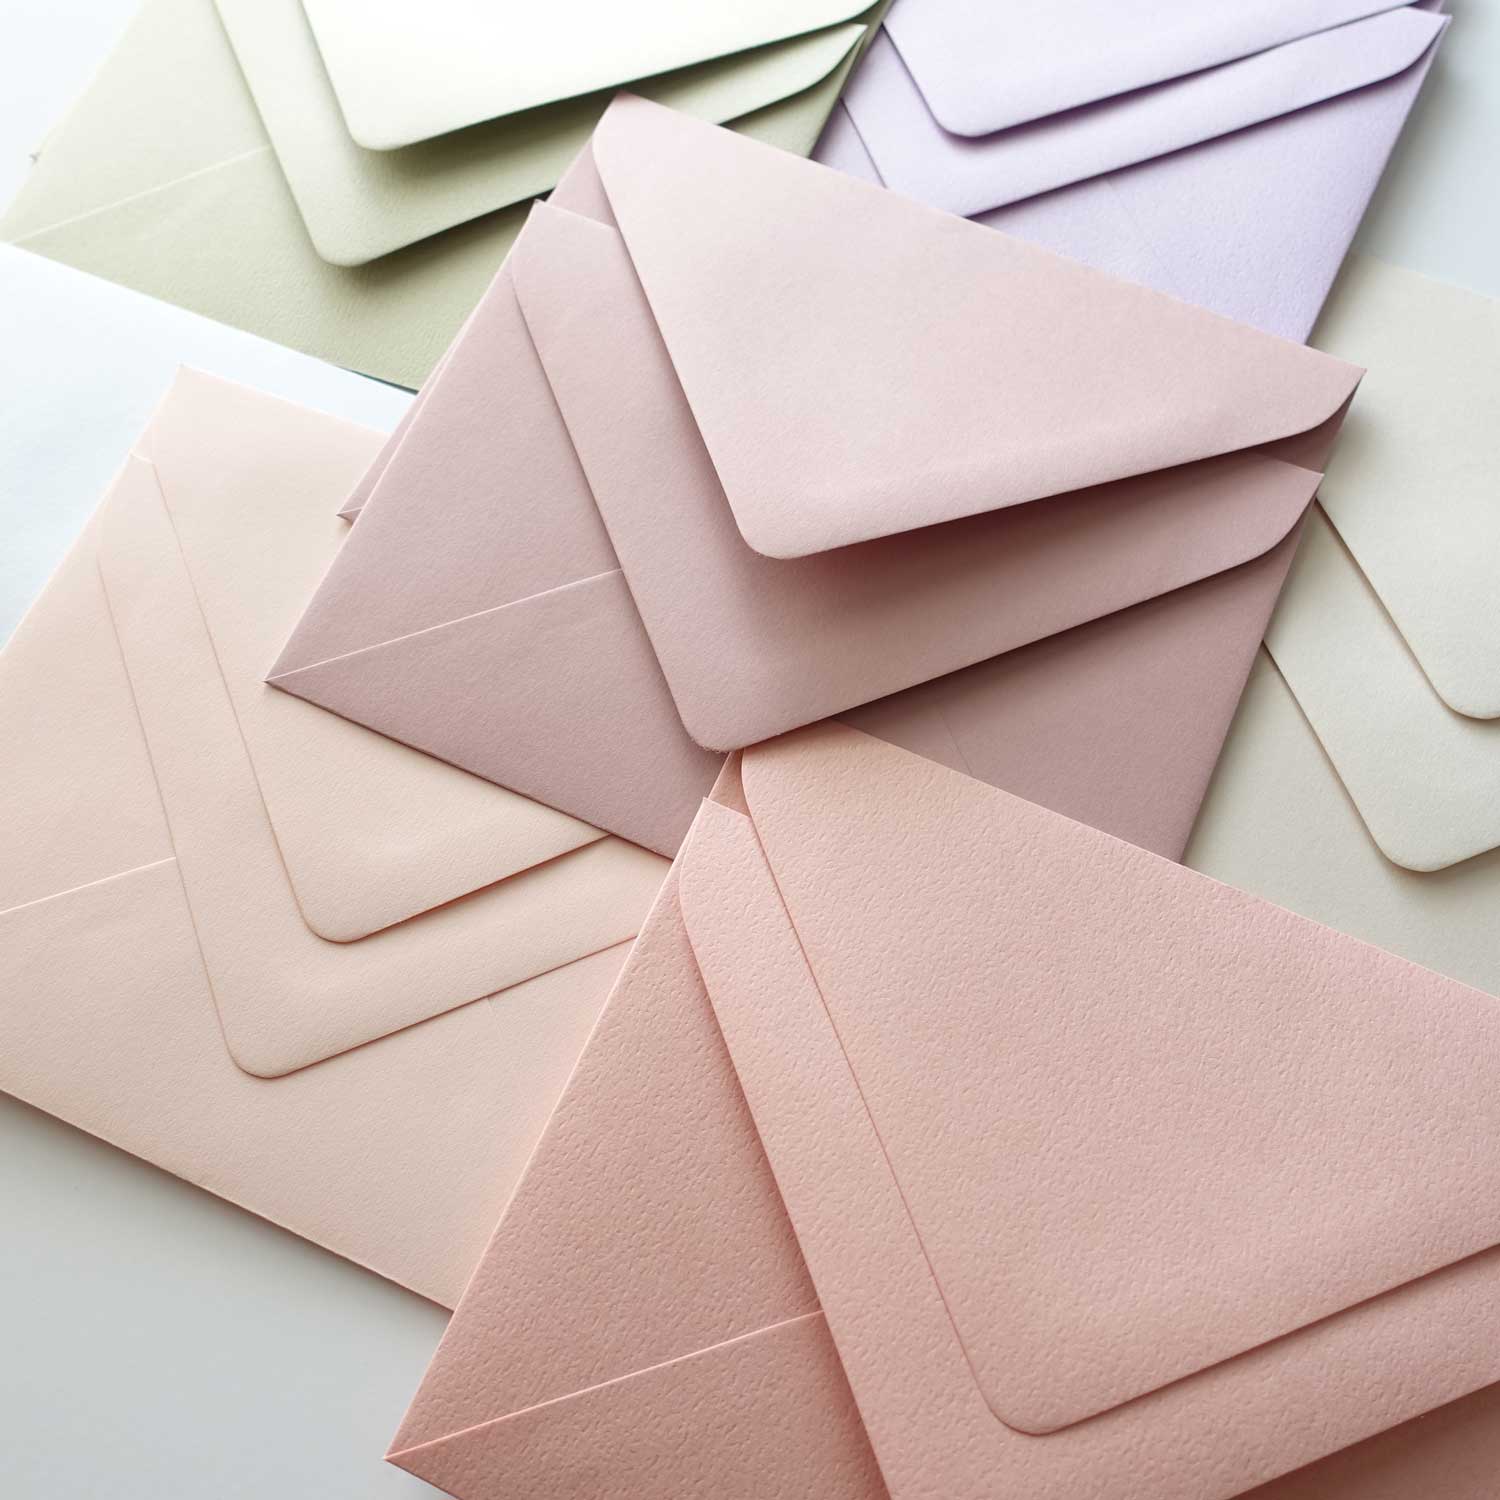
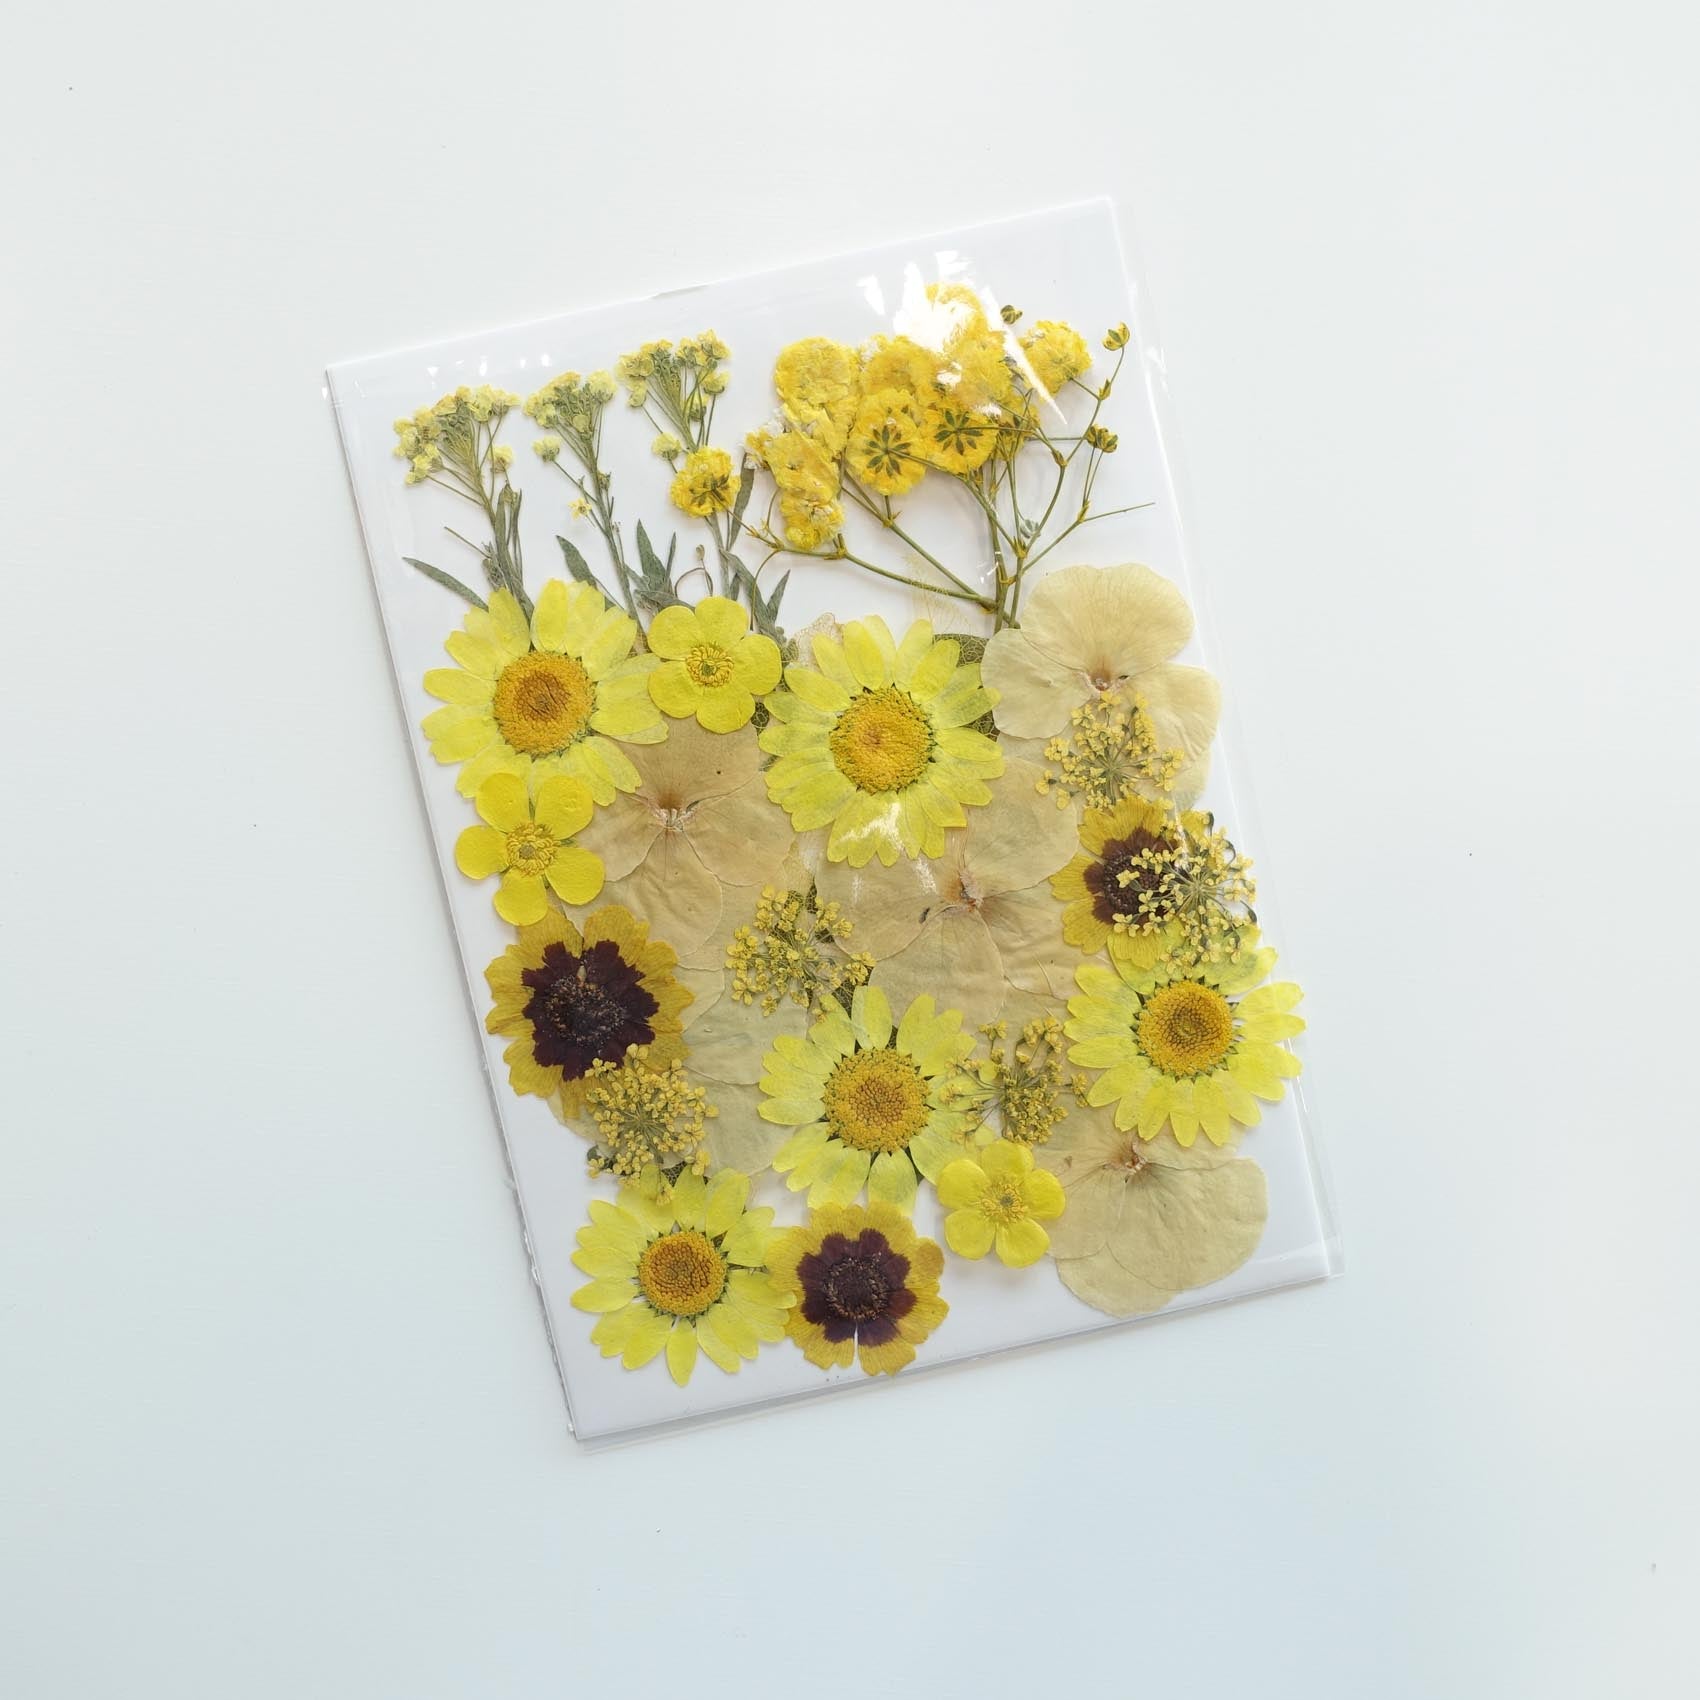
Shop: Mixed Pastels 100pcs sealing wax beads granules tablets pellets · Pastel Spring Blossoms Assorted Envelopes - Various Sizes [14-pack] · Pressed Dried Flowers Pack - Yellows
4. Wax seals with floral 'sprinkles'
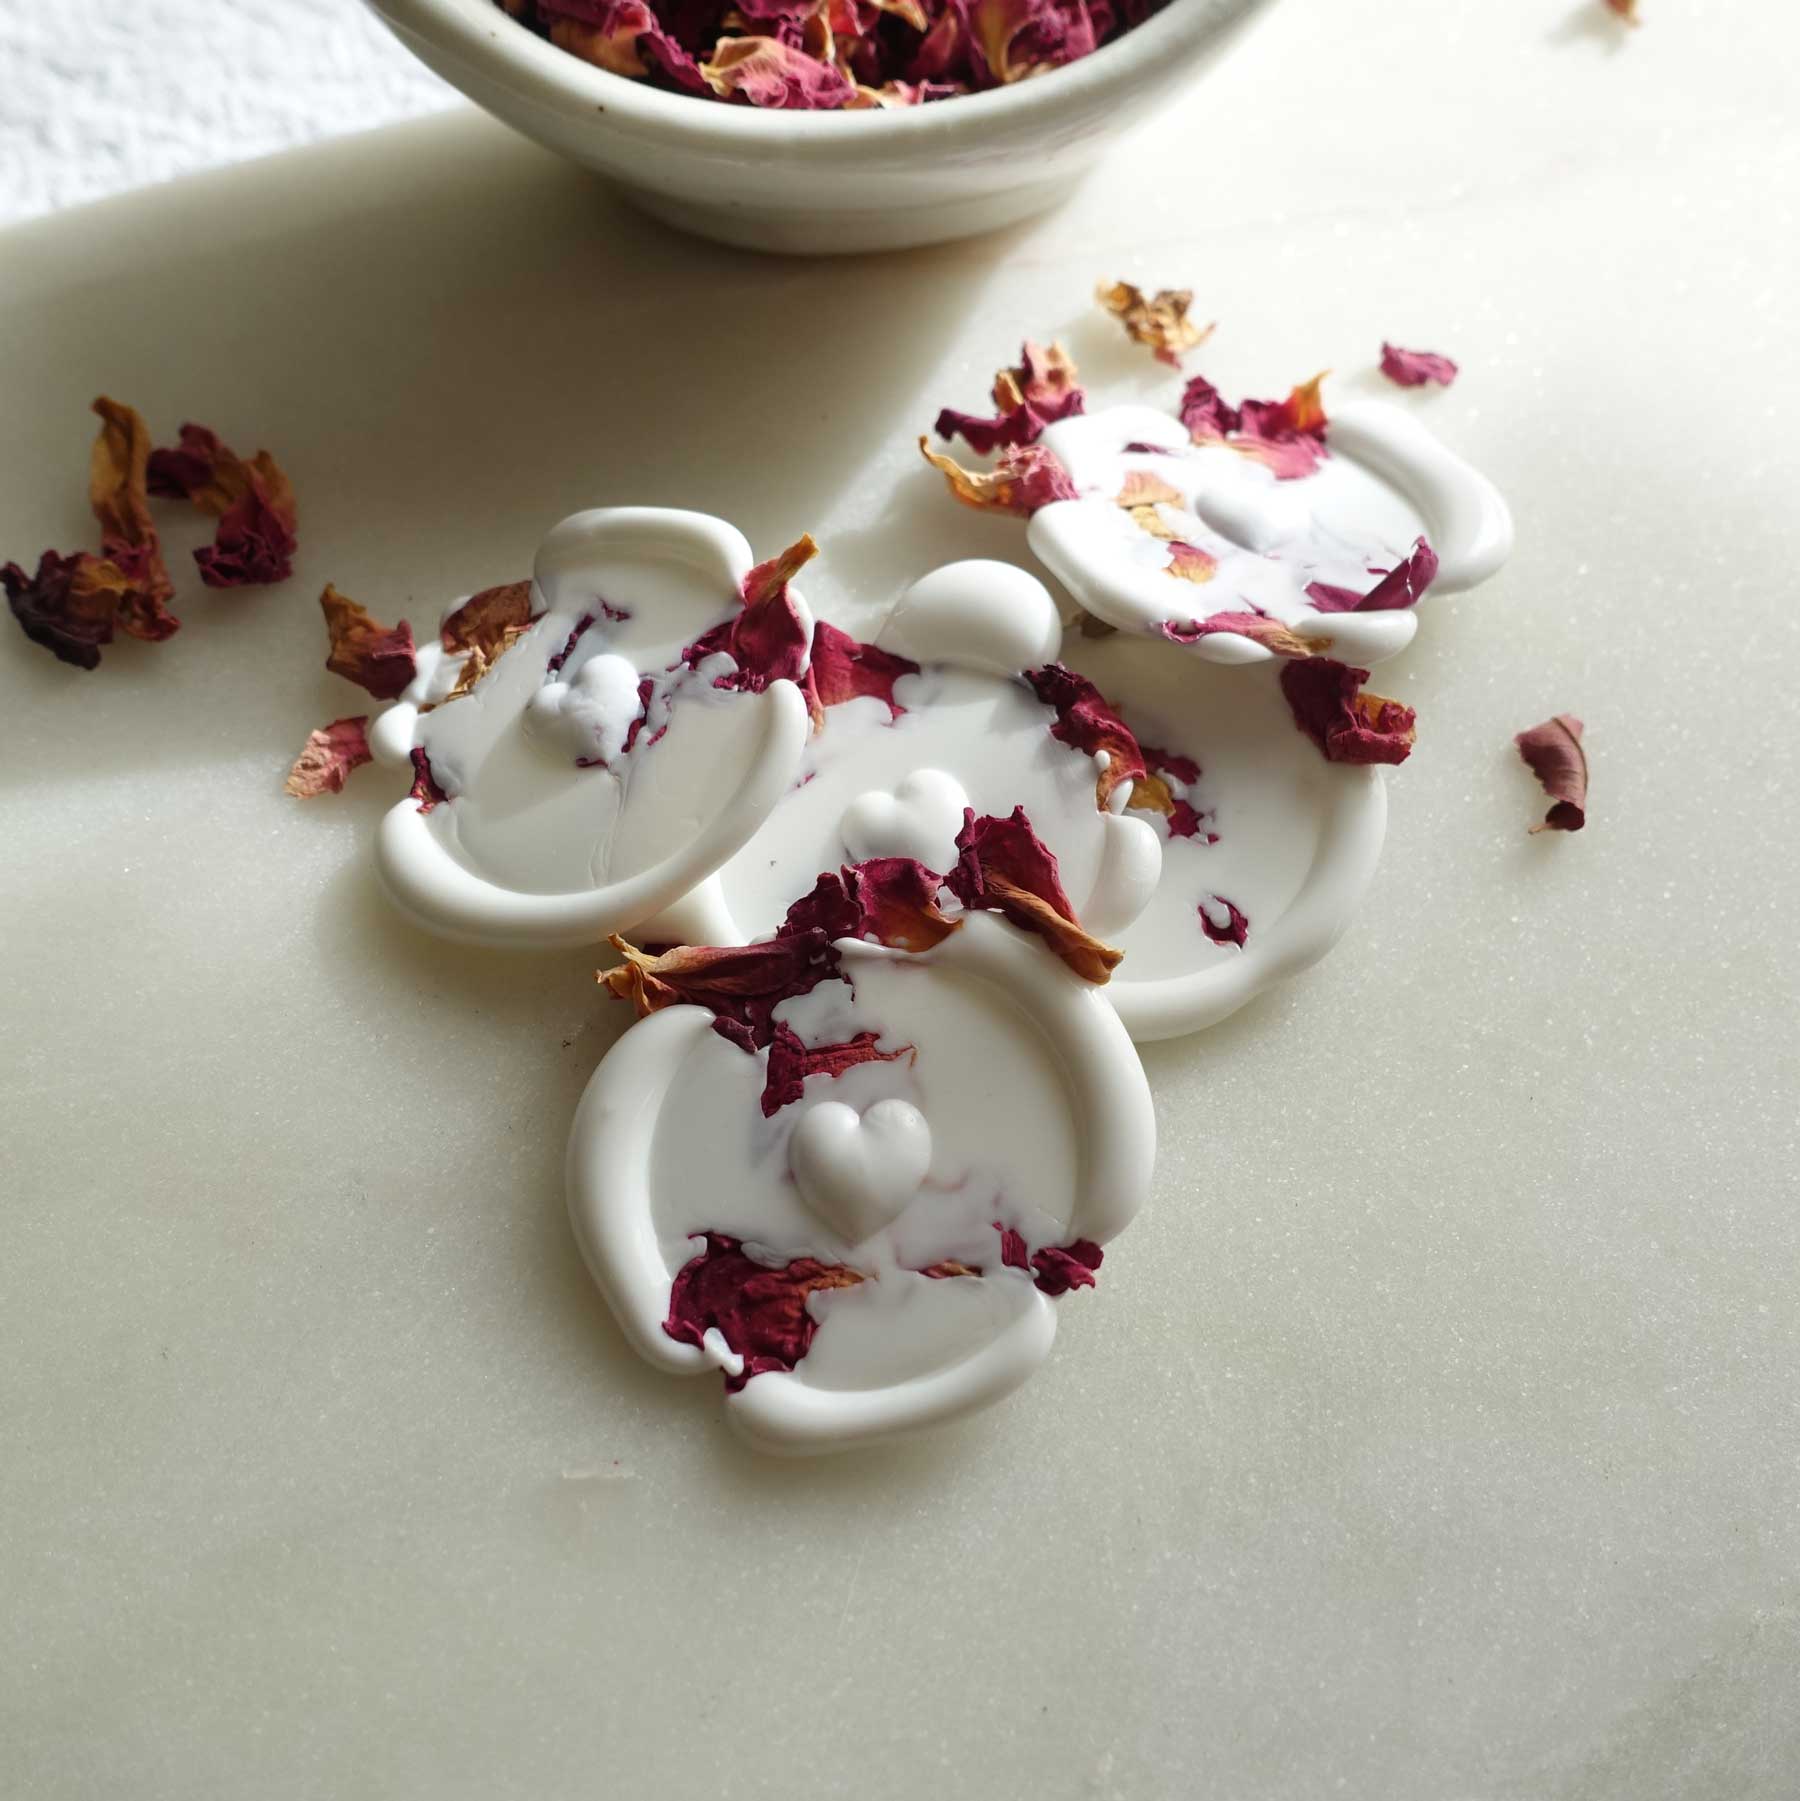
This technique works best with confetti-sized dried flowers, like lavender or mini rose petals.

View this post on Instagram
View this post on Instagram
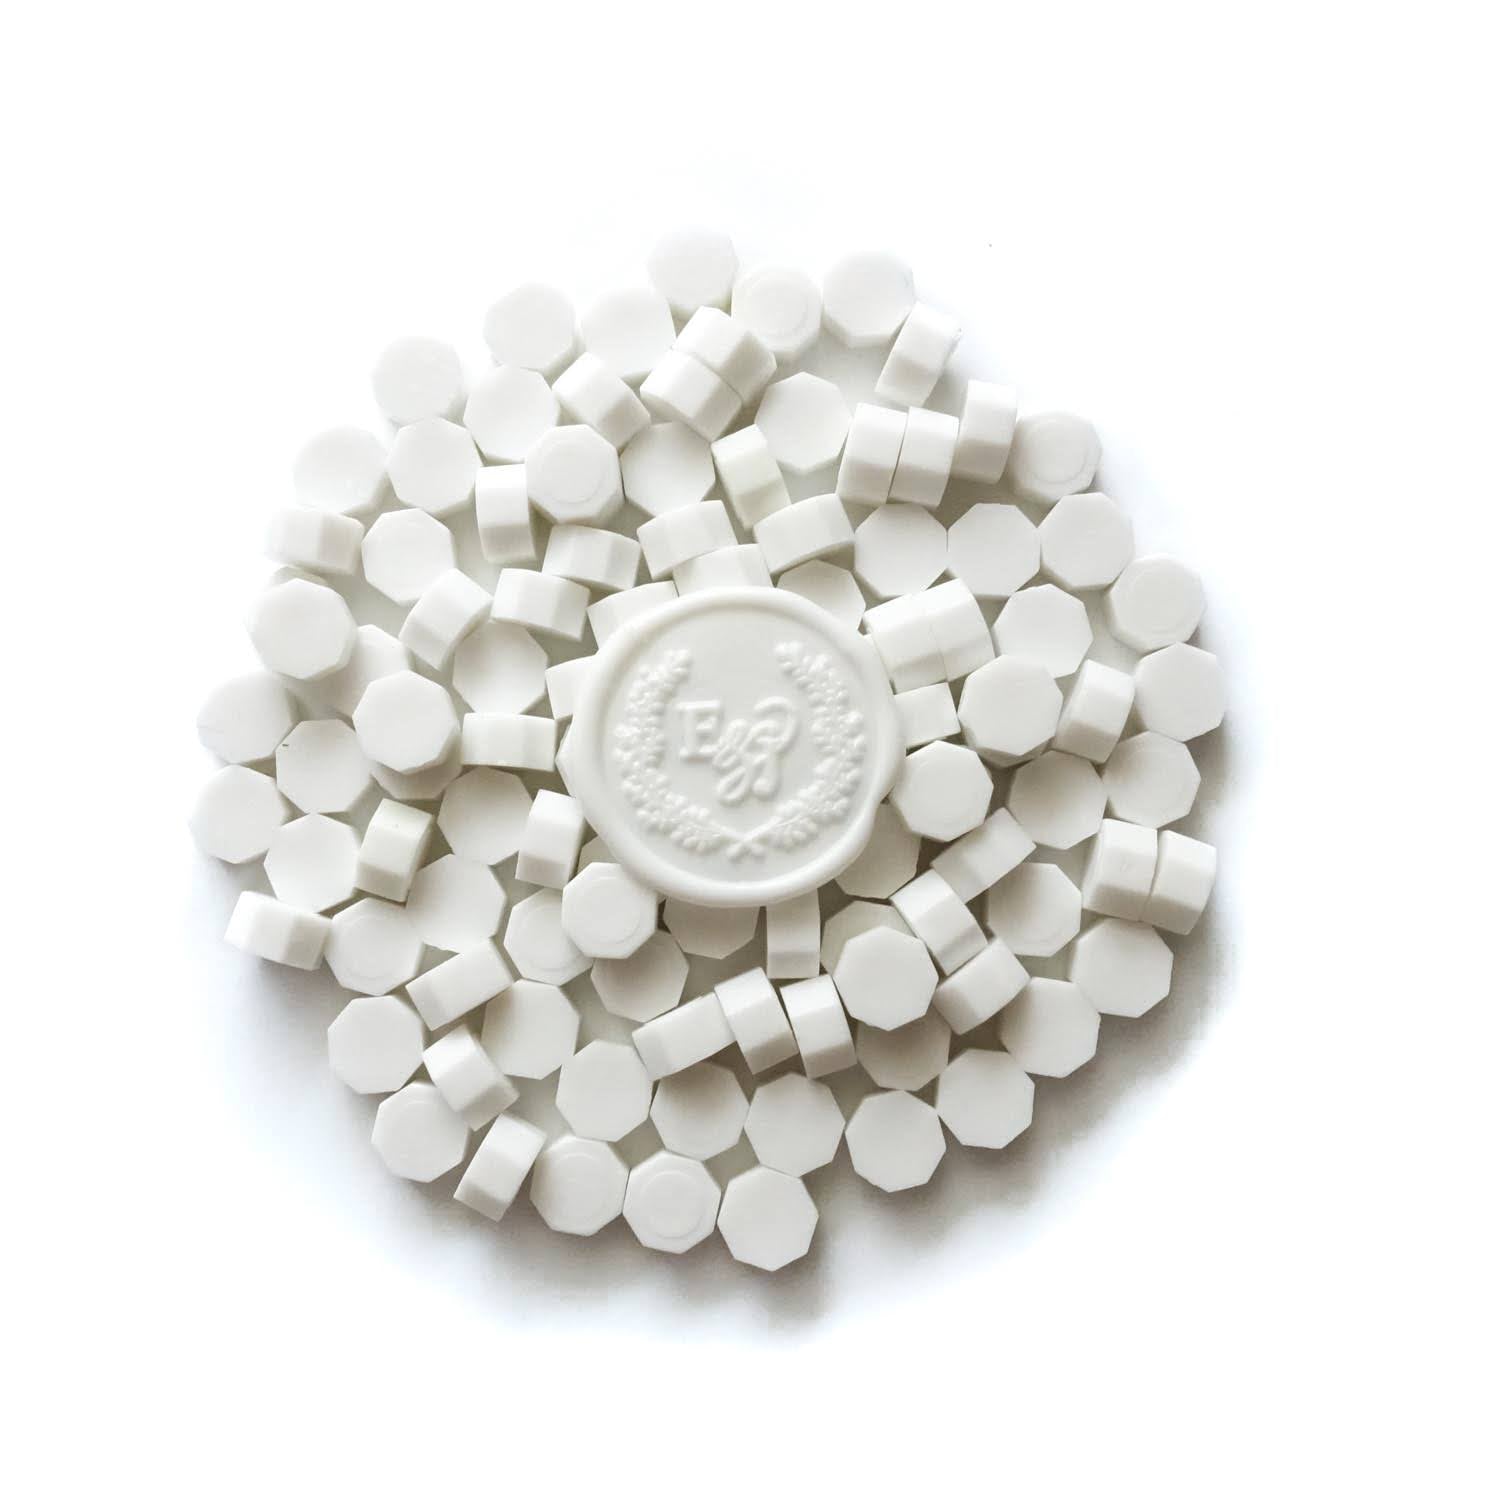
Shop: Love Heart 3D wax seal stamp, wax seal kit or stamp head · Ivory White 100pcs sealing wax beads granules pellets
5. Wax seal floral stacks
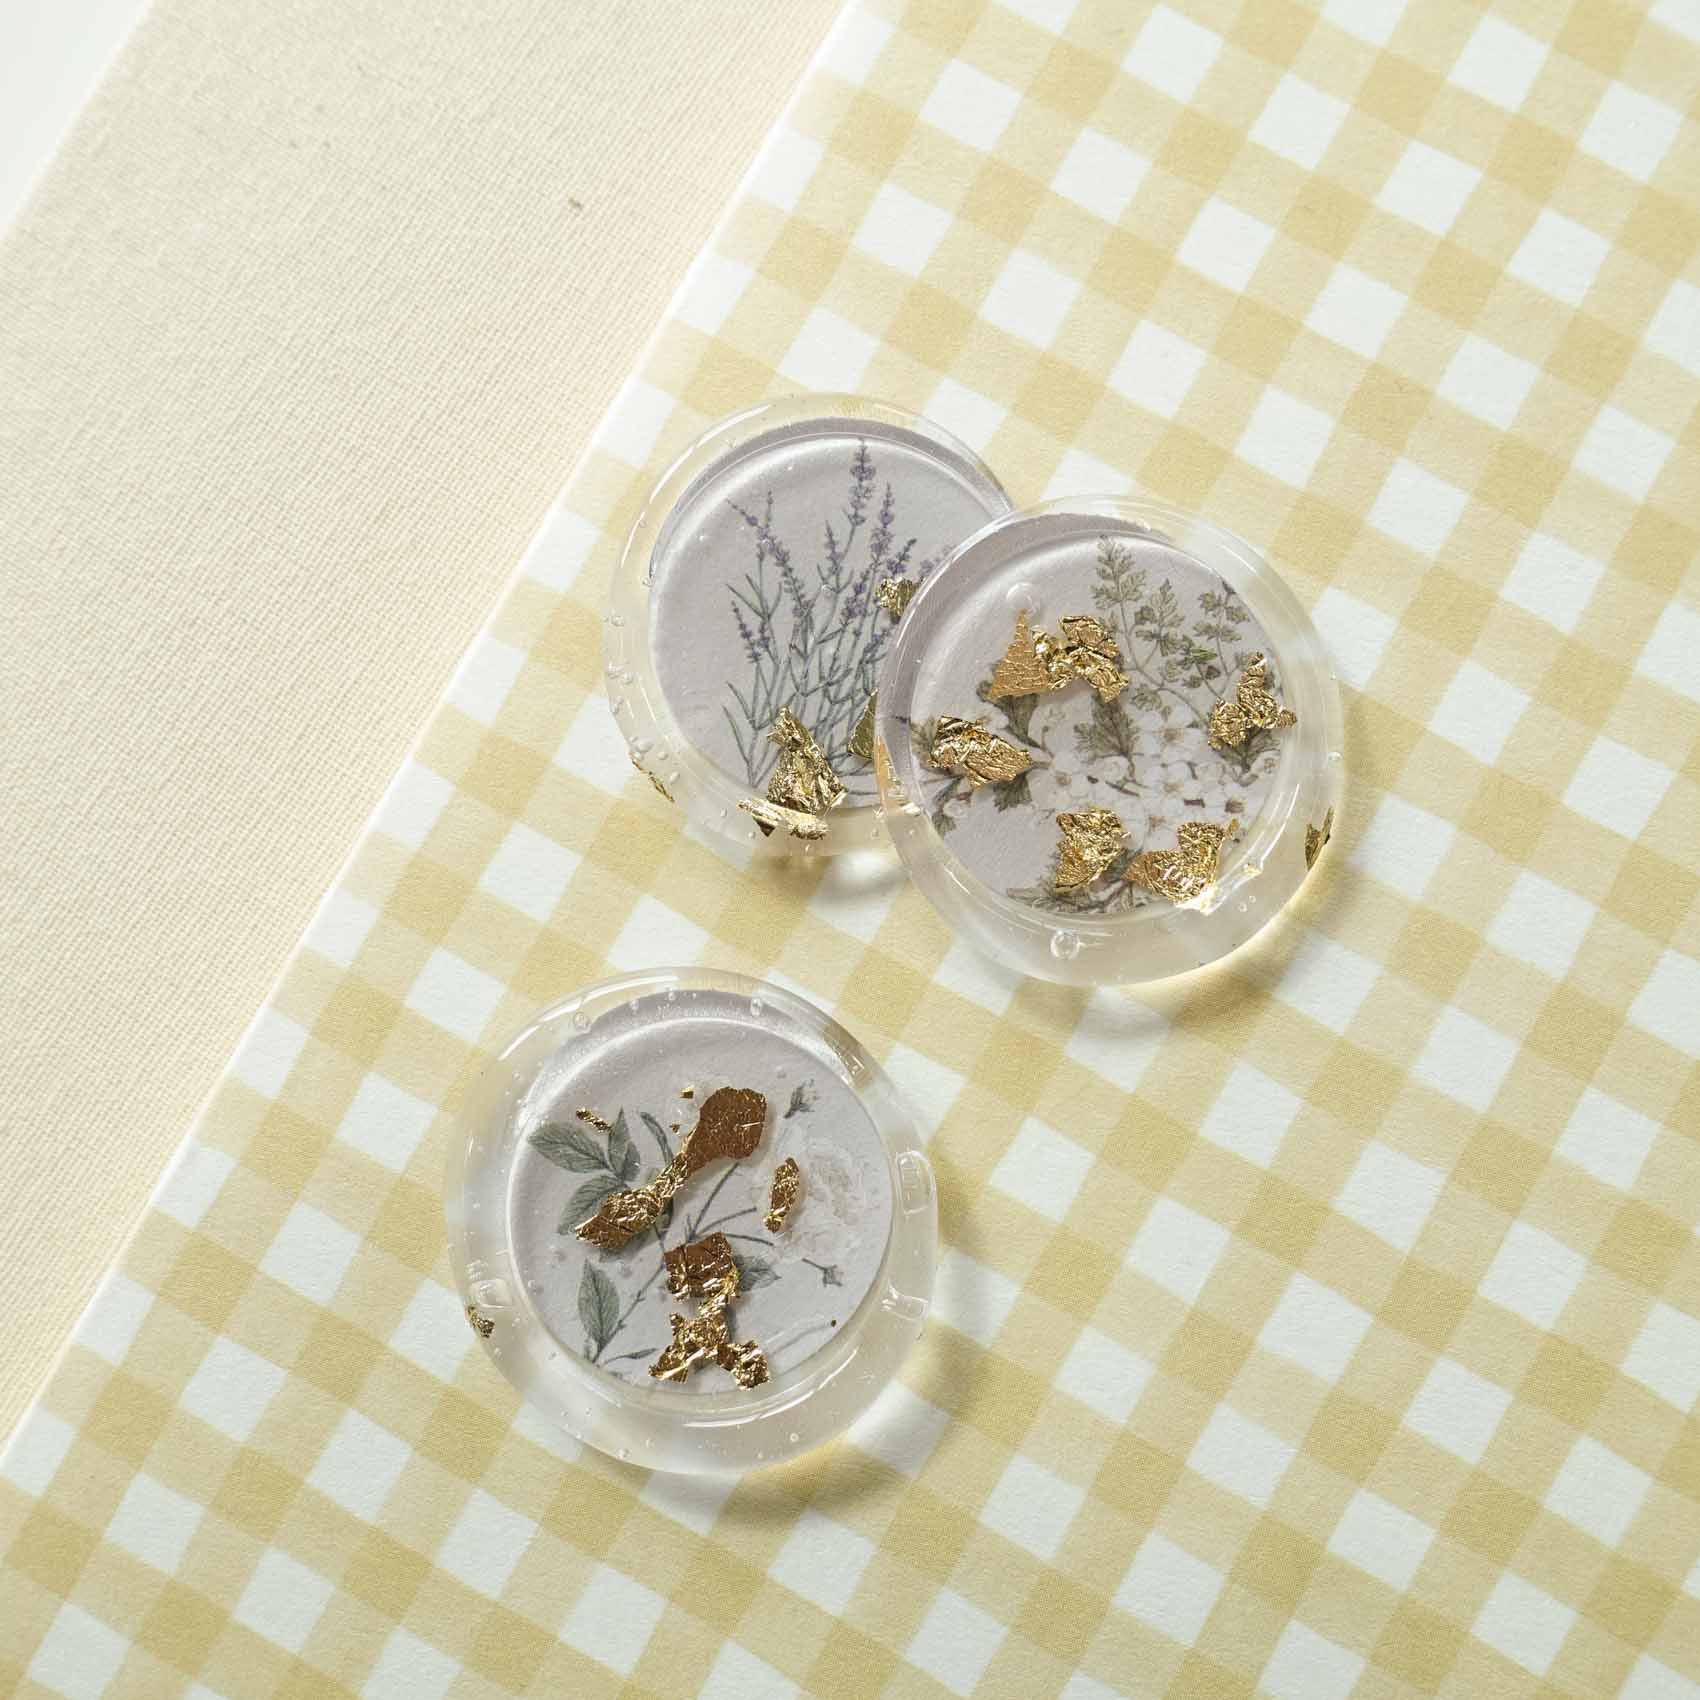
Layer your florals before wax sealing them and create endless combinations of unique wax seals!


Advanced technique FOR ADDING A COLOURED WAX BACKGROUND to your floral clear 'wax' seals:
If you want to add a background for the florals in your clear 'wax' seals, you can either use a piece of cardstock and a 2.5cm diameter hole punch, or you can first pour a small amount of wax, and stamp it. Tip: If using the second method, make sure the amount of wax you're pouring is only about 1cm wide so that when stamped, it's all nice and flat.
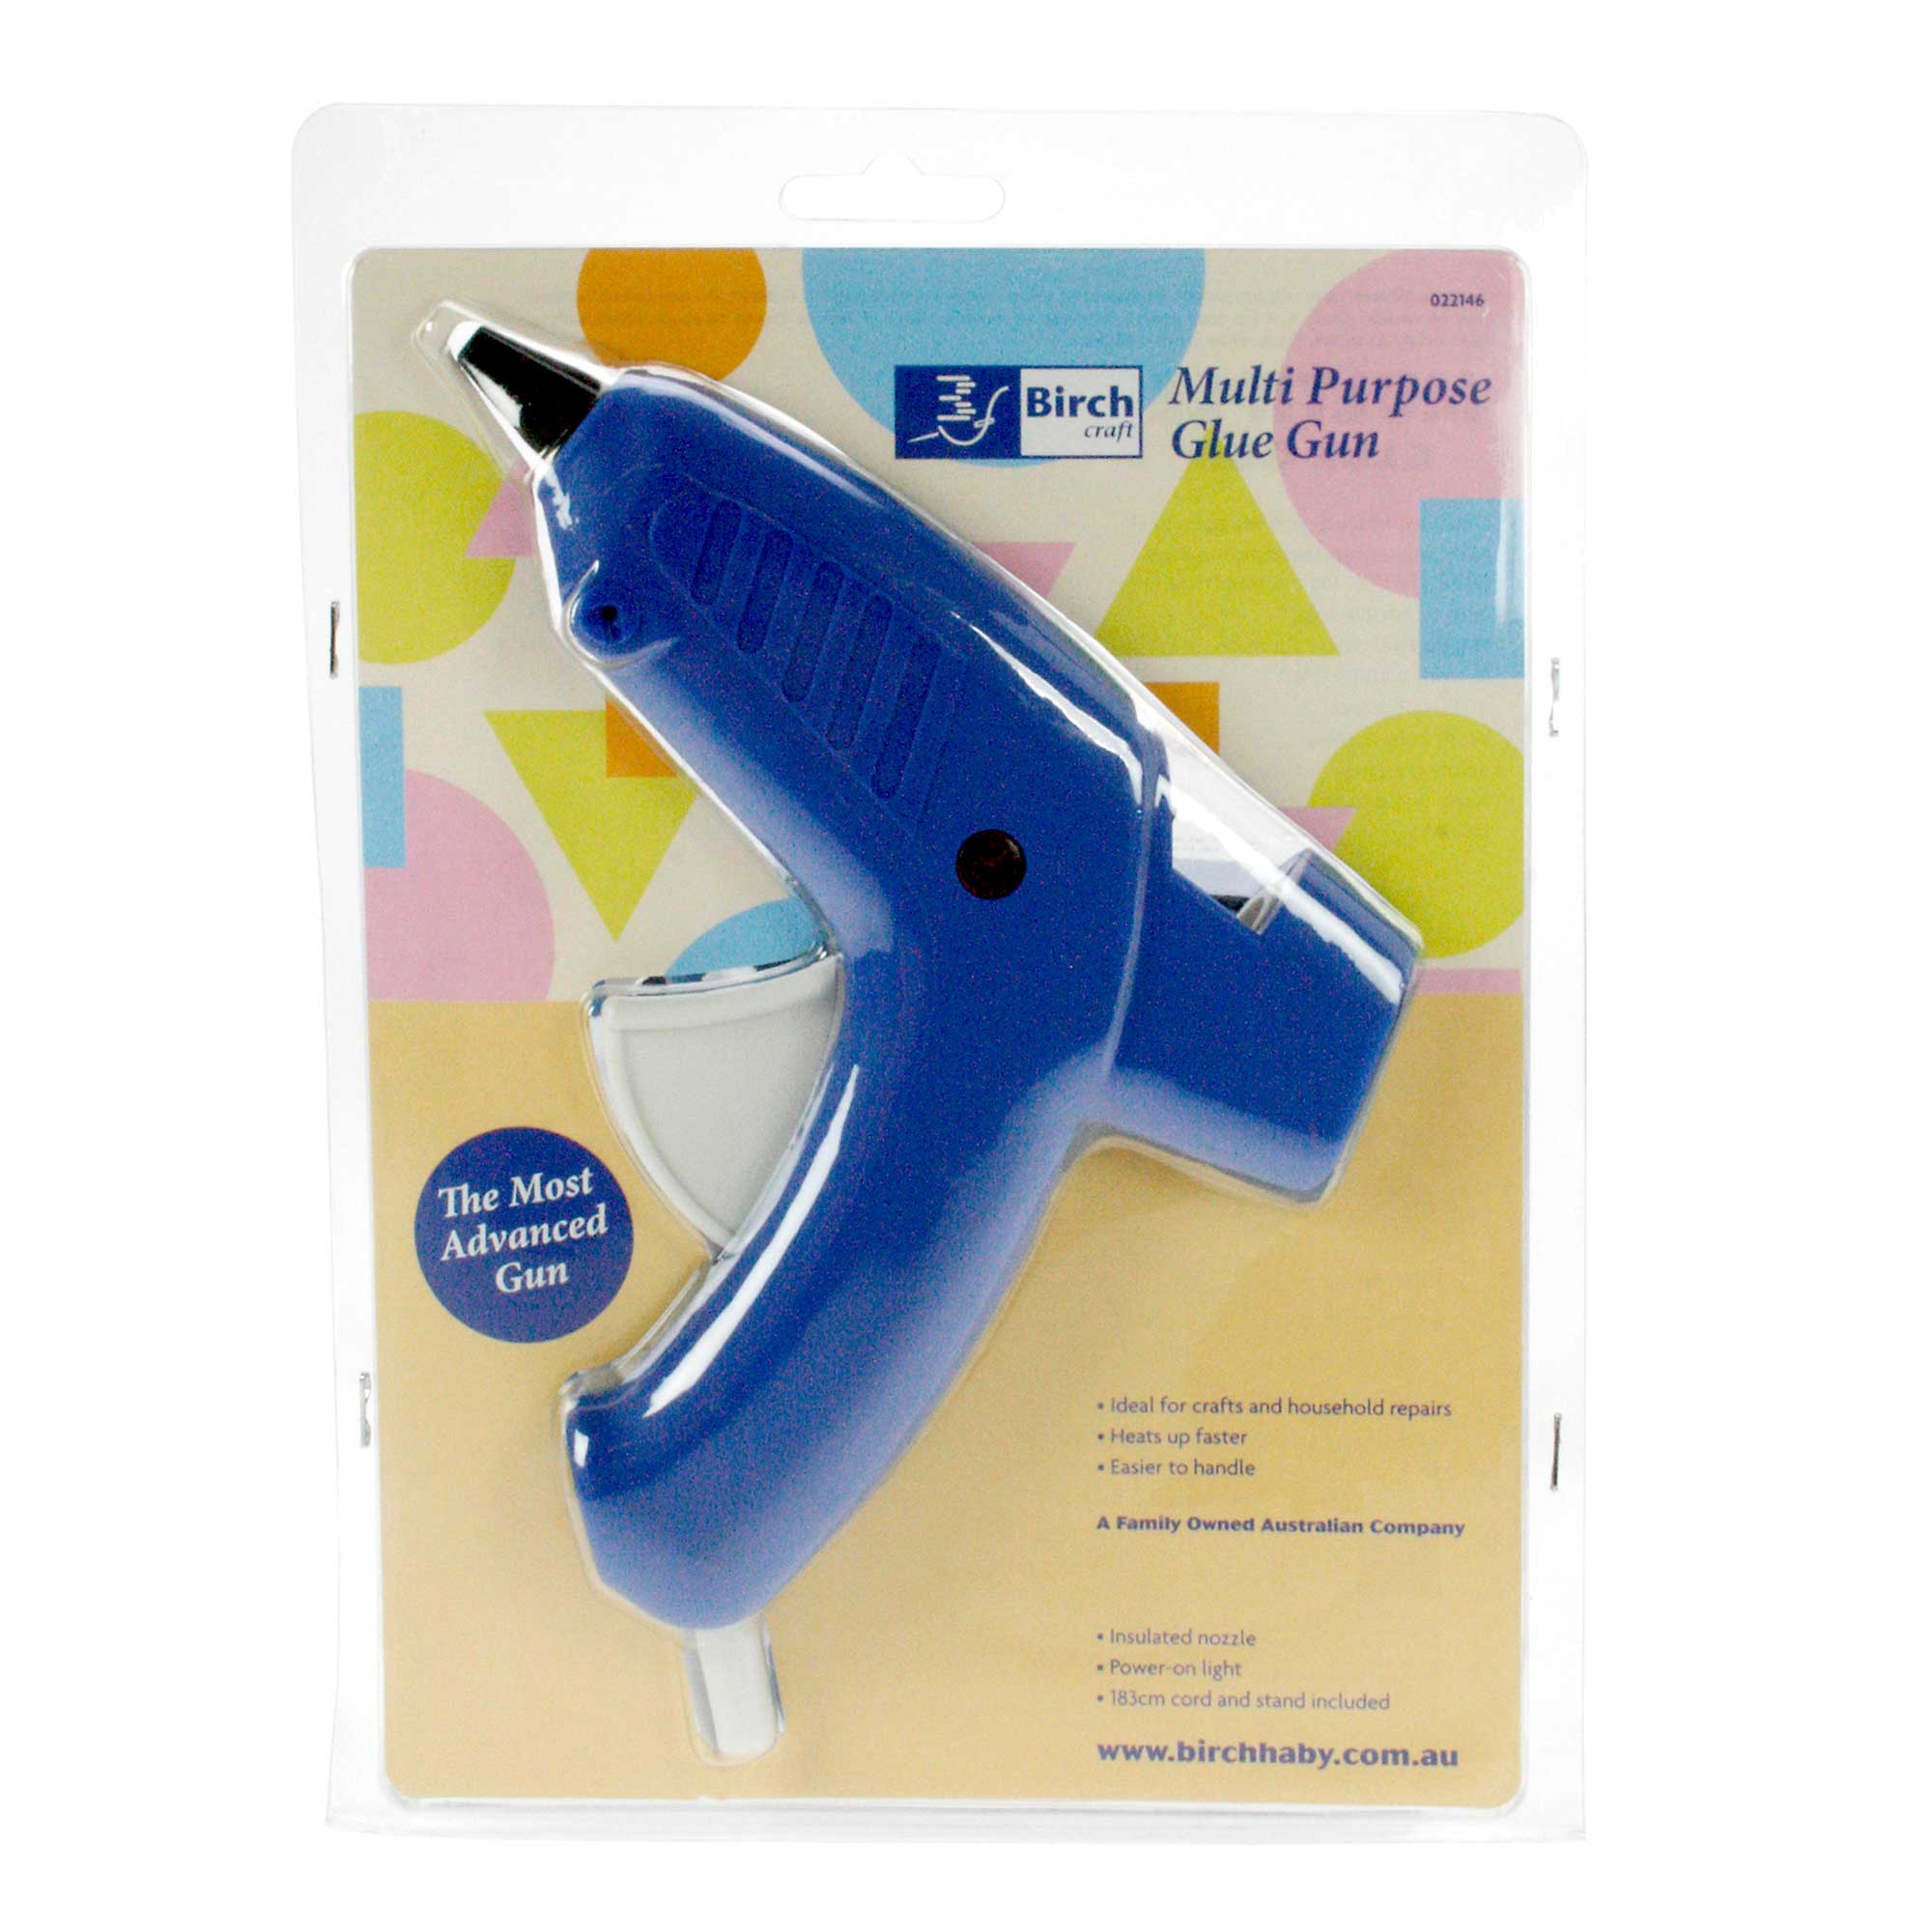
The next step is to apply a small amount of the crystal clear jelly hot glue to stick the florals in place, and the final step is to squeeze dollops of the glue on top of the florals and stamp it to seal the florals.

View this post on Instagram


Leave a comment
This site is protected by hCaptcha and the hCaptcha Privacy Policy and Terms of Service apply.