Learn different methods to add photographs to picture frame wax seals in our step-by-step tutorial!
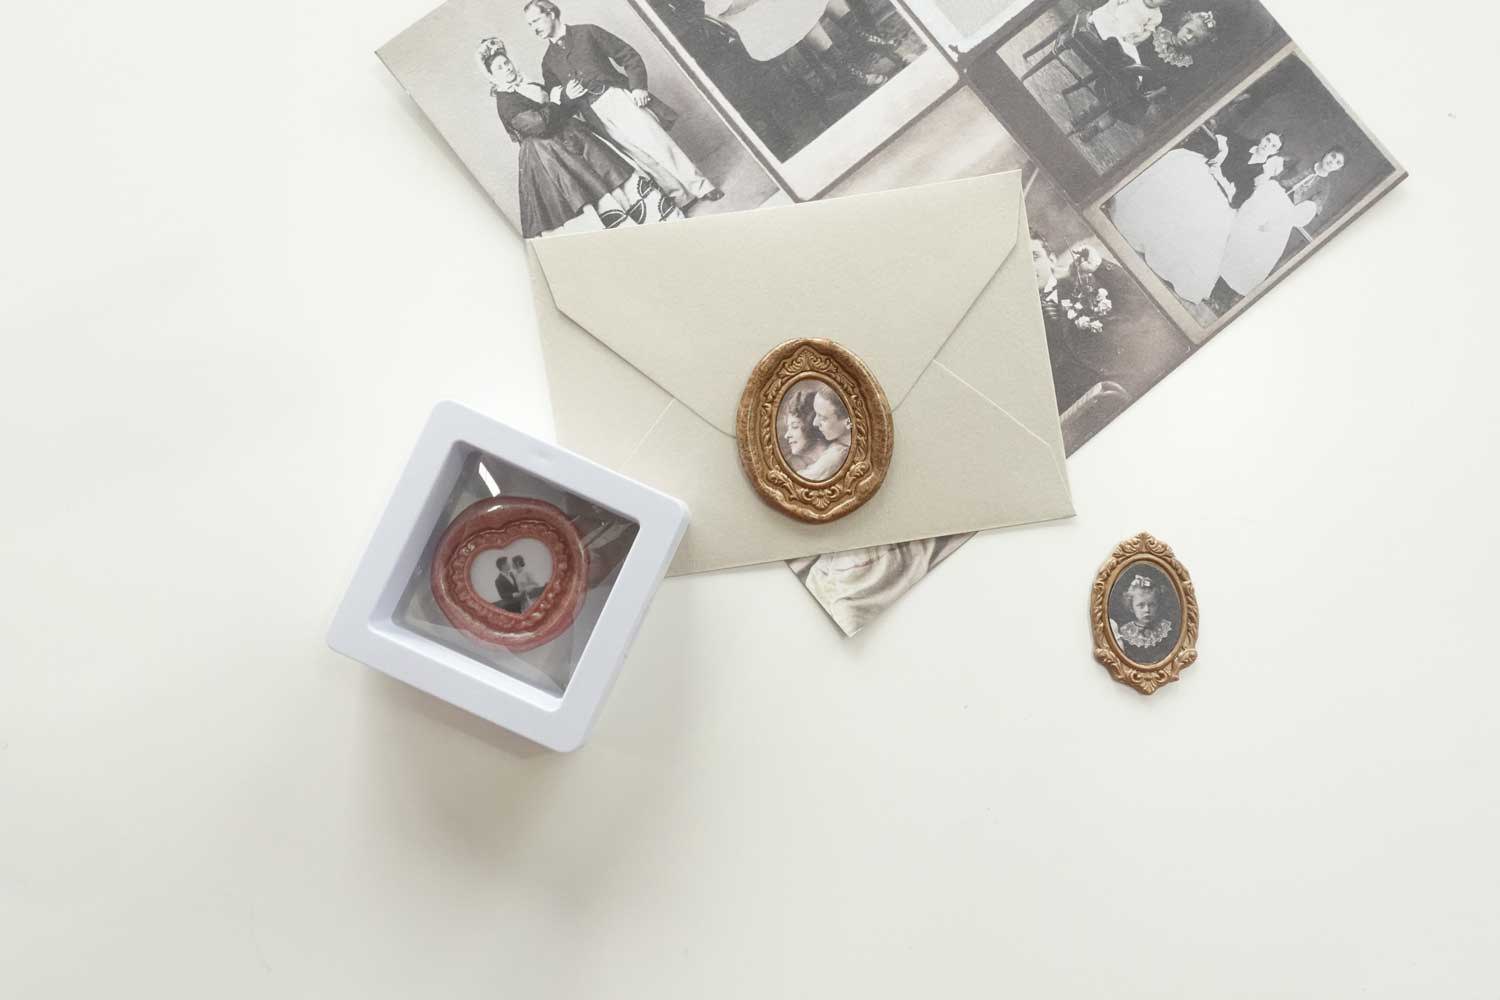
How To Add Photos To Wax Seals
METHOD 1: PHOTO GLUED ON TOP OF WAX SEAL
Use this method if you will be sealing the wax directly onto your envelope/ item. You will be making two wax seals - one that you will use as a template to trace your photo, and the other for the actual wax seal.
You will need:
- Picture Frame wax seal stamp
- Photograph (or other printed media)
- Sealing wax
- Wax melting tools
- Scissors, Craft/ Stanley knife, Cutting mat
- Pen/ Pencil
- Non-stick crafting mat
- Adhesive
Instructions:
- Make a wax seal "template" by pouring and stamping the wax on a non-stick craft mat
- Allow the wax to cool, then remove it from the crafting mat and transfer it to a cutting mat. Cut out the blank space in the centre of the frame using a craft/ stanley knife
- Use this cut-out wax seal frame as a template to place over your photo / print media and trace within it to mark a cutting line. Cut along this line
- Pour and stamp another wax seal on the item that you would like to seal. Once the wax has cooled, remove the stamp, apply adhesive to the underside of your photo/ print media and stick it in the blank space inside the picture frame.
METHOD 2: WAX SEAL GLUED ON TOP OF PHOTO
Use this method if you prefer the frame to sit on top of the photograph, or if you're not confident you'll be able to cut out your photo precisely and cleanly.
You will need:
- Picture Frame wax seal stamp
- Photograph (or other printed media)
- Sealing wax
- Wax melting tools
- Scissors, Craft/ Stanley knife, Cutting mat
- Pen/ Pencil
- Non-stick crafting mat
- 3M Double Sided adhesive sticker backings
Instructions:
- Make a wax seal by pouring and stamping the wax on a non-stick craft mat
- Allow the wax to cool, then remove it from the crafting mat and transfer it to a cutting mat. Cut out the blank space in the centre of the frame using a craft/ stanley knife
- Use this cut-out wax seal frame as a template to place over your photo / print media and trace around the outside edge of the wax seal to mark a cutting line. Cut about 1mm within this line so that the photo doesn't peek out the edges of the wax seal
- Apply adhesive to the underside of your wax seal frame and stick it to your photo. Add a double-sided adhesive backing to the back of the wax seal and stick it where you want it!
Hope these tips helped! I love seeing all the creative projects that you come up with! Feel free to send them via email, social media, or tag me (@fionaariva on Instagram)
FEATURED PRODUCTS
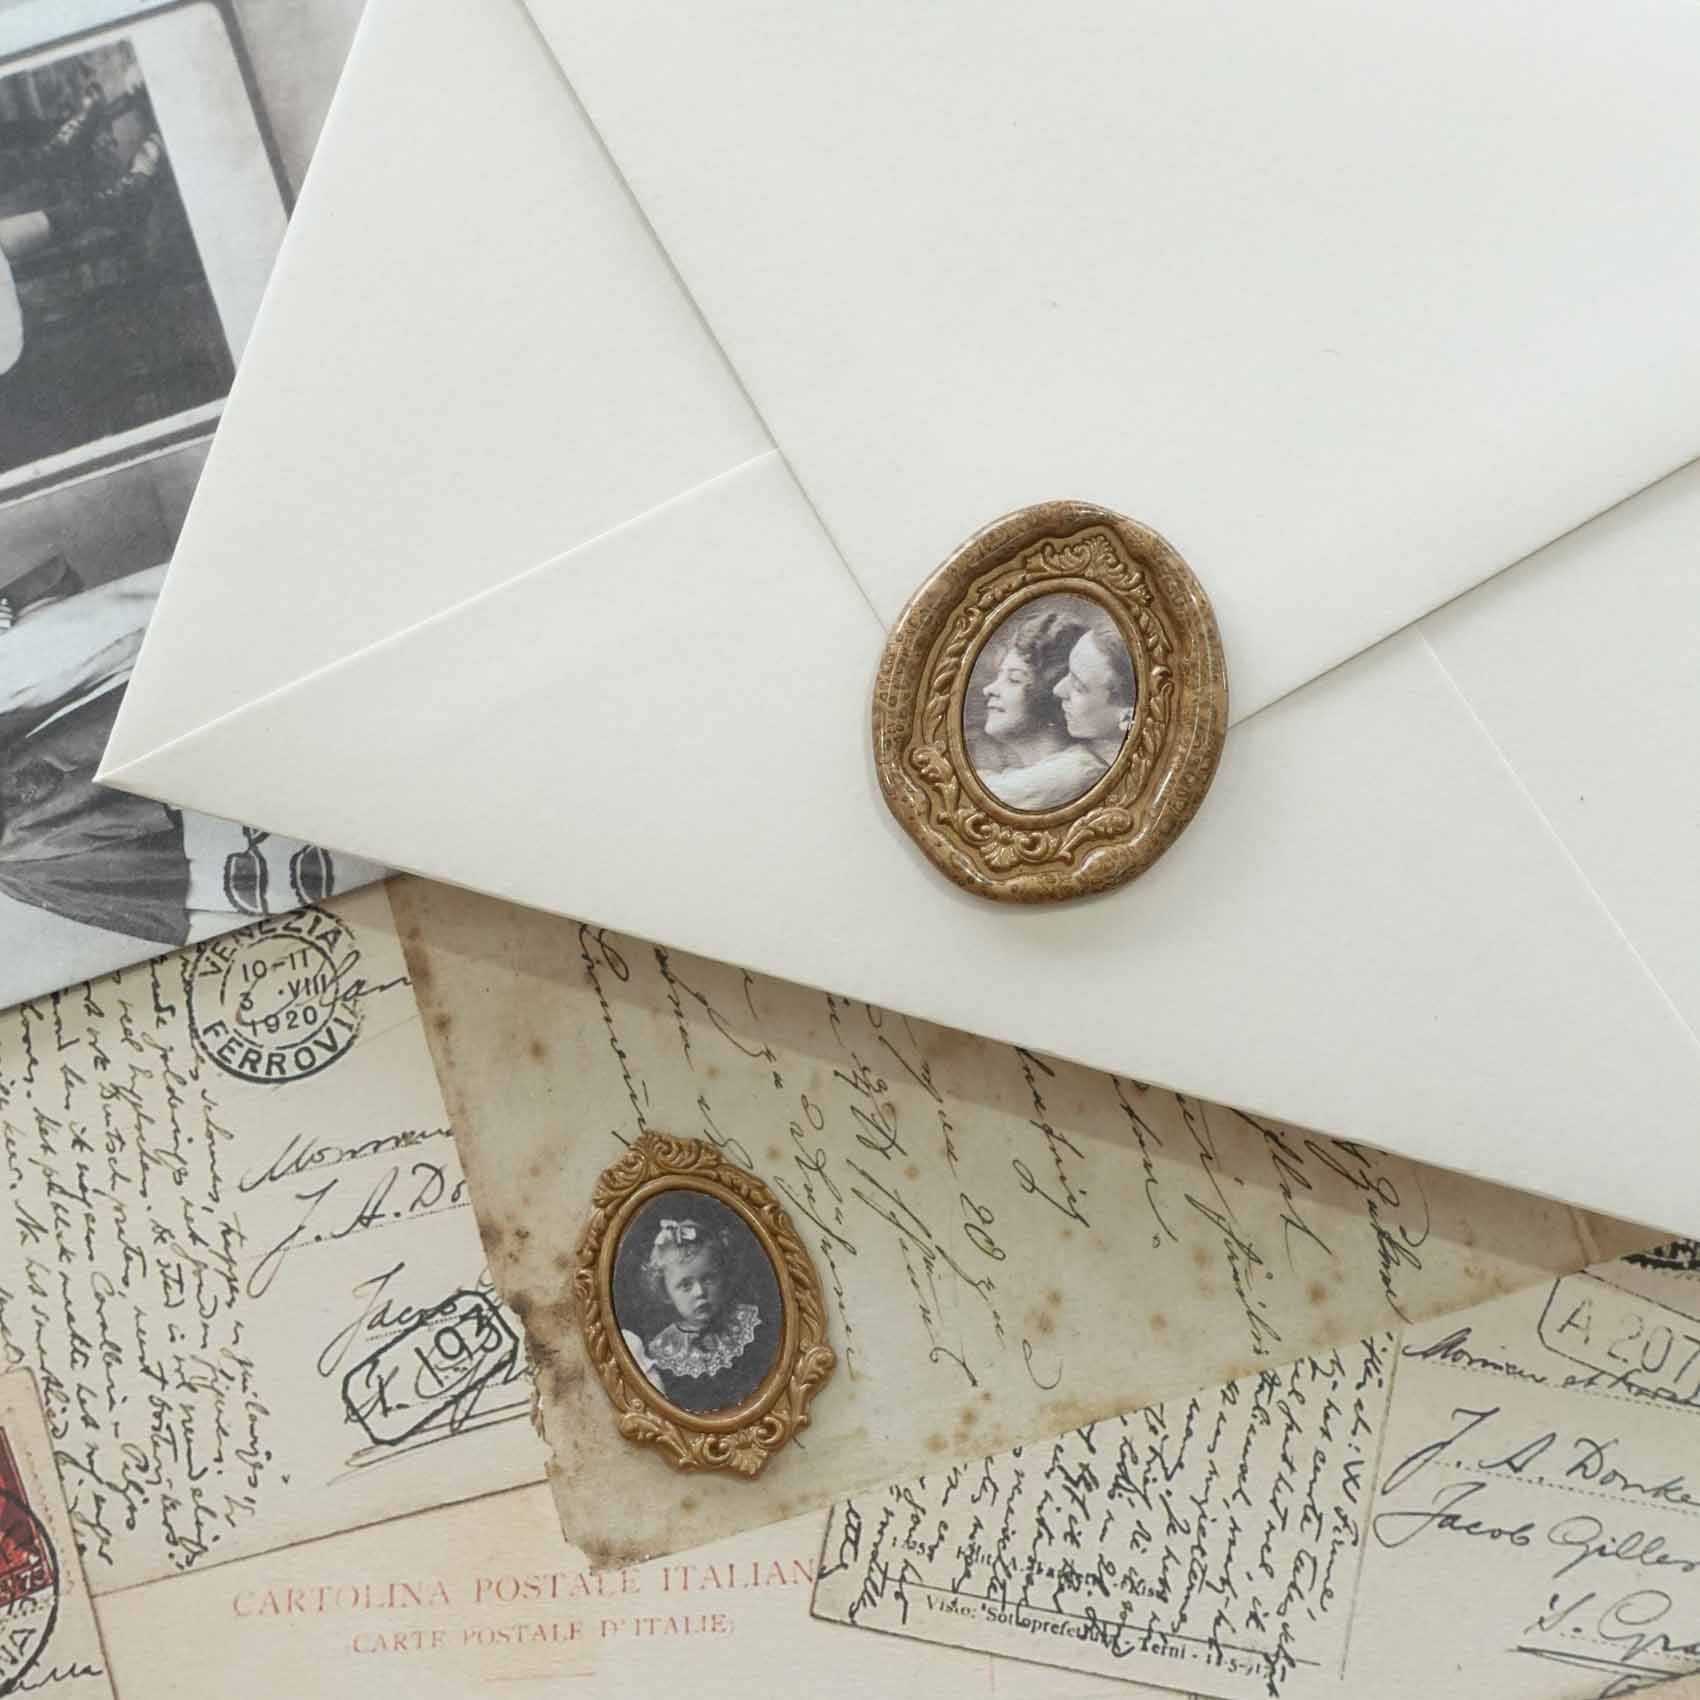
Vintage Style Oval Picture Frame wax seal stamp or stamp head
Sold out
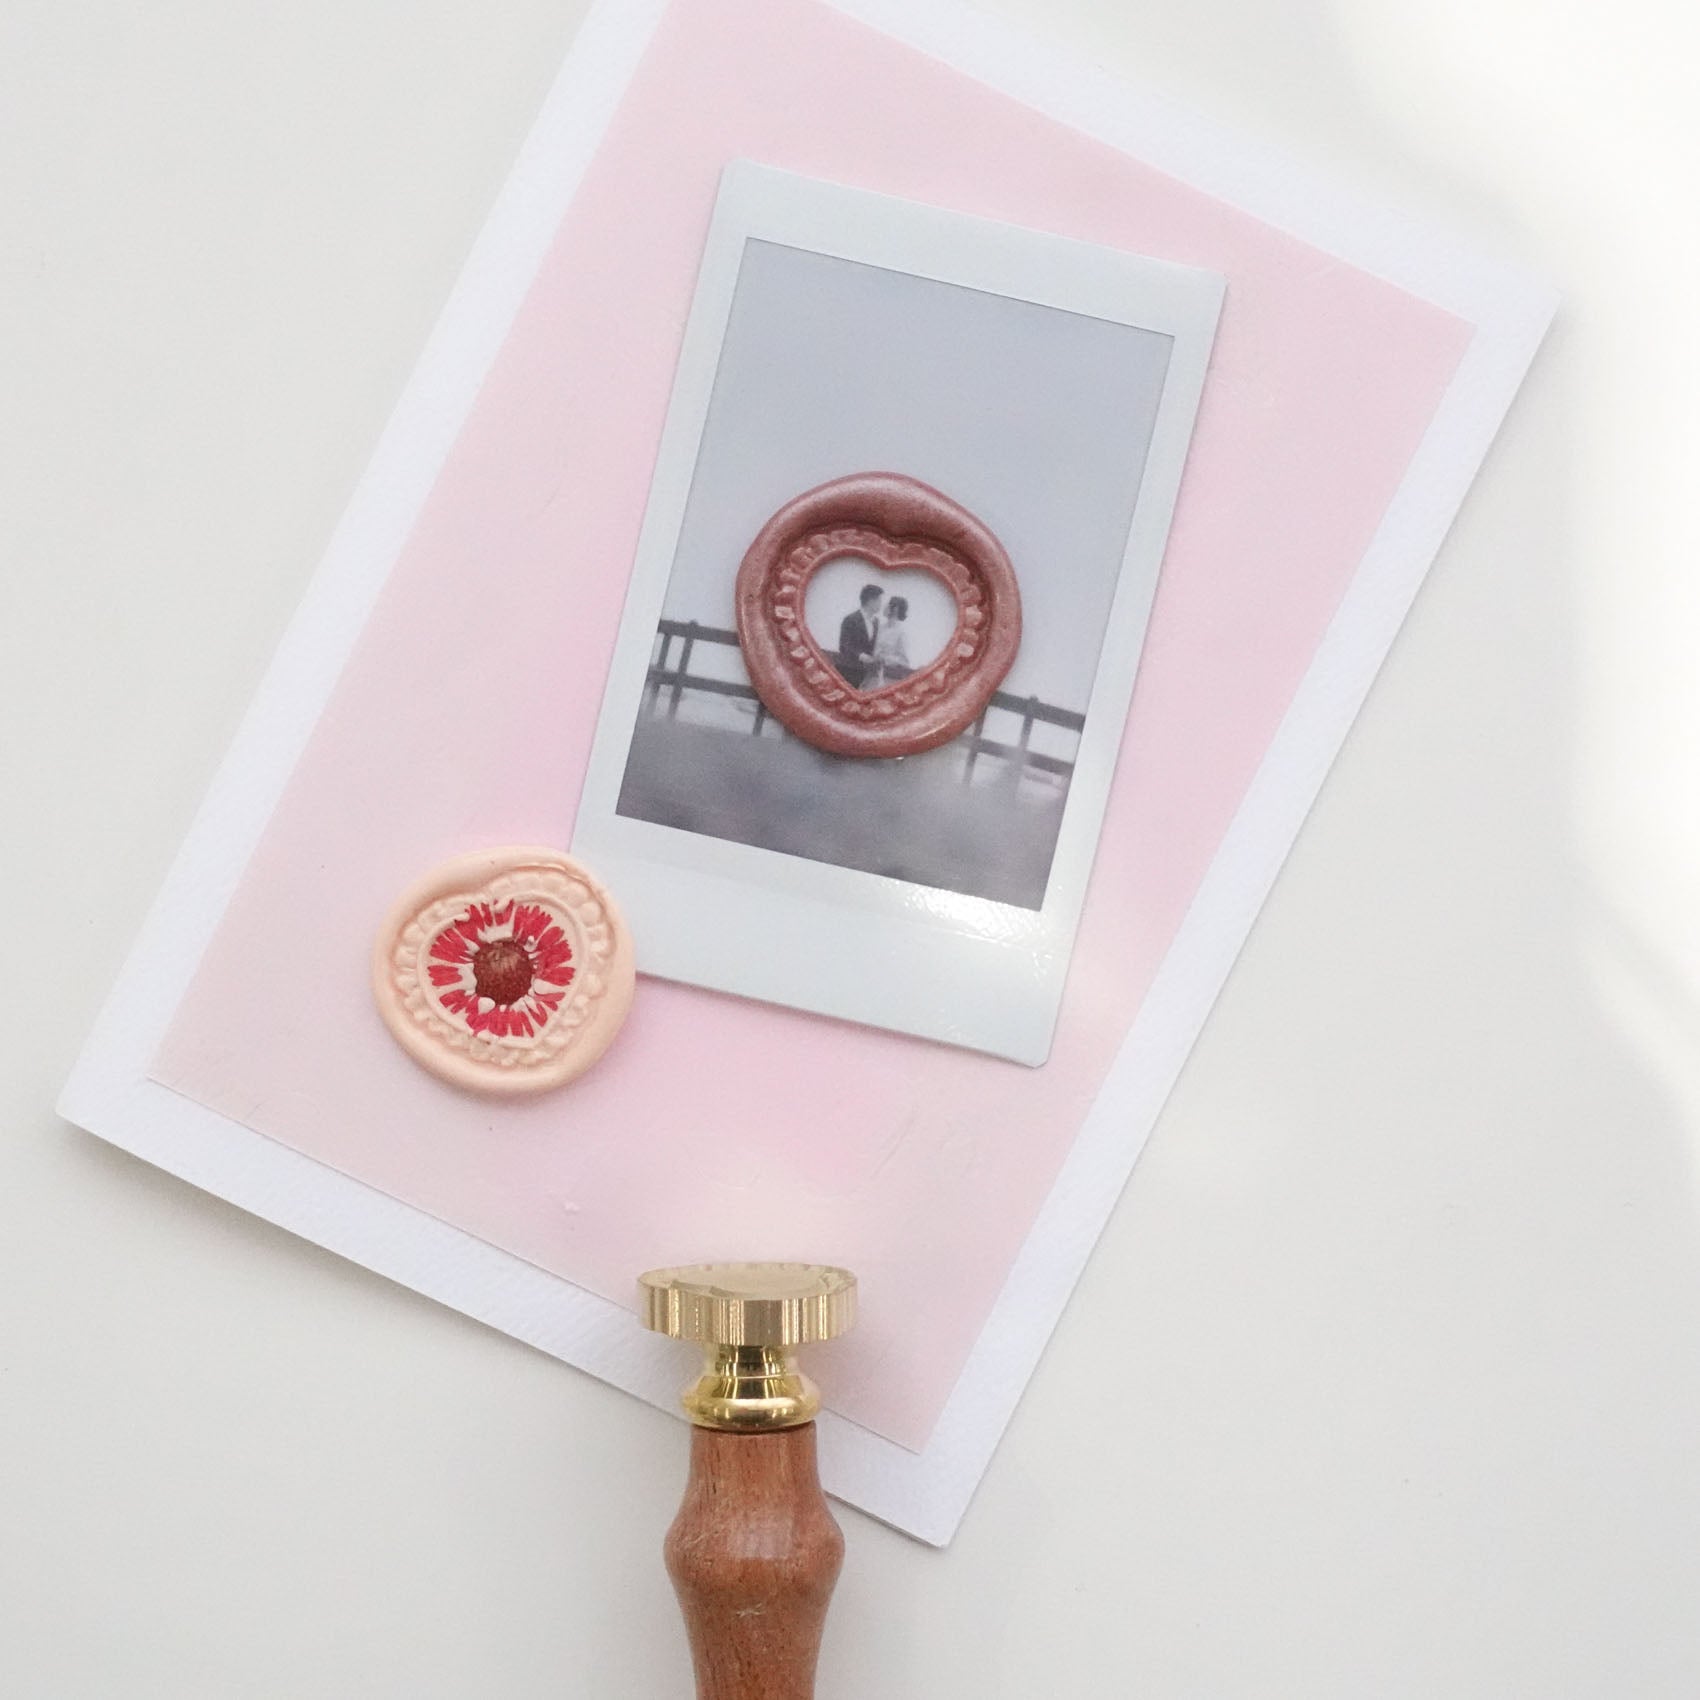
Heart Ruffle-Edged Picture Frame wax seal stamp or stamp head
Sold out
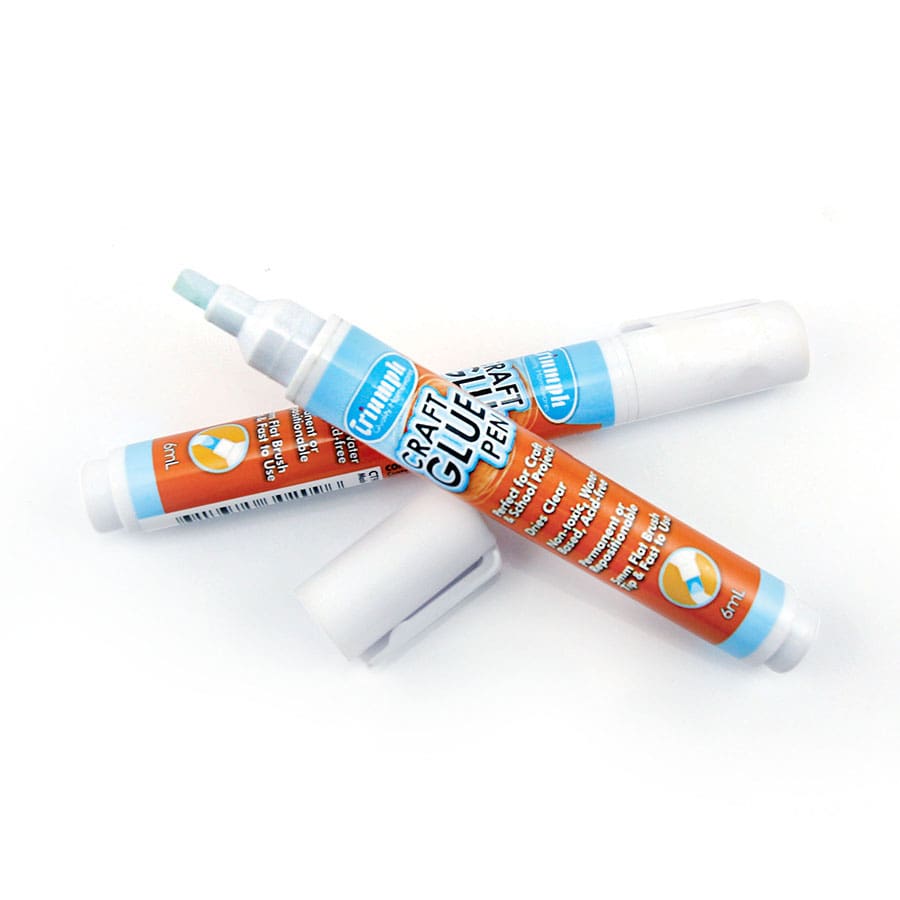
Triumph Craft Glue Pen
Sold out
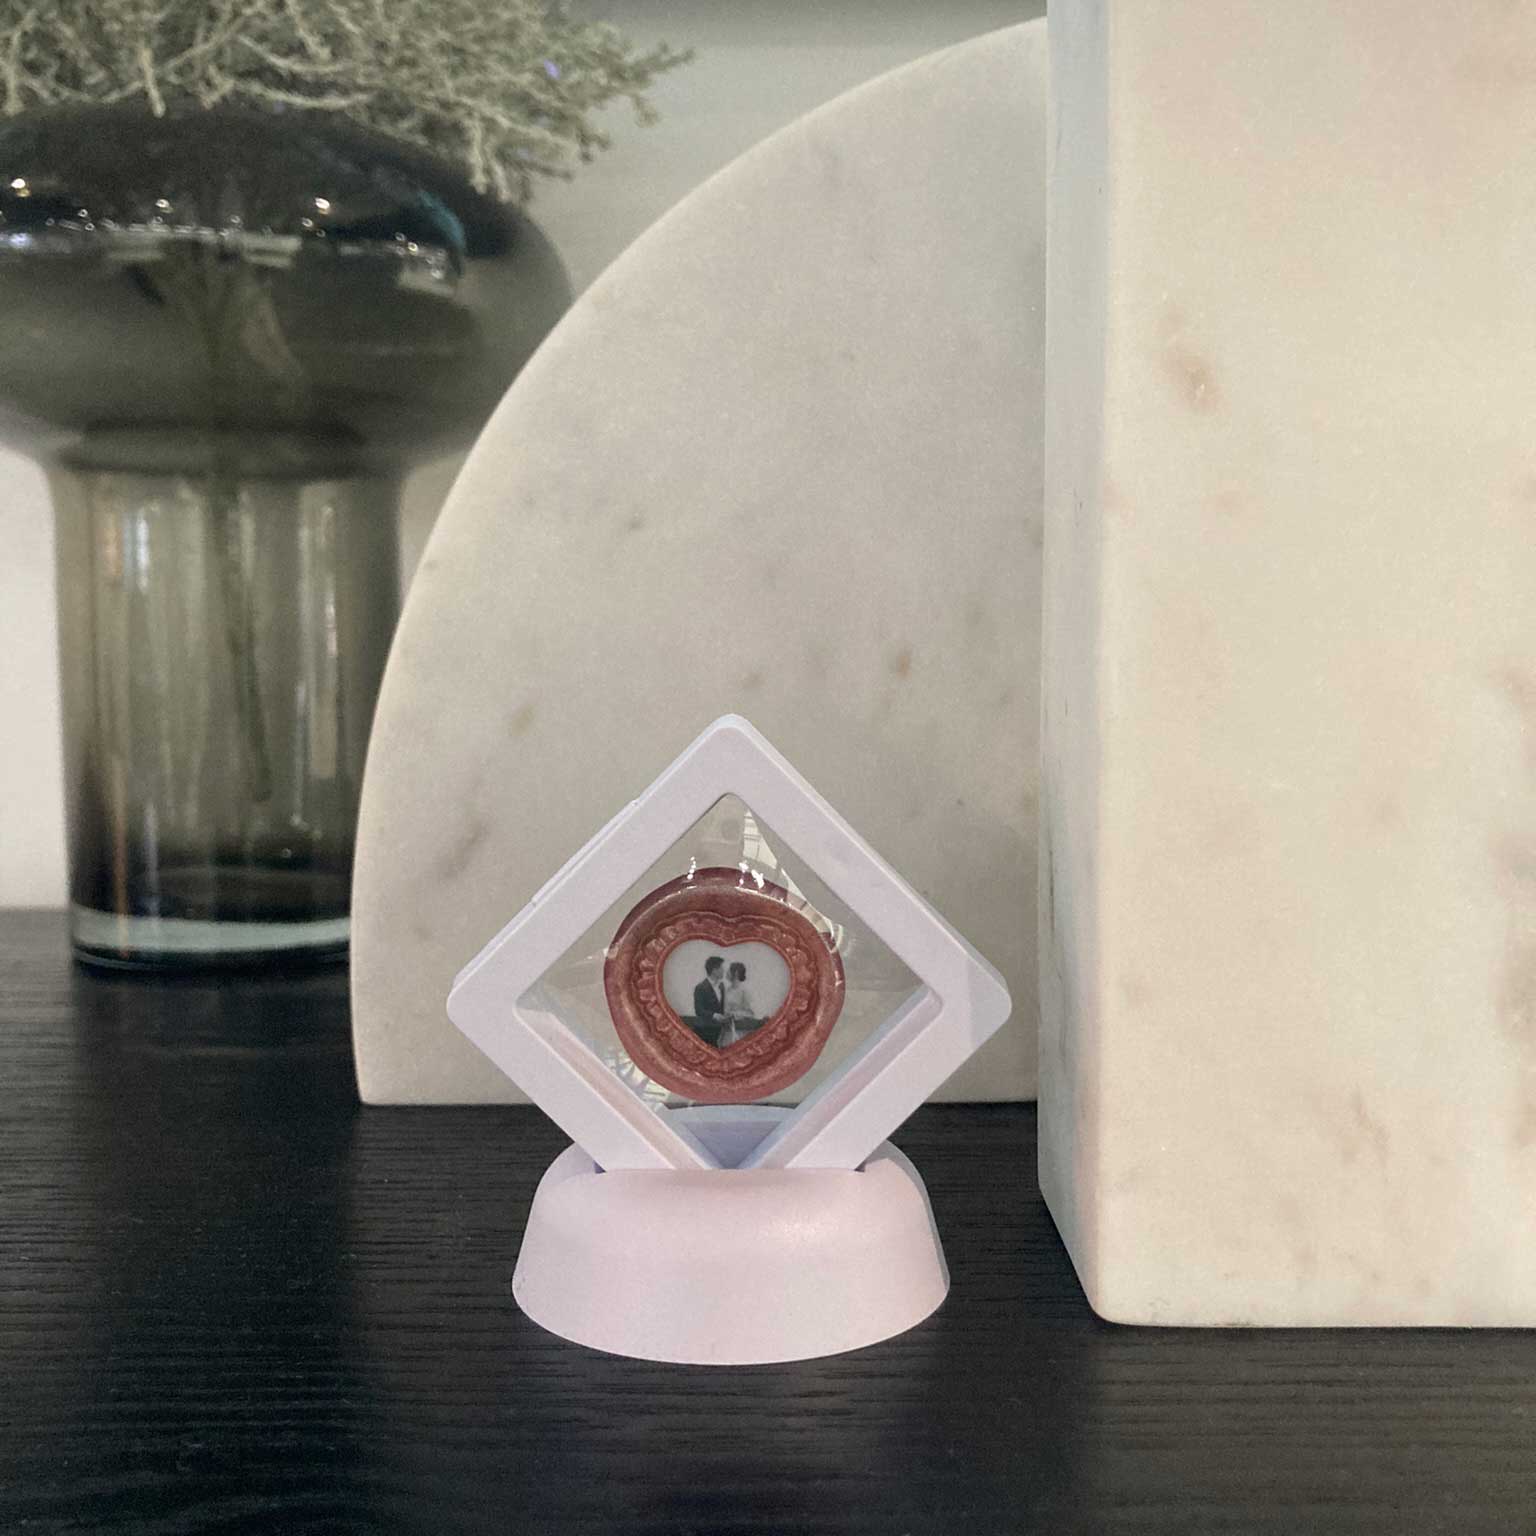
Wax Seal Floating Frame Display Case - Small Square
Sold out

Leave a comment
This site is protected by hCaptcha and the hCaptcha Privacy Policy and Terms of Service apply.