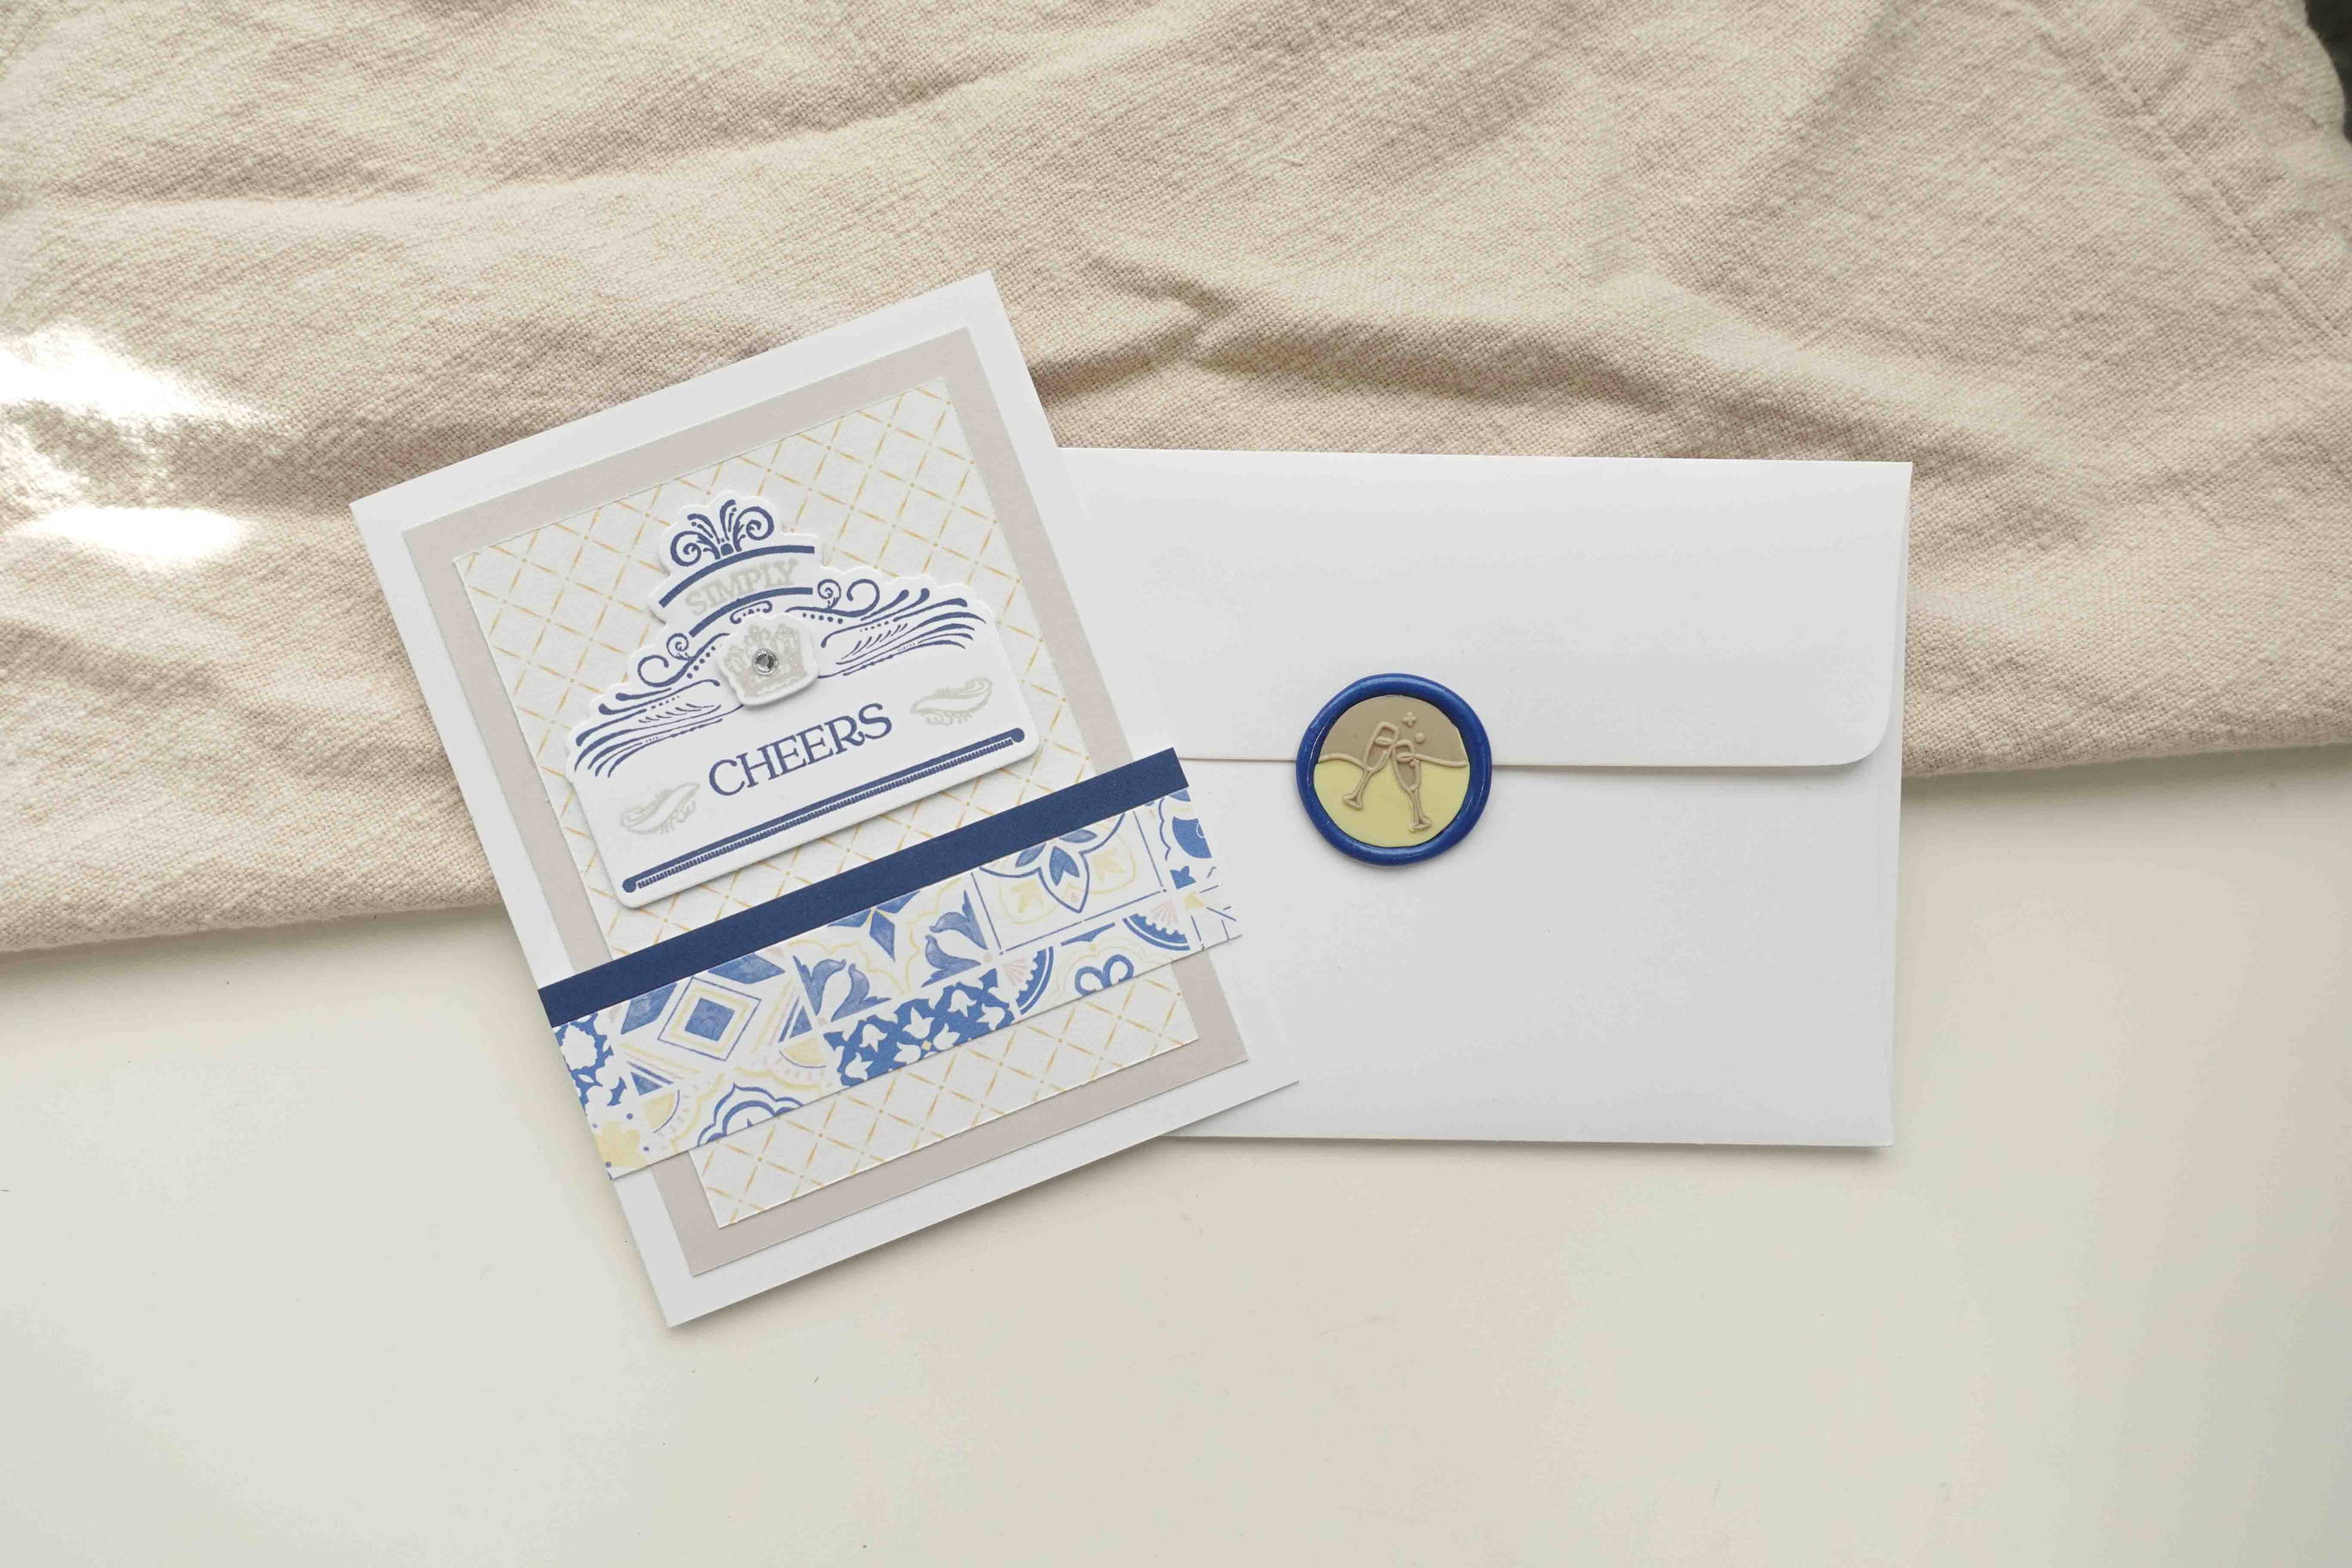
The easiest way to make multi-coloured, multi-layered wax seals that really make the designs stand out!

How To Make A Multi-Layered Wax Seal
Previously I've show you how to make a double-layered wax seal, and in this tutorial, I'm going to show you how to make a multi-layered wax seal featuring three different wax colours.
This technique works best with stamp designs where the part you want to cut out is large enough for you to easily cut closely around it.
Here's how I made this multi-layered, tri-coloured wax seal:
1. Heat the wax for the first colour that you want to use. When you stamp the wax, press firmly as we want the layers to not be too thick. You will need to pour the wax on a non-stick surface, like our silicone craft mats.
2. Once the wax has cooled, remove the stamp and cut around the design. I used a pair of embroidery scissors as the blades are small and relatively thin, which makes it easier to manoevre.
3. Heat your stamp over the candle flame until your wax cut-out sticks to the stamp when you press it into the engraved grooves and doesn't fall out when you flip over the stamp. Be careful not to burn yourself on the stamp as it doesn’t need to be too hot for the wax to stick.
4. Repeat steps 1 to 3 with a second wax colour, except you'll be cutting around the round circumference of the wax seal instead.
5. Finally for the third colour, use extra wax to create a decent amount of overhanging edge once you press the stamp in the wax for the last time. Press firmly so that the top layers stick well to this last layer of wax.
6. Admire the wax seal you've just created and show it off to your family and friends!
Hope these tips helped! I love seeing all the creative projects that you come up with! Feel free to send them via email, social media, or tag me (@fionaariva on Instagram)
FEATURED PRODUCTS

Clinking Champagne Glasses Wax Seal Stamp, Wax Seal Kit or Stamp Head

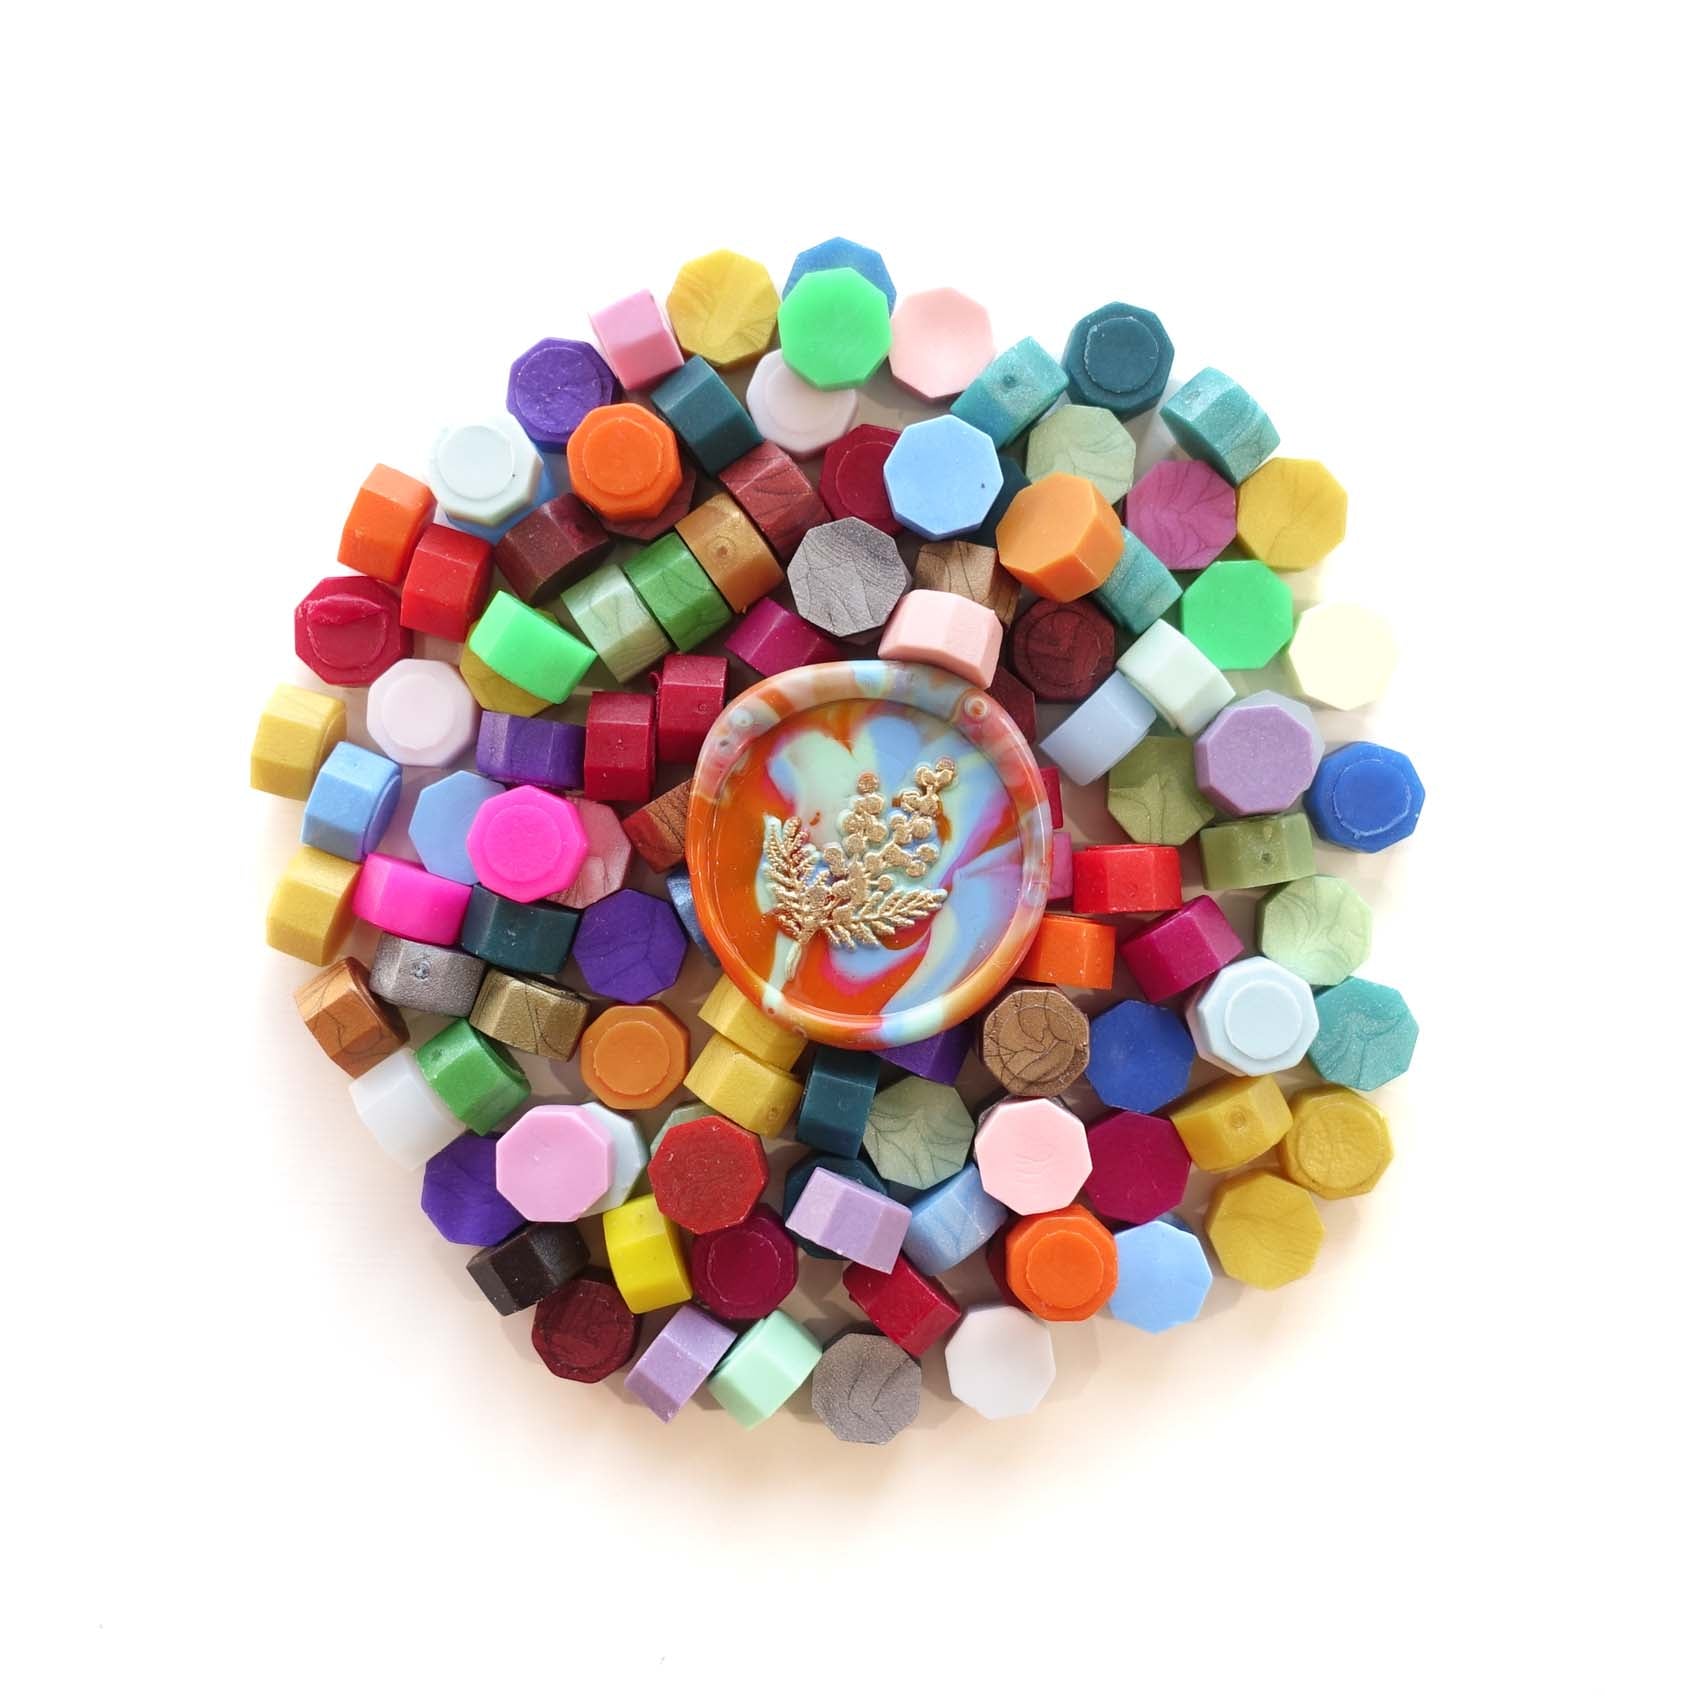
Mixed colours 100pcs sealing wax beads granules tablets pellets


3 comments
Hi Linden, try this link to view our Instagram video: https://www.instagram.com/reel/C-BwYZXSRDZ
Fiona Ariva
I can’t get your video to work on Instagram
Linden Hanlon
Thank you, that was useful.
Have a great day
D'anah
Leave a comment
This site is protected by hCaptcha and the hCaptcha Privacy Policy and Terms of Service apply.