
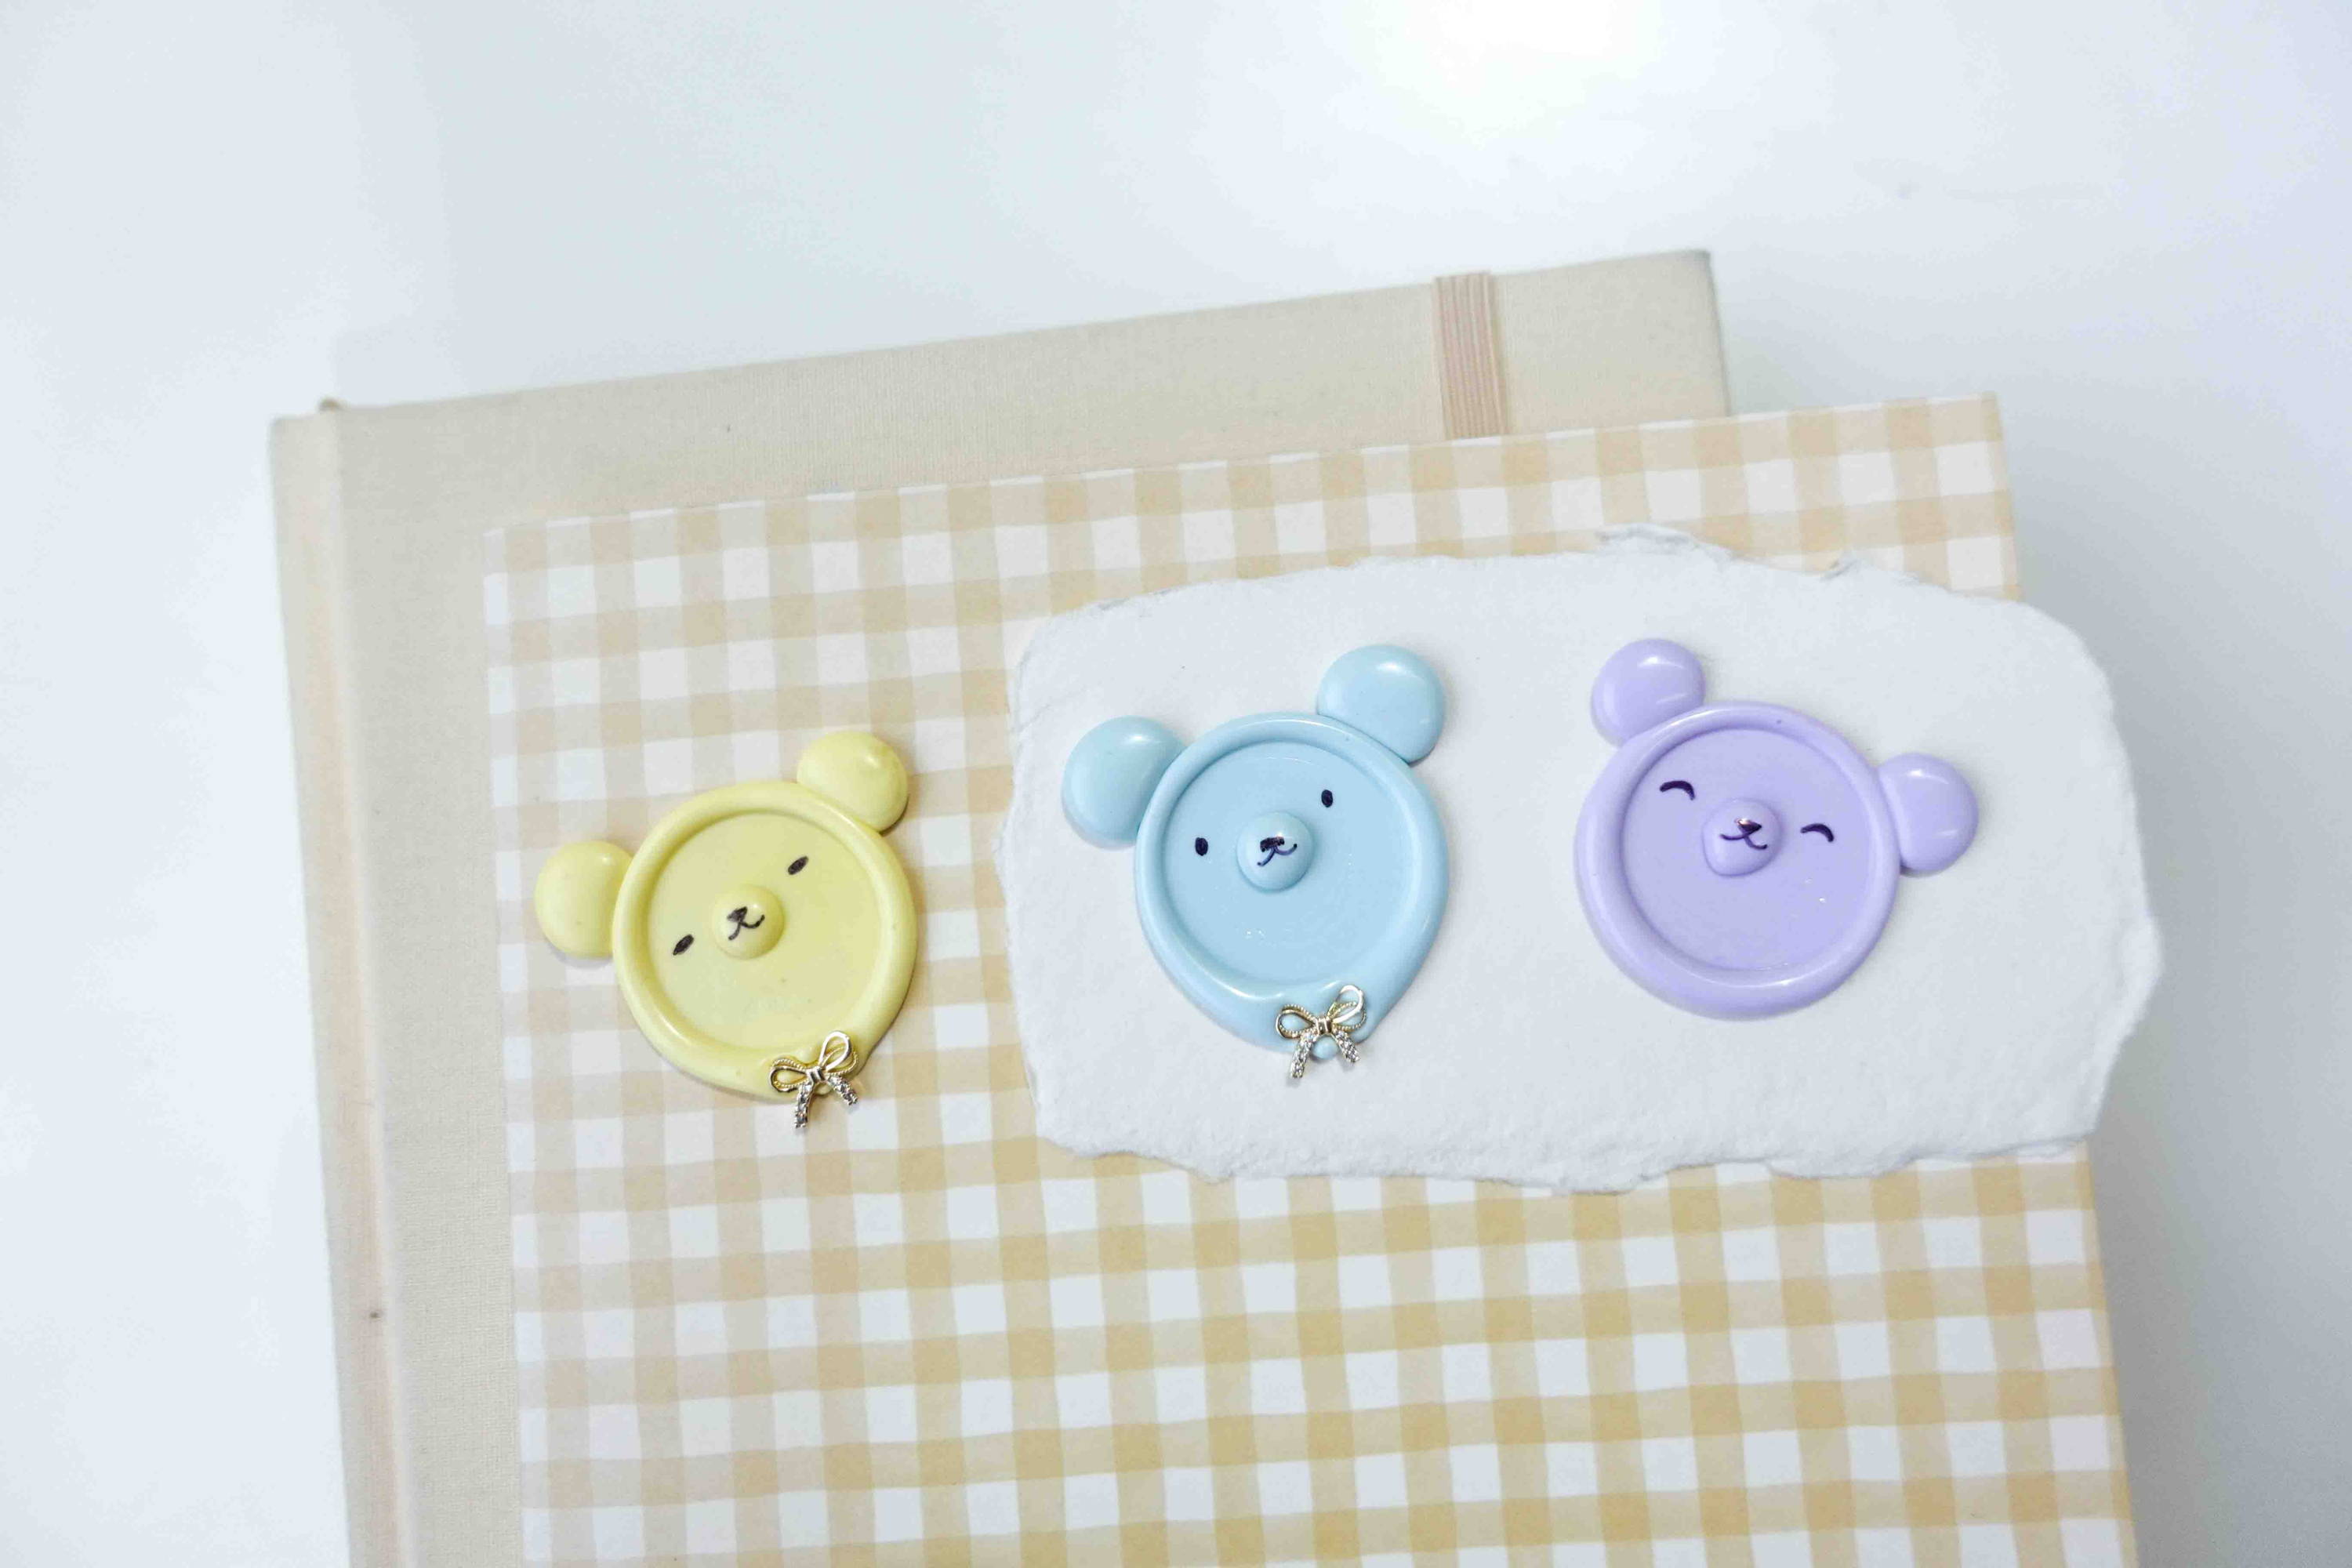
How To Make Teddy Bear Wax Seals
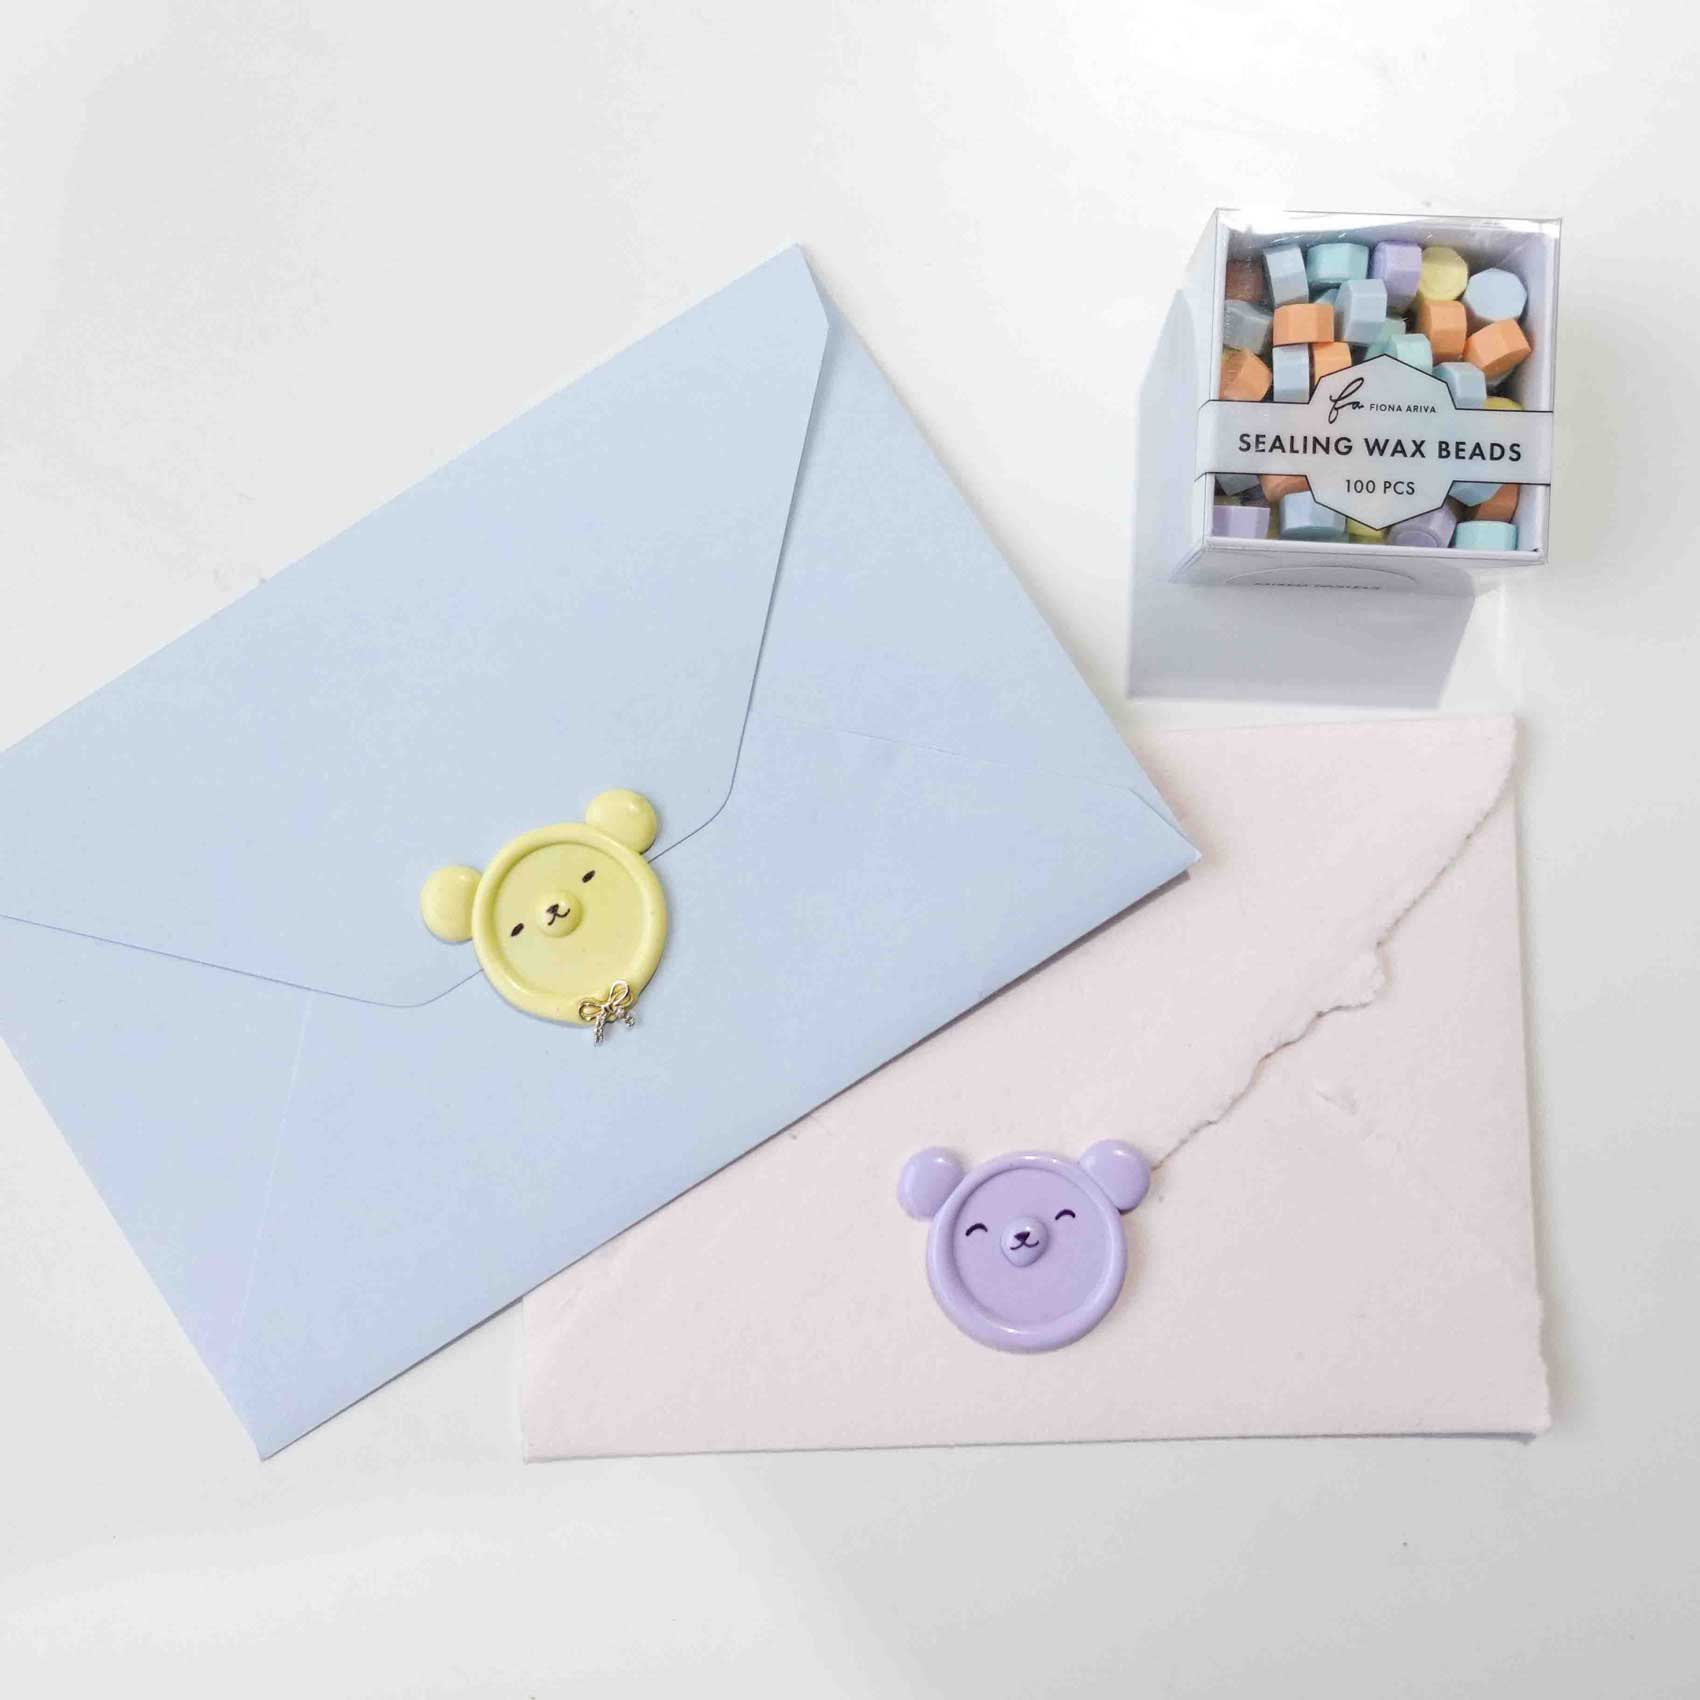
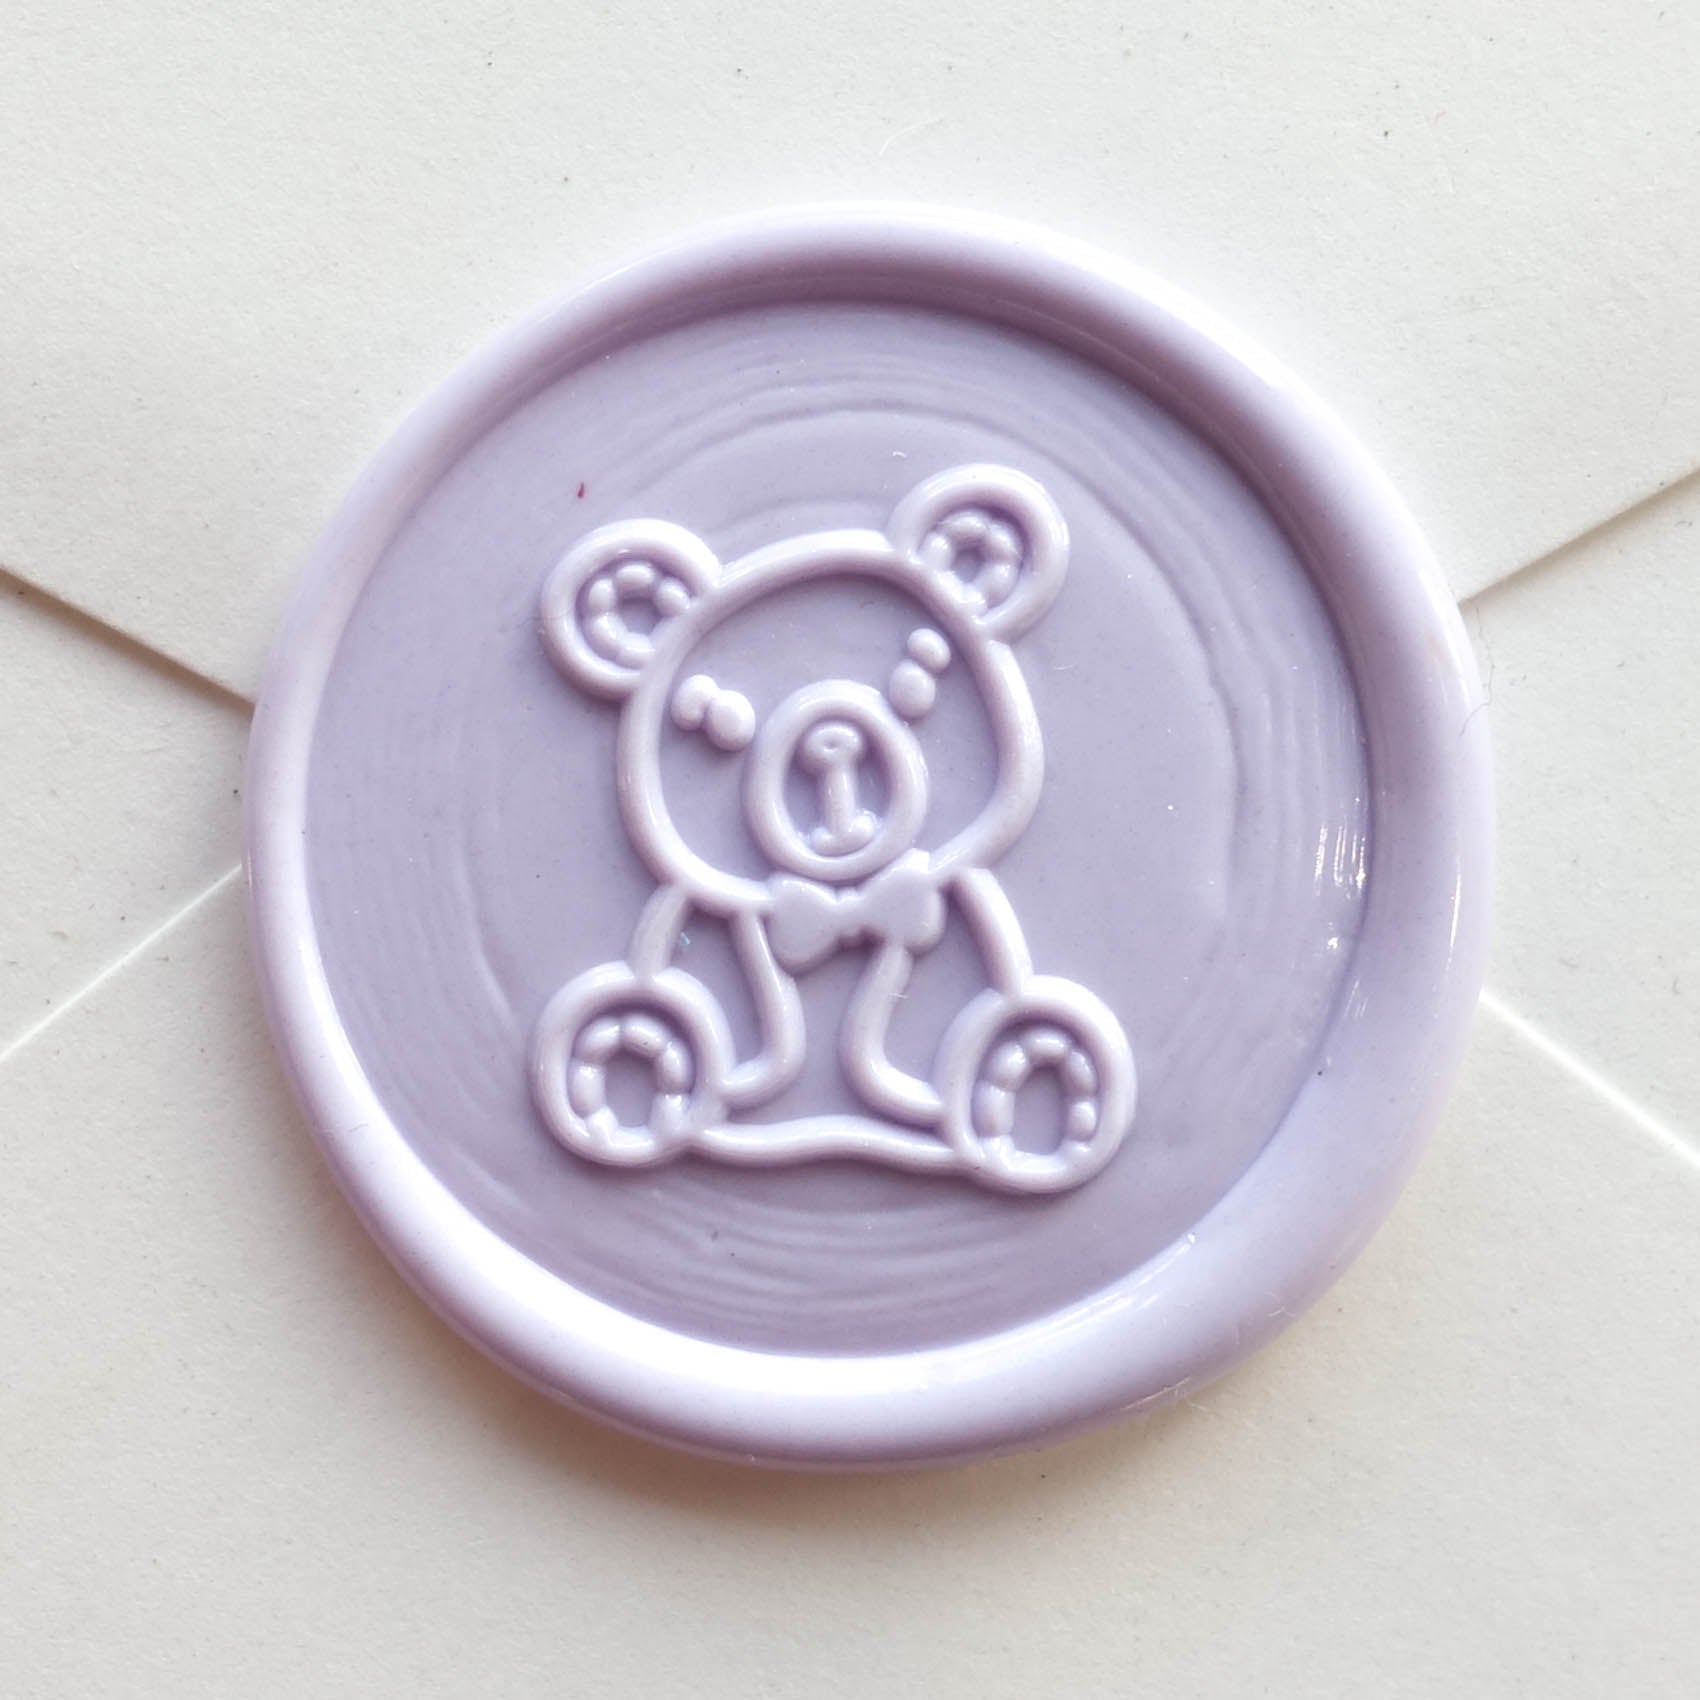
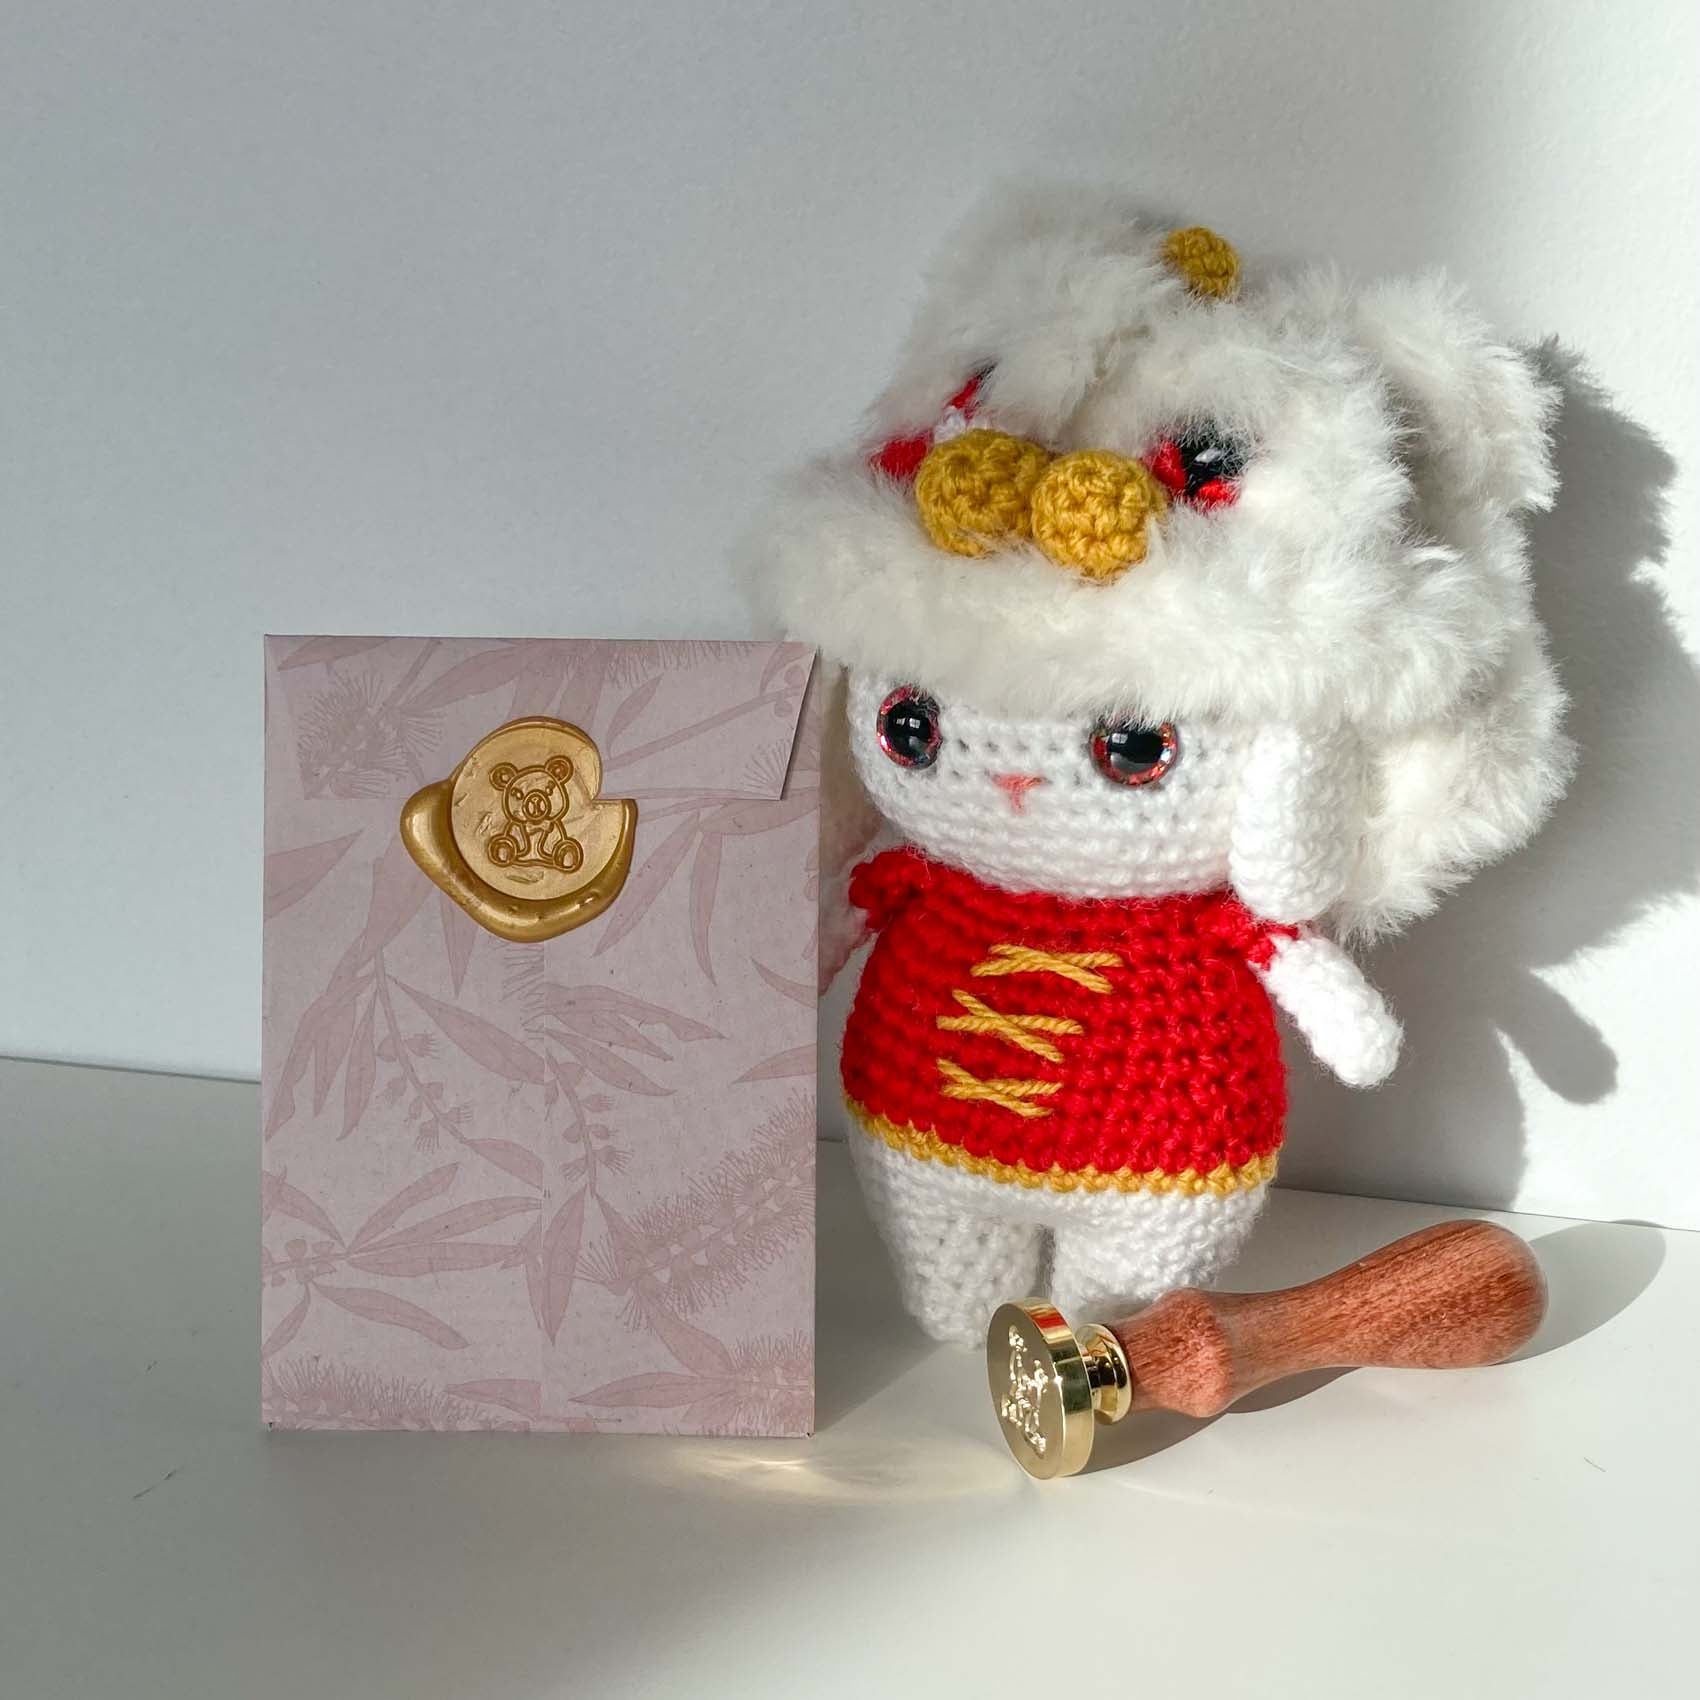
Who would've thought a blank wax seal stamp could be so versatile! Try this fun technique to make adorable teddy bear wax seals.

To make teddy bear wax seals, you will need:
- Blank wax seal stamp
- Sealing wax
- Spouted spoon (makes it easier to pour small blobs of wax more precisely)
- Permanent marker (fine tip)
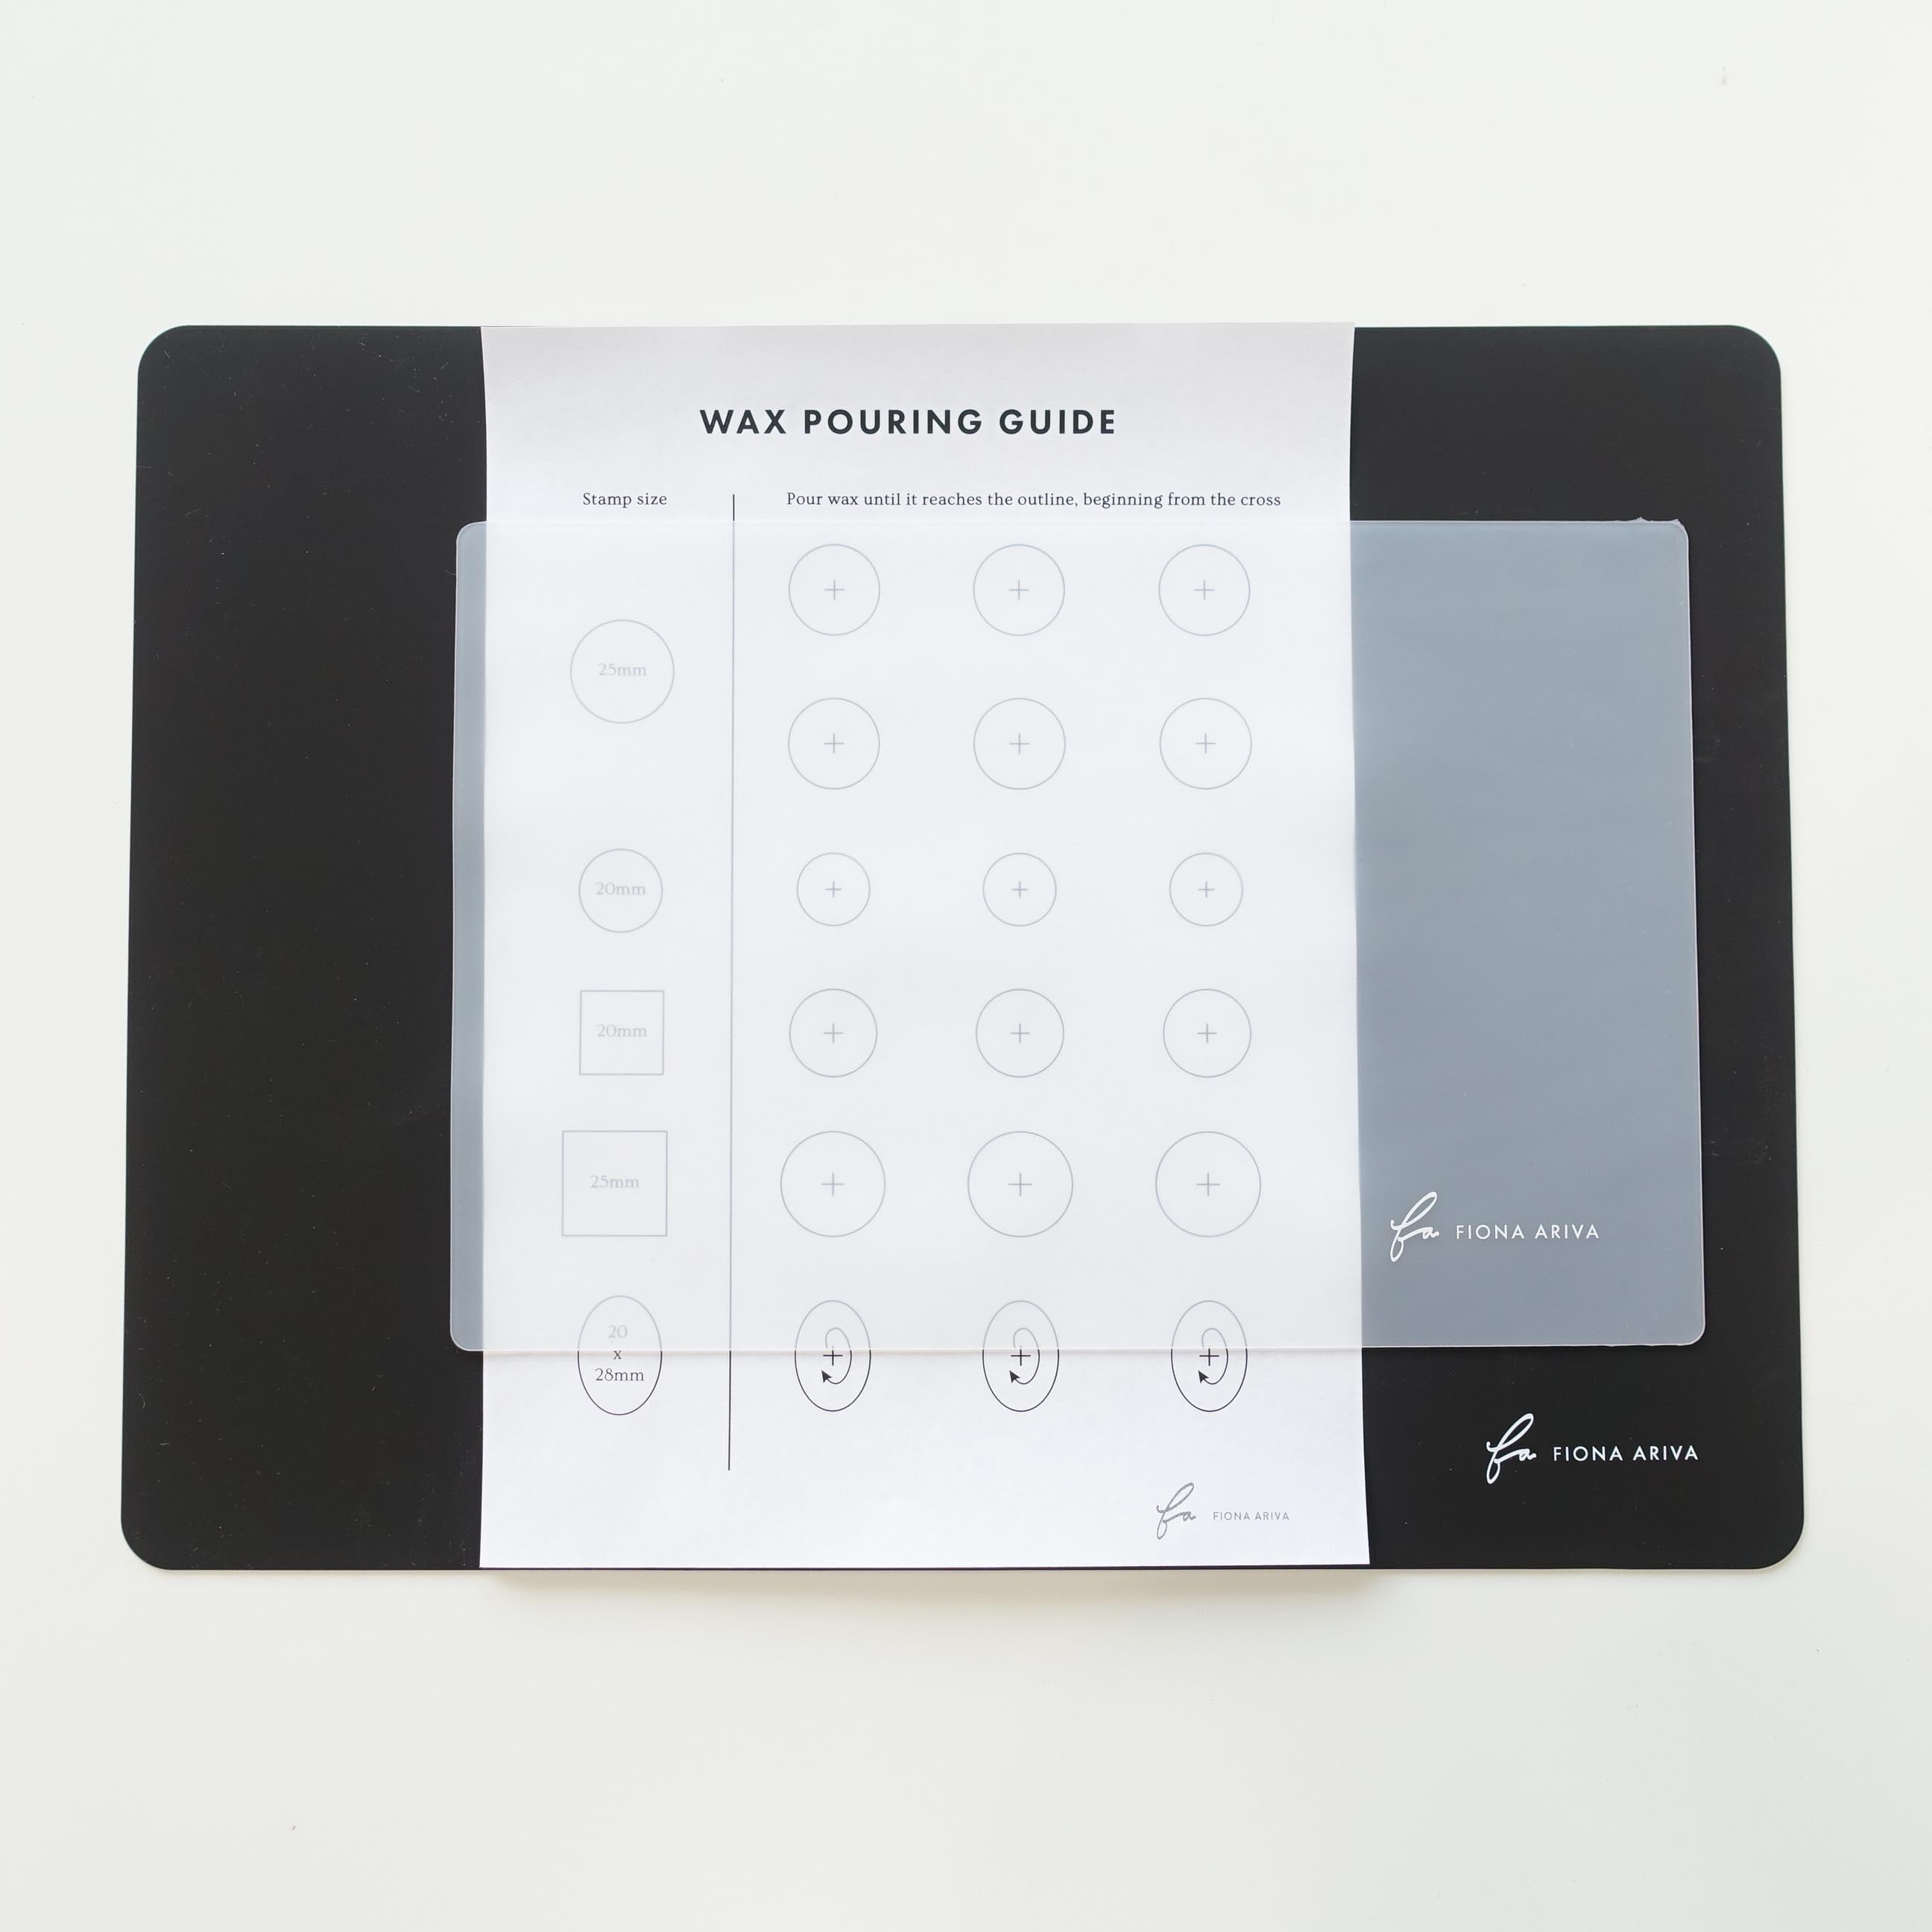
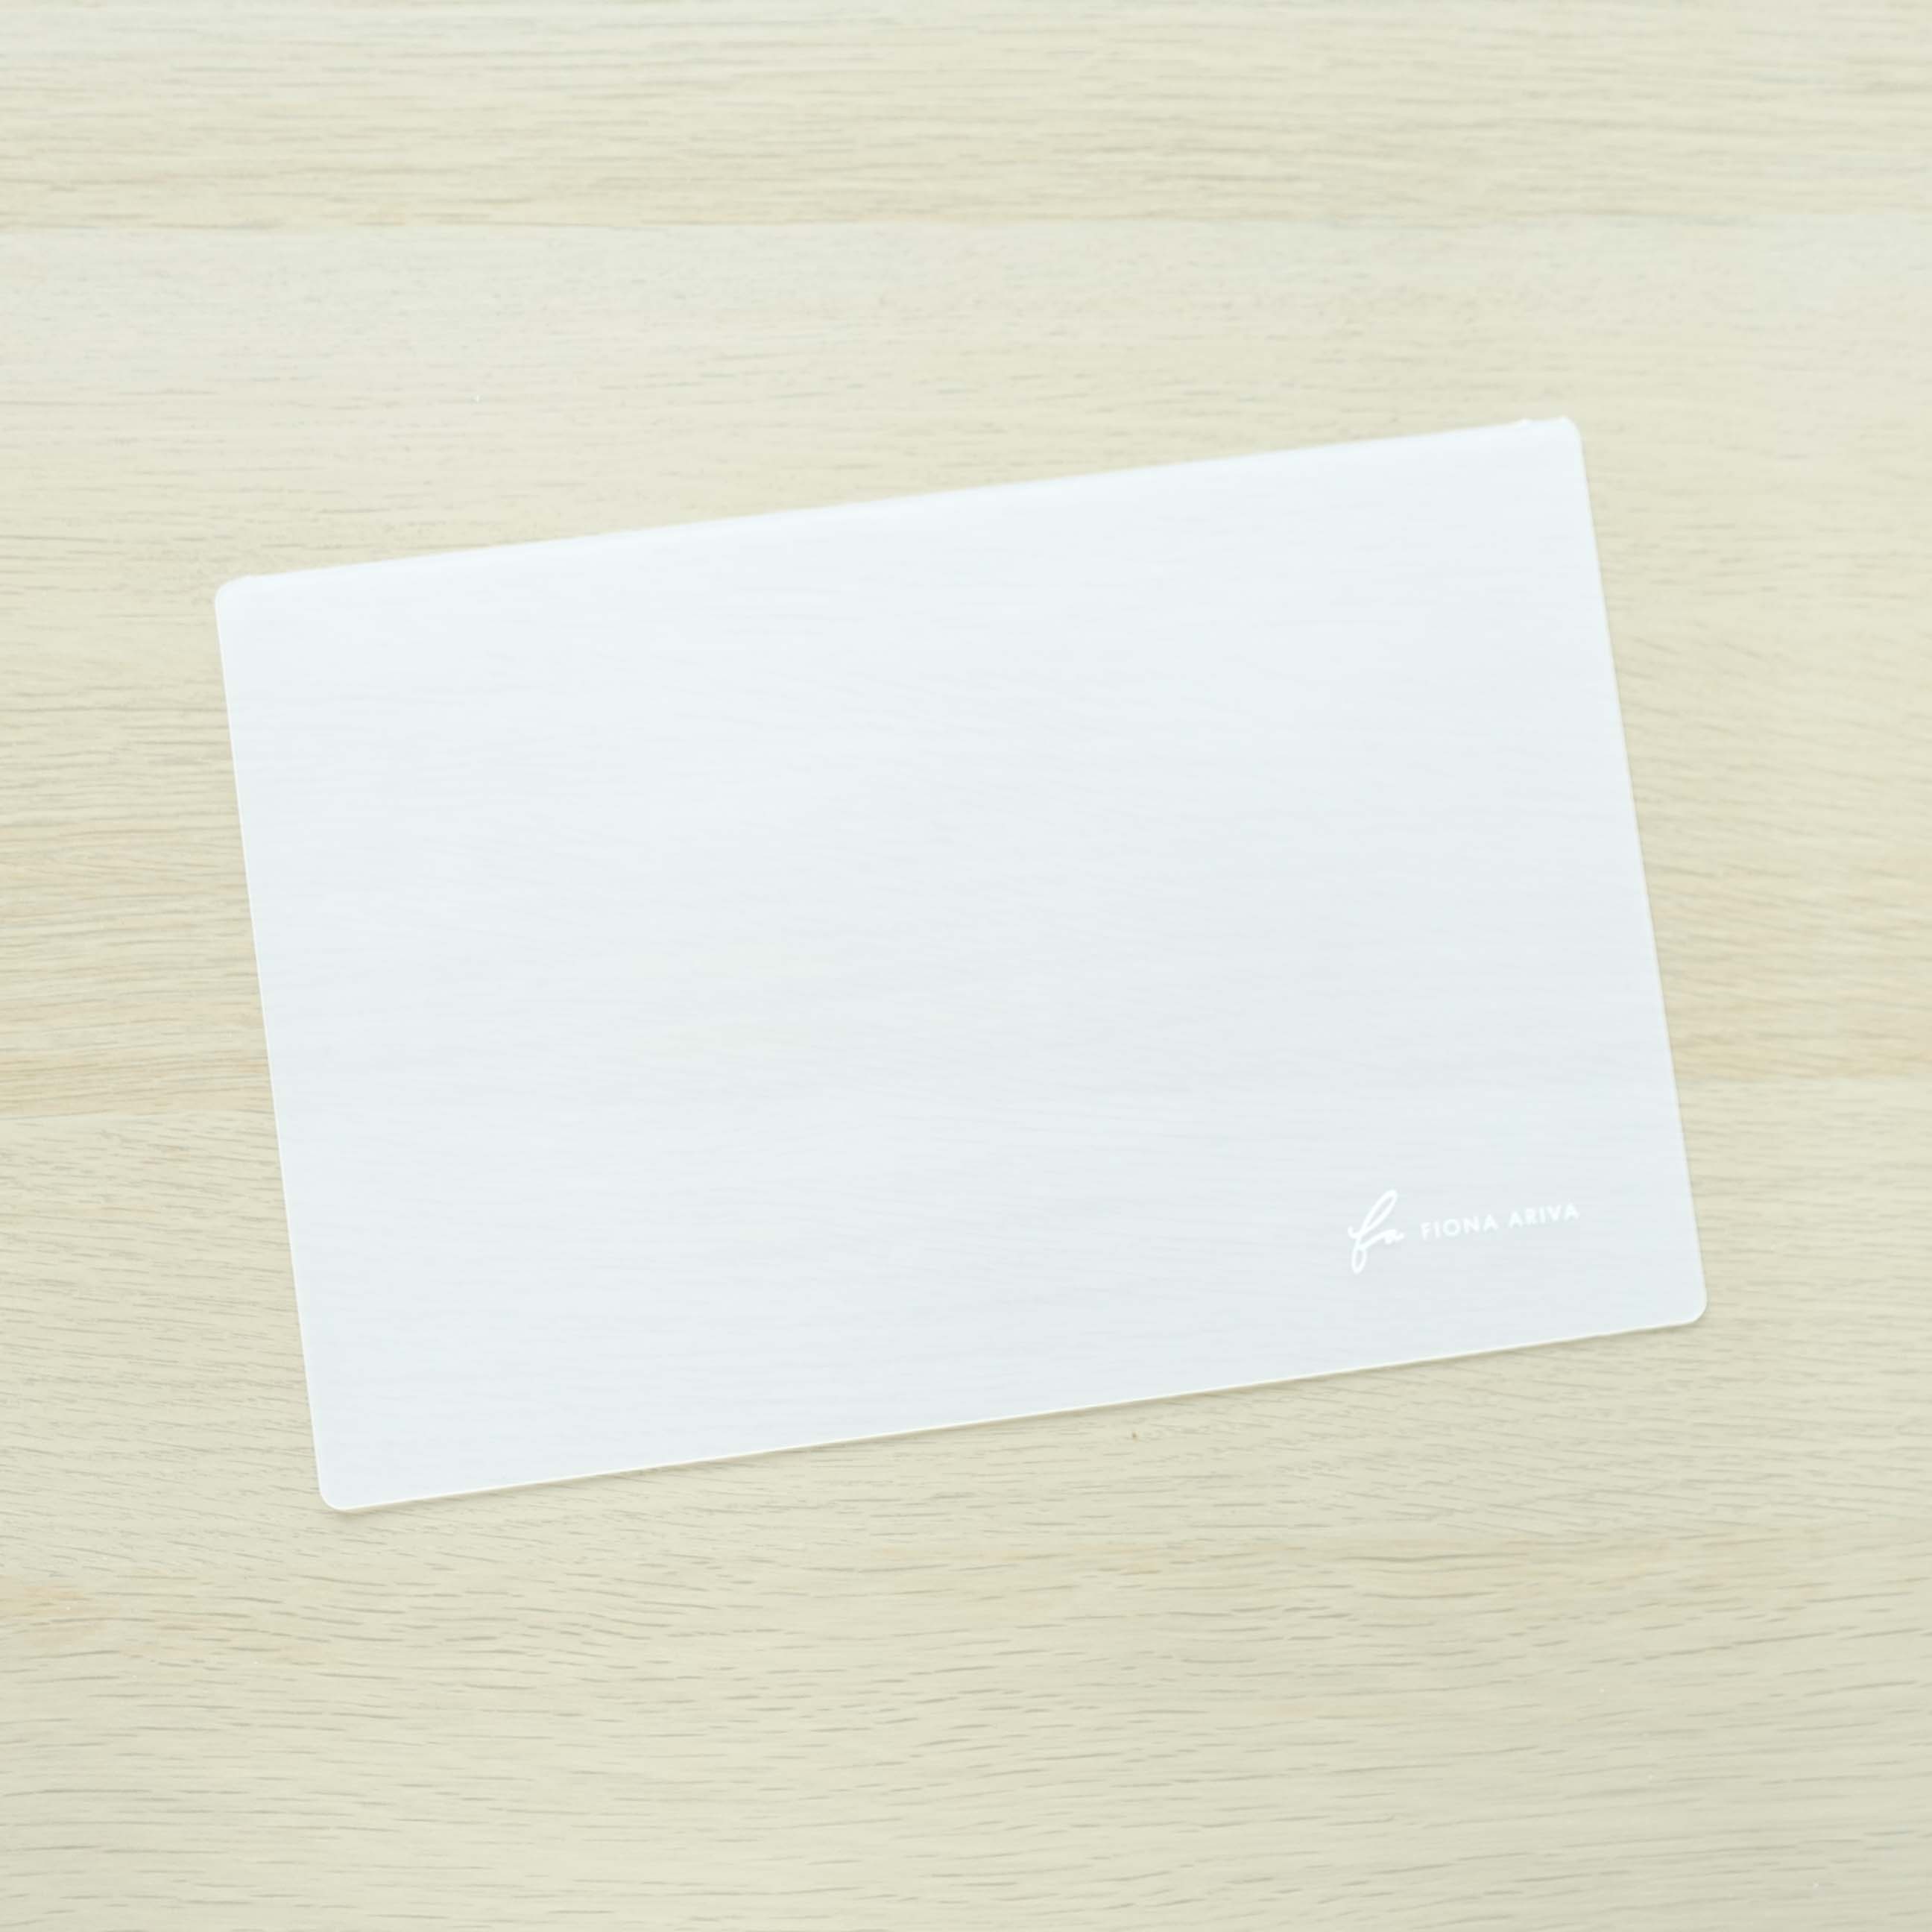
- Non-stick crafting mat
- Solid ribbon bow charm (optional)
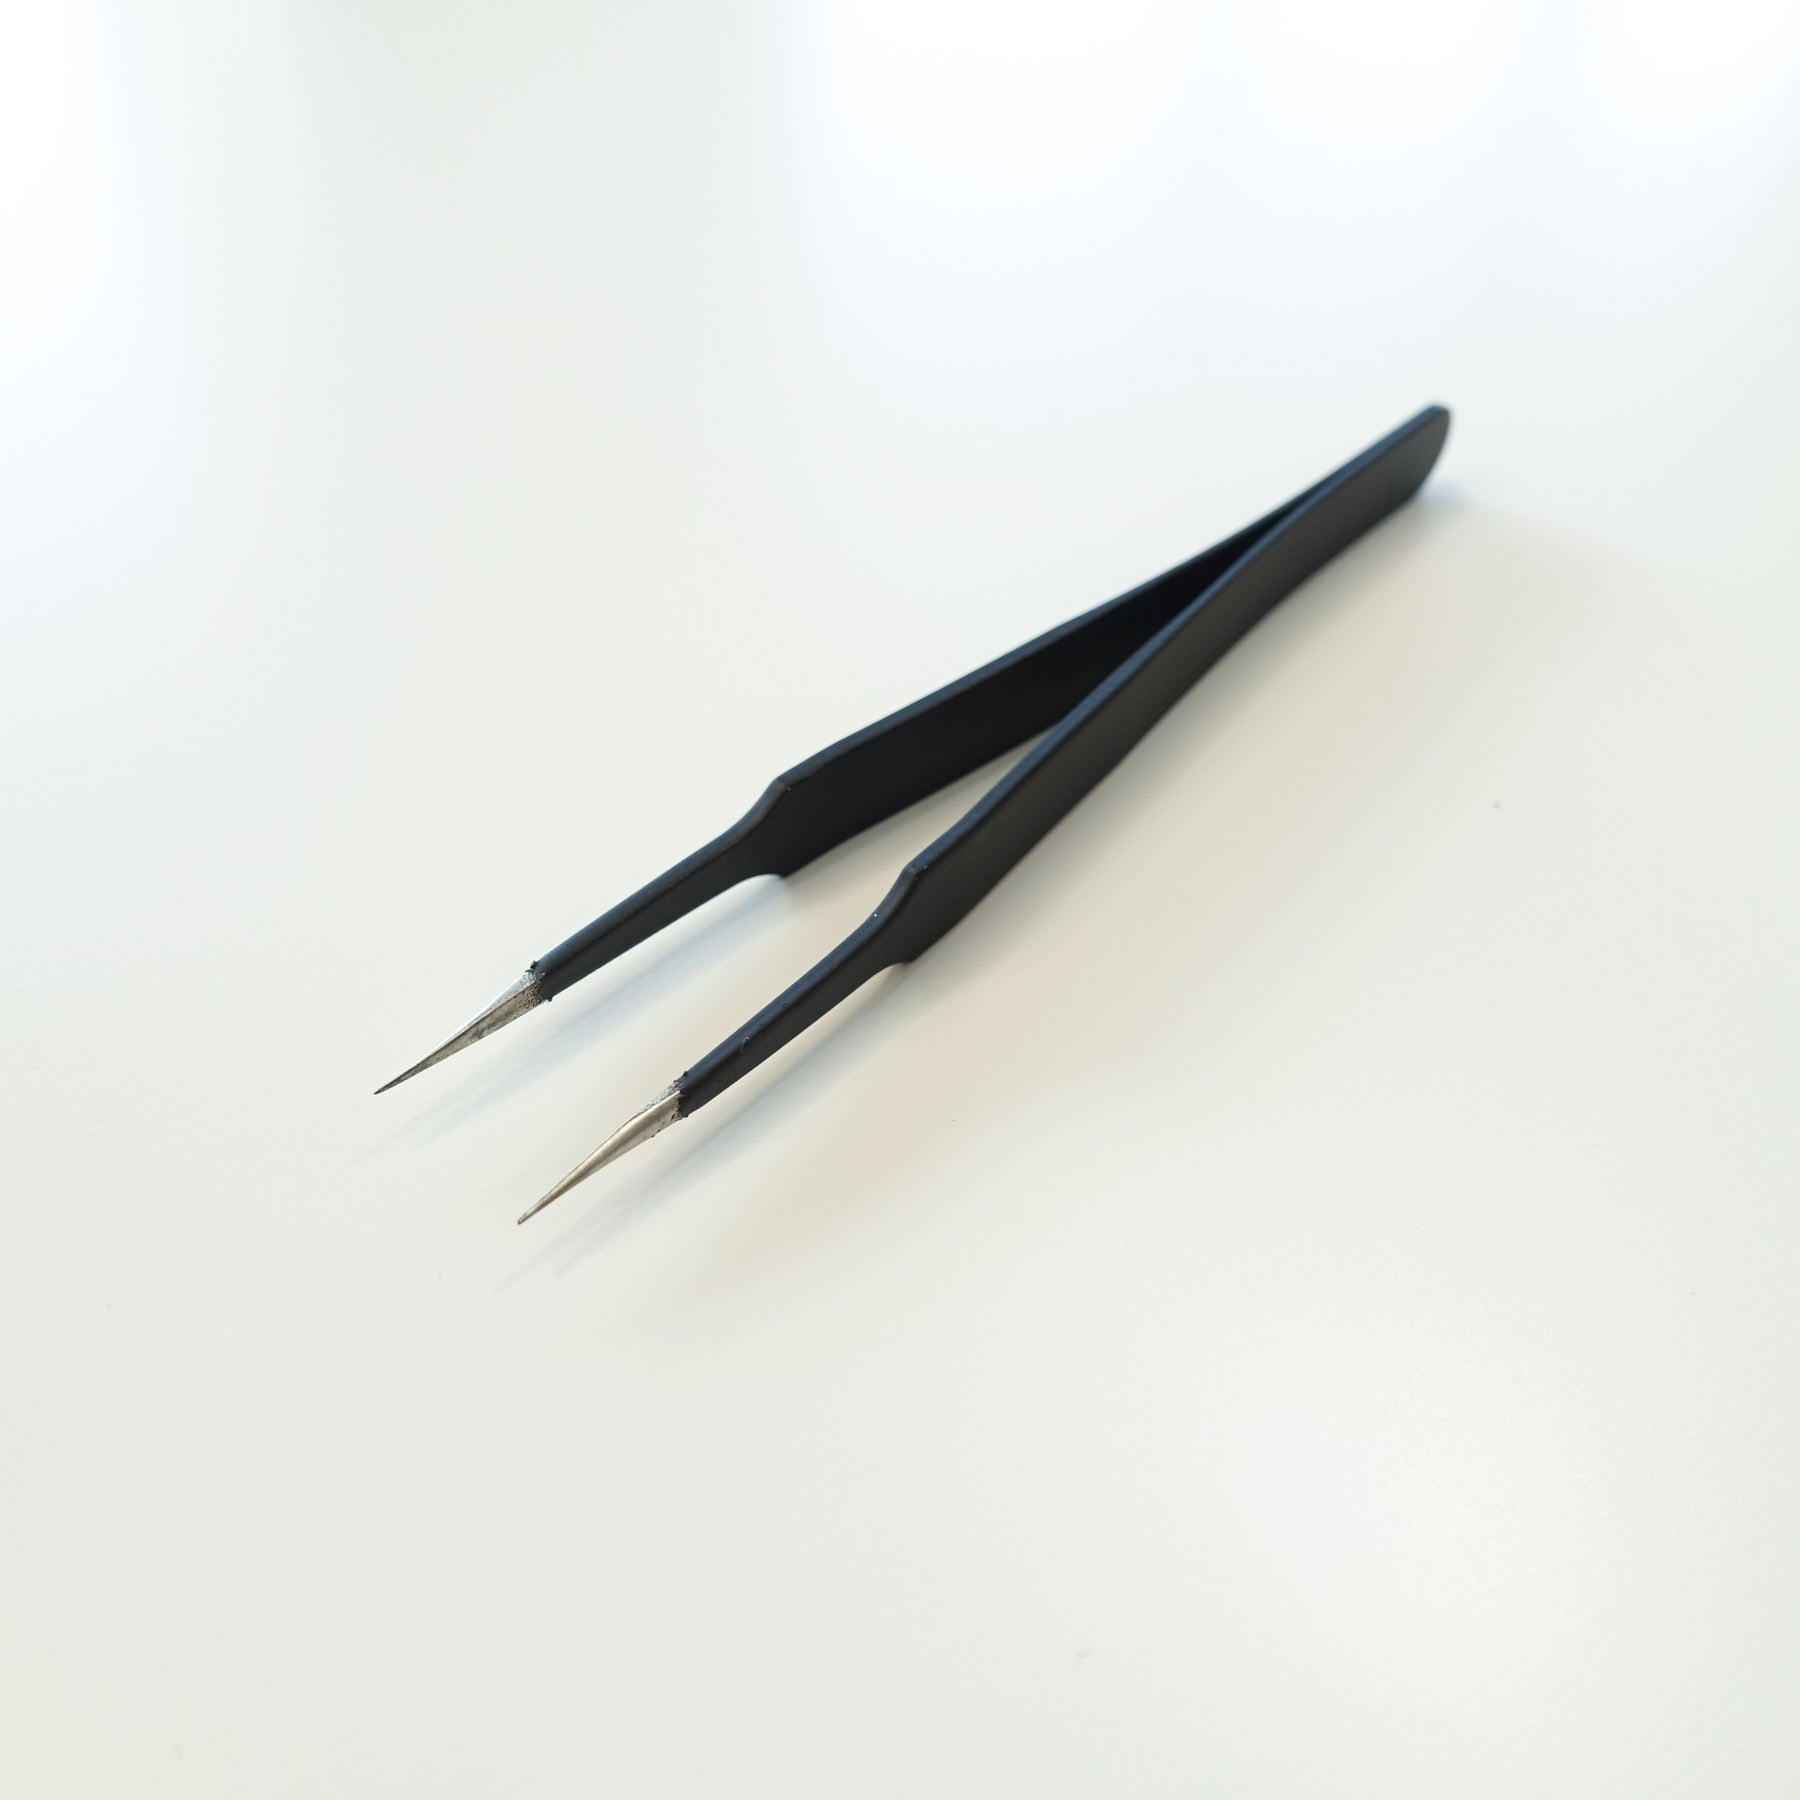
- Tweezers (optional)
- 3M Double Sided Adhseive Backings
Instructions:
- Pour wax onto your non-stick craft mat and stamp it with the blank stamp to make the teddy's head. If you're adding the bow tie charm, stamp slightly higher then quickly embed the charm along the bottom edge using a pair of tweezers.
- Allow the wax to cool, remove the stamp and peel the mat away from the wax seal to dislodge it.
- Pour a smaller blob of wax onto the mat and immediately push the 'head' into it so that it creates the teddy's ear. Allow the wax to cool, dislodge it carefully, and repeat for the other ear
- Pour a small blob onto the teddy's face to create its snout. Allow the wax to cool.
- Using your fine-tipped permanent marker, draw eyes, a nose and mouth for your teddy.
- Apply the double sided adhesive backing to your wax seal and admire the cuteness you just created!
View this post on Instagram
Hope these tips helped! I love seeing all the creative projects that you come up with! Feel free to send them via email, social media, or tag me (@fionaariva on Instagram)


Leave a comment
This site is protected by hCaptcha and the hCaptcha Privacy Policy and Terms of Service apply.